S
scdavis
Guest
This is a rough guide on how to remove the front bumper and lights and prepare for the black all in 1 lights.
*some pics included for diagram purposes* (sorry bout the quality - was using my phone)
wiring diagram will be added later. so lets crack on......
1) unlock car and open bonnet
2) undo the little black clips (pictured and ringed below)
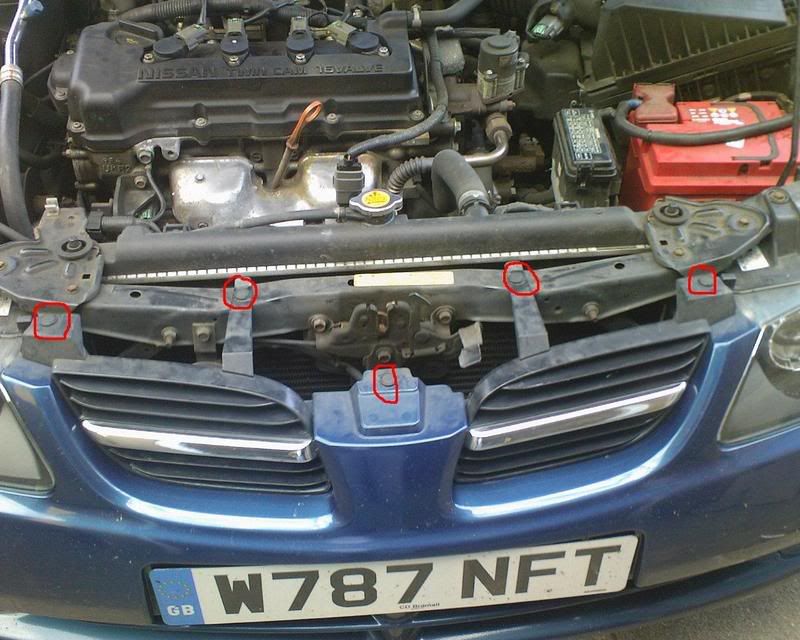
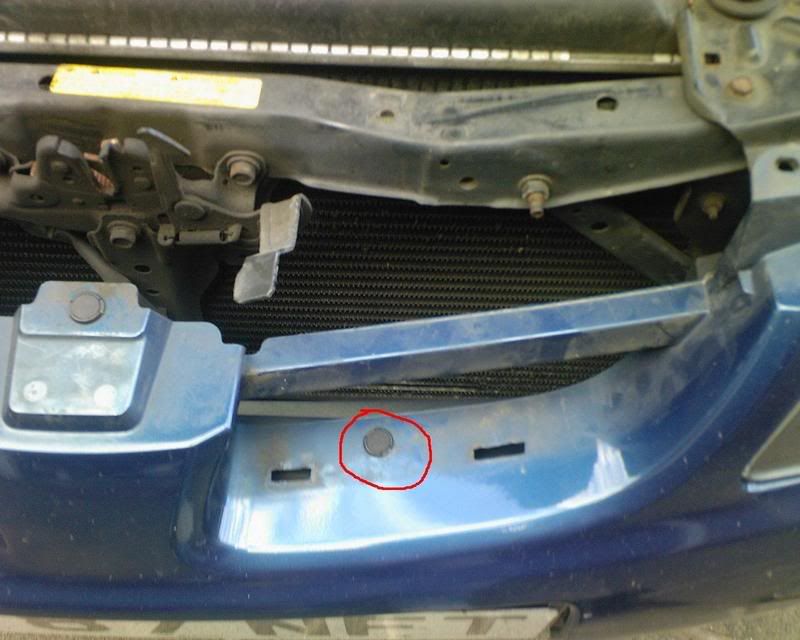
3) now they are all undone, gently pull the front towards you and up at the same time (it will be released), then undo the last 2 clips as pictured.
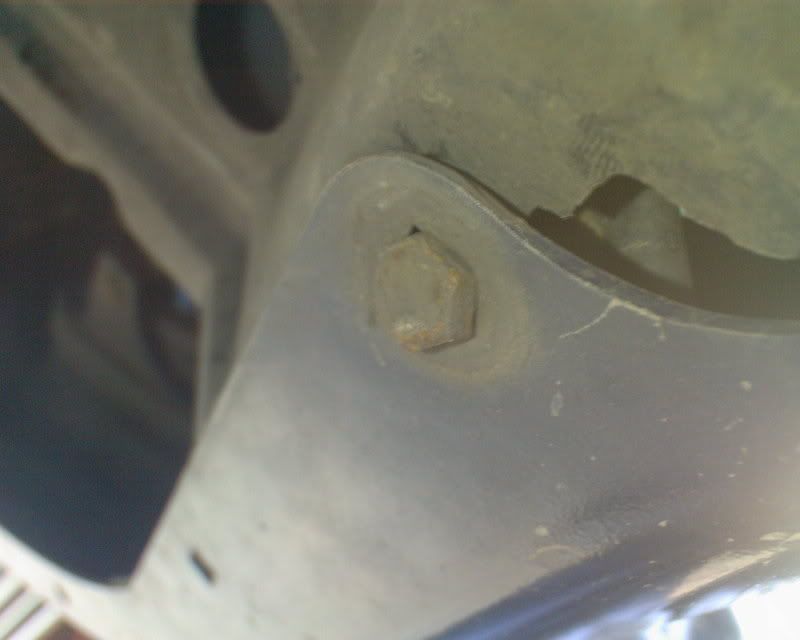
4) now all the front clips are undone turn the car on and full lock one way to expose the mud guard covers. If you feel under at the bottom (or stick your head under) you'll see/feel a screw or bolt, this needs to be undone
5) now pull back the cover and run your fingers up to where the bumper joins the wing ull feel another bolt, this needs to be undone
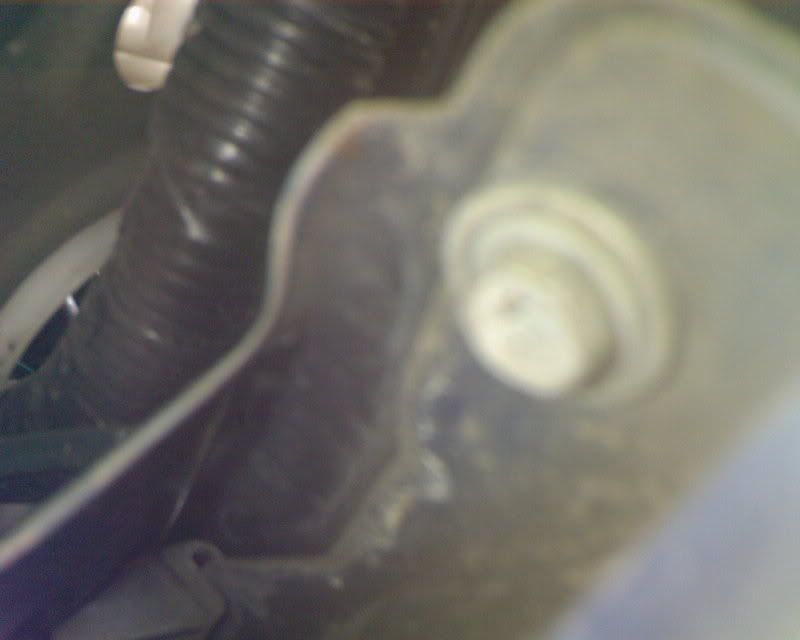
6) all the bolts are undone BARING 2, these are behind the old indicators. To remove these look at where the indicator and headlight joins and you should see a silver piece of plastic (clip) out of the back of it. squeeze the clip down and push towards you (this will release the indicator) dont forget to unclip the wiring aswell.
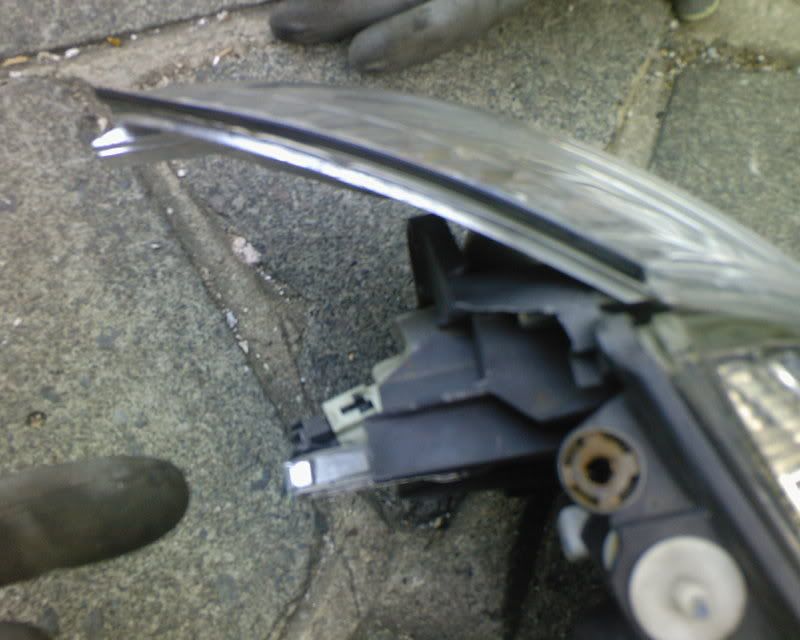
7) unfortunately i have removed these bolt holders but can show you where they are, it needs to be undone (you cant miss it once the indicator is undone and out). - its the bit where there is white paint.
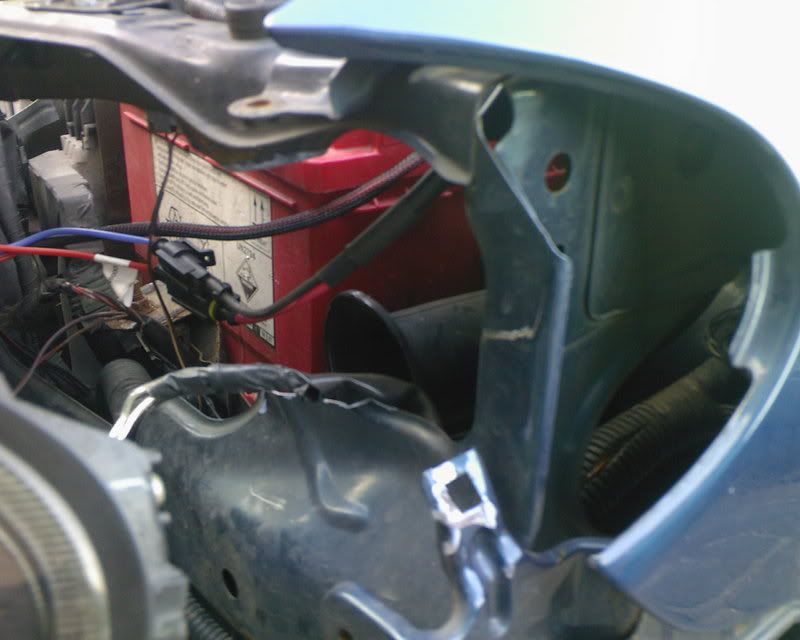
8) the only thing now holding the bumper on is gravity and 2 push clips under the bottom, get on ur back and look up (as if u were going under the car) you should see the clips (as pictured). These need to be undone.
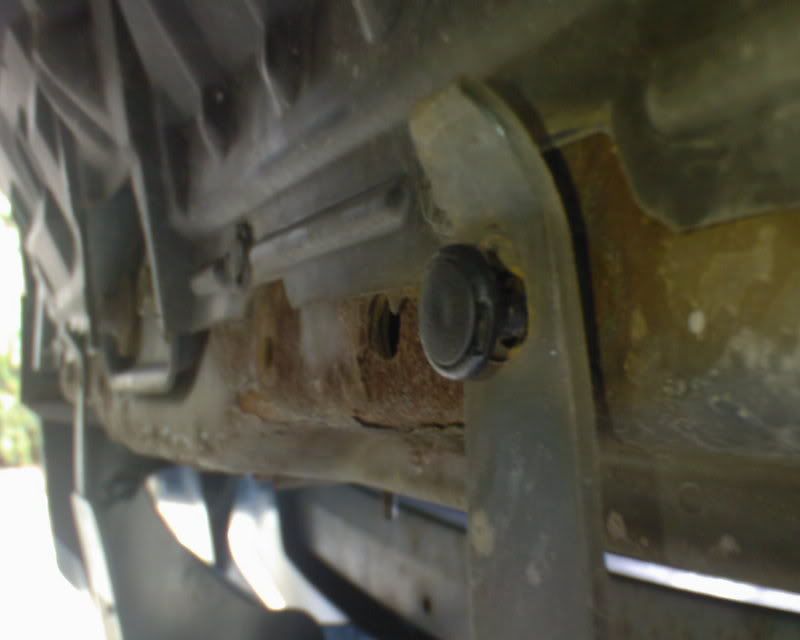
9) now preferably with some help each get a side of the bumper (by the wing) and pull up a tiny bit and out, this will unclip it from the side and off the car)
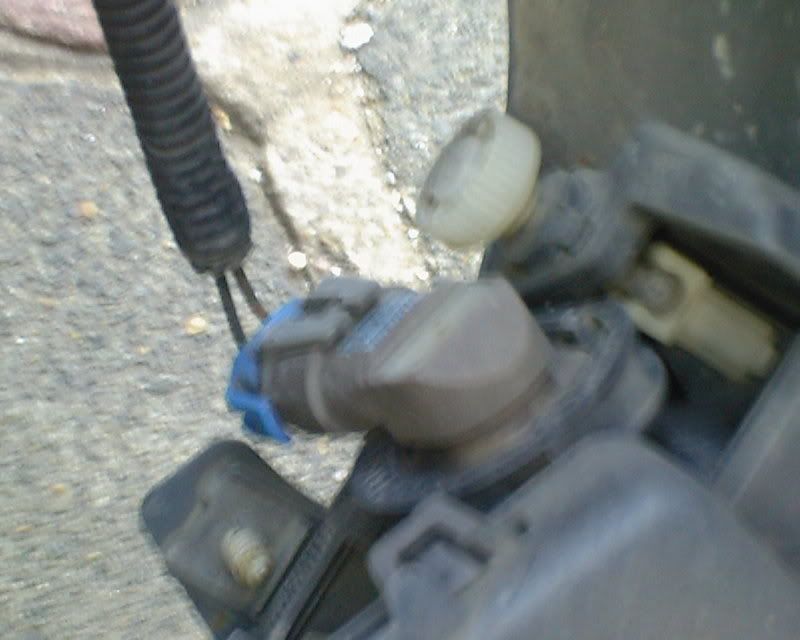
10) now the bumper is off if you have fogs ull see wiring thats still connecting the bumper to the car. unclip and away the bumper goes as per piccies.
 .
.
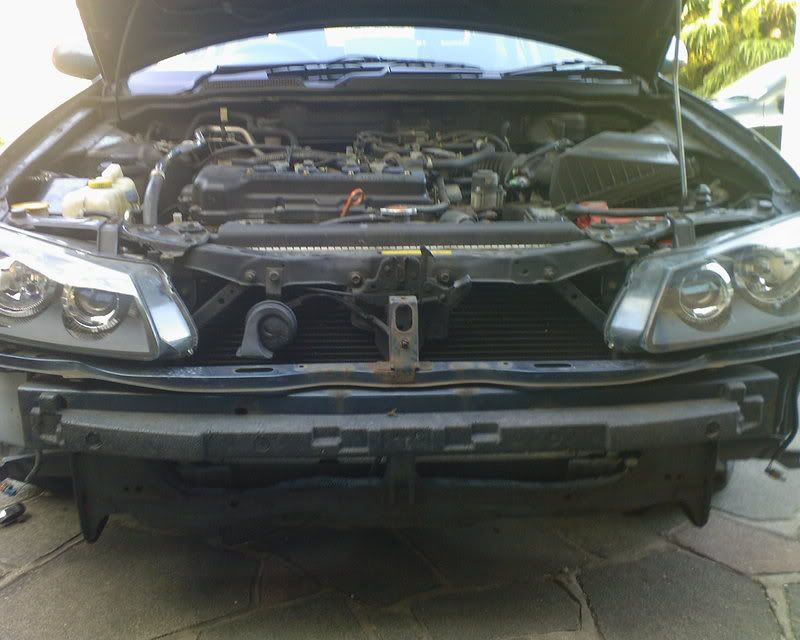
11) hopefully you will be left with something simular to this (baring the new lights)
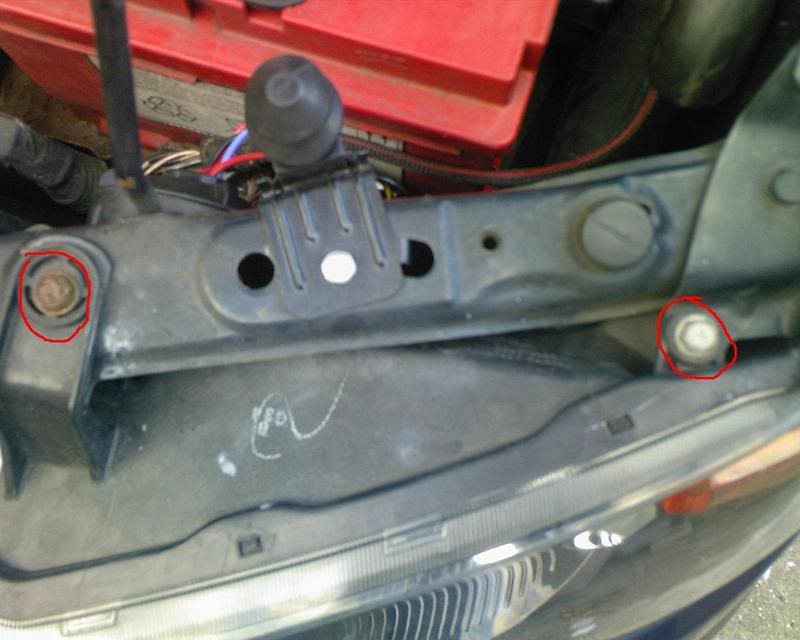
12) remember to now undo the old lights using the normal 10mm bolts
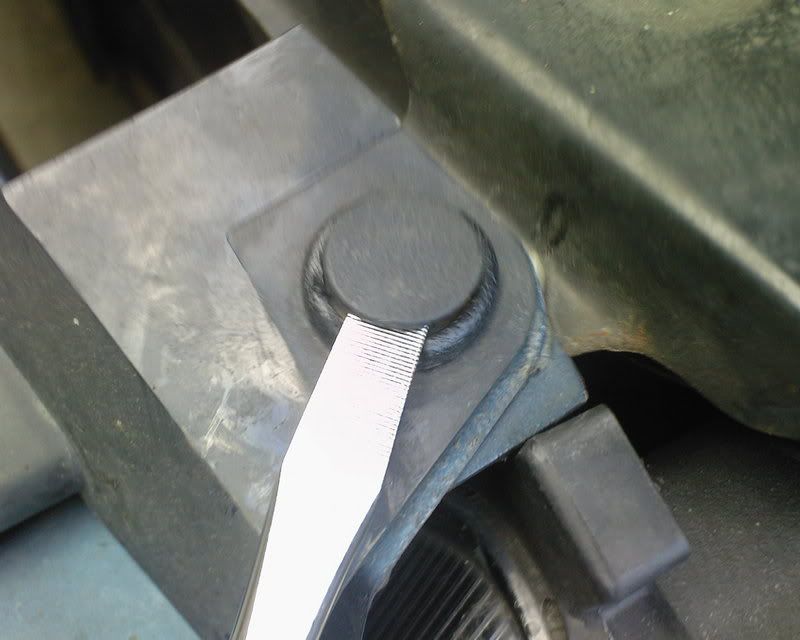
13) this is the scary bit for some people but i love to cut and chop things up the bar that goes between the 2 vertical pieces of metal (behind the headlight) which used 2 connect the light to the indicator needs to be cut out. for illustration purposes the screw driver is playing the part of the cut out metal
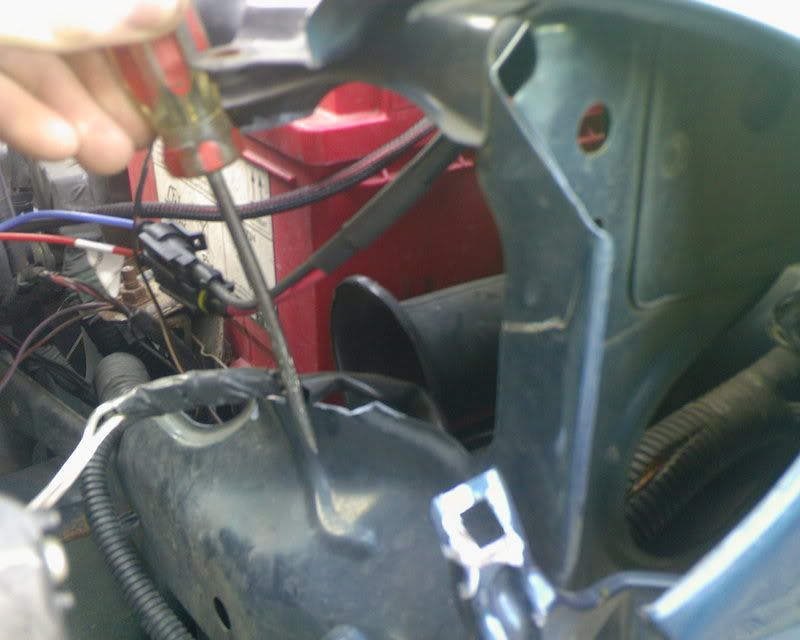
also the other square shape with paint on it needs to be hammered in slightly (it fouls on the new light cluster)
14) last bit of cutting is on the side of the bumper where the bolt holding it up under the indicator went, this needs to be removed, again as it fouls on the side of the new clustor
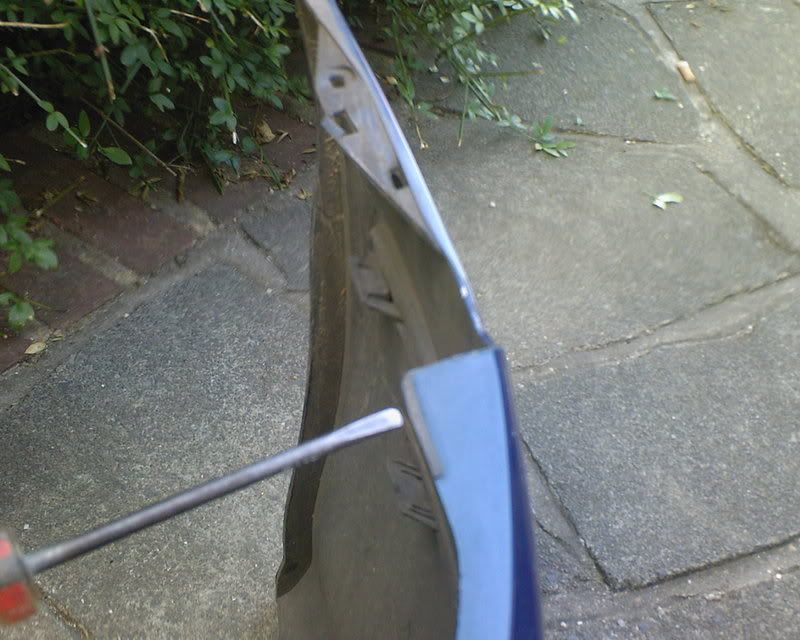
guess what your all done with modification APART from the wiring,
you can now trial fit the new lights, (remember no plugs will go straight in)
IF you wanted to put the bumper back on just to see wot it looks like follow back from step10ish
hope it helps out a bit, and ill post up sum wiring diagrams and pics in the nxt few days for you.
*some pics included for diagram purposes* (sorry bout the quality - was using my phone)
wiring diagram will be added later. so lets crack on......
1) unlock car and open bonnet
2) undo the little black clips (pictured and ringed below)


3) now they are all undone, gently pull the front towards you and up at the same time (it will be released), then undo the last 2 clips as pictured.

4) now all the front clips are undone turn the car on and full lock one way to expose the mud guard covers. If you feel under at the bottom (or stick your head under) you'll see/feel a screw or bolt, this needs to be undone

5) now pull back the cover and run your fingers up to where the bumper joins the wing ull feel another bolt, this needs to be undone

6) all the bolts are undone BARING 2, these are behind the old indicators. To remove these look at where the indicator and headlight joins and you should see a silver piece of plastic (clip) out of the back of it. squeeze the clip down and push towards you (this will release the indicator) dont forget to unclip the wiring aswell.

7) unfortunately i have removed these bolt holders but can show you where they are, it needs to be undone (you cant miss it once the indicator is undone and out). - its the bit where there is white paint.

8) the only thing now holding the bumper on is gravity and 2 push clips under the bottom, get on ur back and look up (as if u were going under the car) you should see the clips (as pictured). These need to be undone.

9) now preferably with some help each get a side of the bumper (by the wing) and pull up a tiny bit and out, this will unclip it from the side and off the car)
10) now the bumper is off if you have fogs ull see wiring thats still connecting the bumper to the car. unclip and away the bumper goes as per piccies.

11) hopefully you will be left with something simular to this (baring the new lights)

12) remember to now undo the old lights using the normal 10mm bolts

13) this is the scary bit for some people but i love to cut and chop things up

also the other square shape with paint on it needs to be hammered in slightly (it fouls on the new light cluster)
14) last bit of cutting is on the side of the bumper where the bolt holding it up under the indicator went, this needs to be removed, again as it fouls on the side of the new clustor

guess what your all done with modification APART from the wiring,
you can now trial fit the new lights, (remember no plugs will go straight in)
IF you wanted to put the bumper back on just to see wot it looks like follow back from step10ish
hope it helps out a bit, and ill post up sum wiring diagrams and pics in the nxt few days for you.
