Suteki Vent help

Can one of the admin please look at this link http://www.almeraownersclub.com/newforums/showthread.php?t=8994
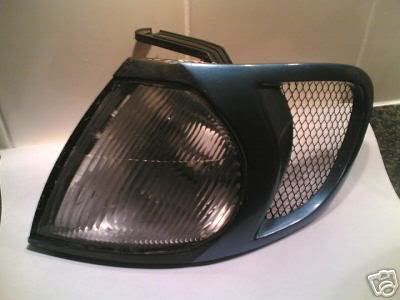
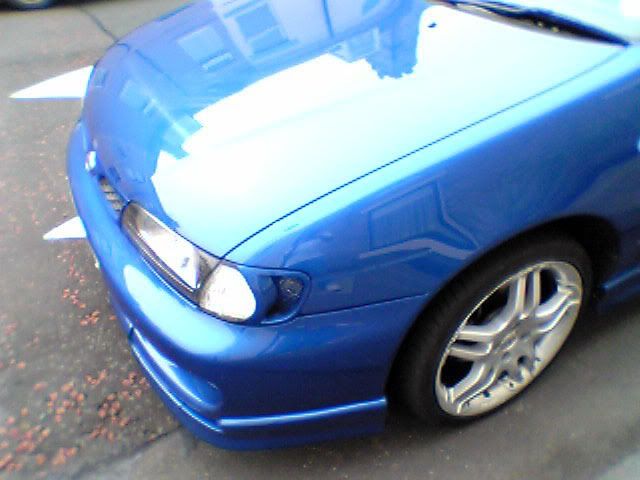
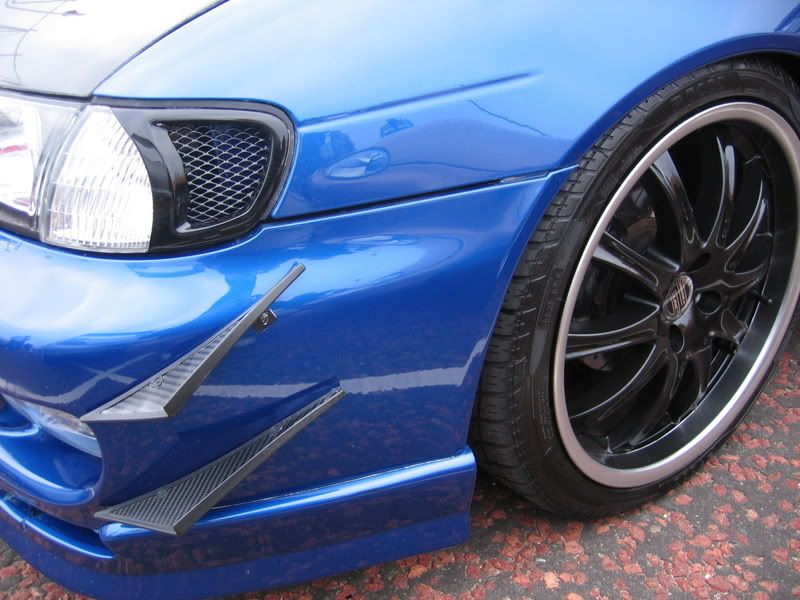
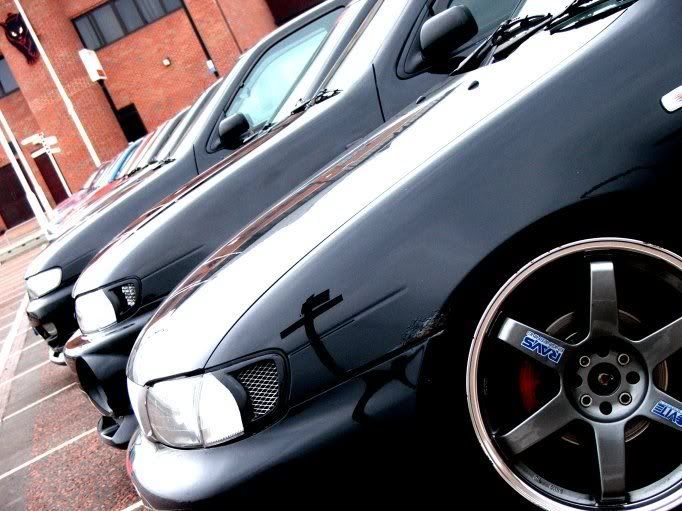
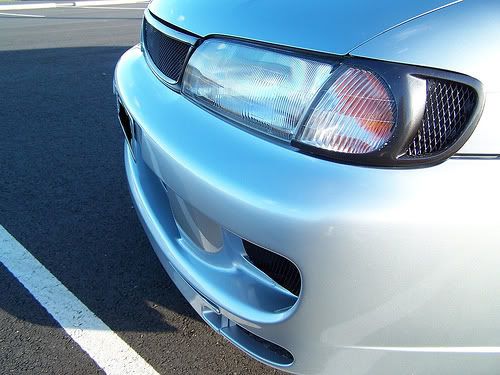
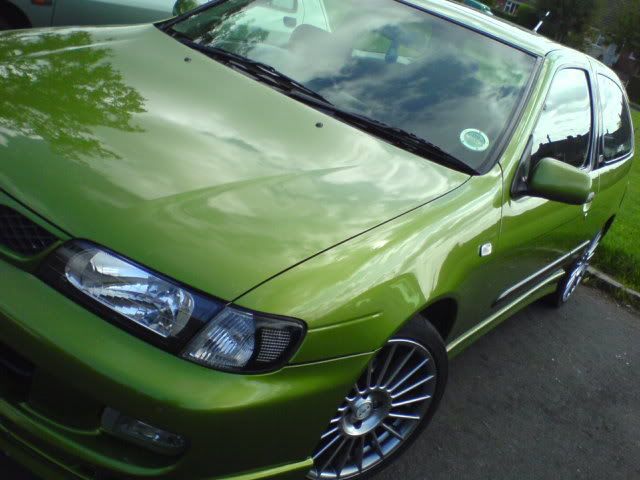
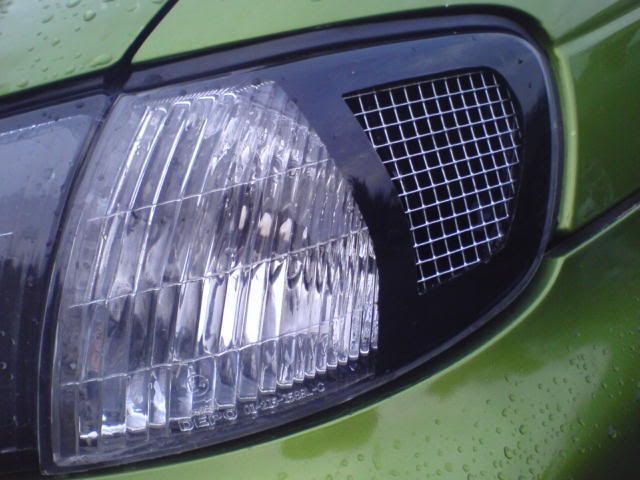
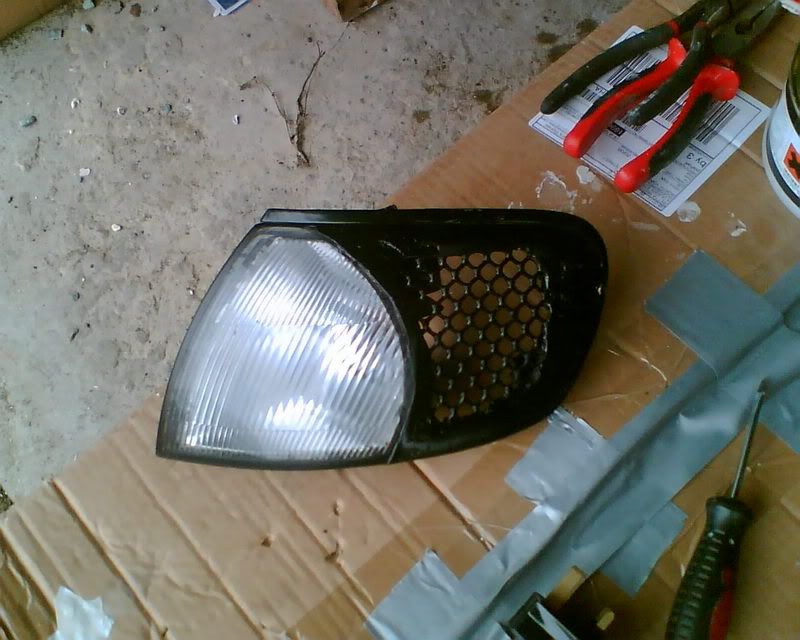
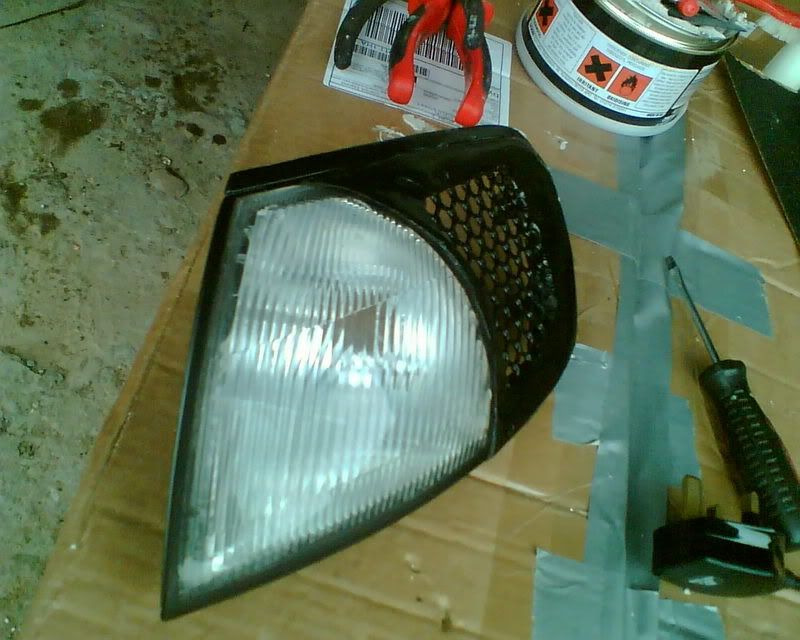
and see if its got any pictures i could use. it could be none existant but it was posted on this thread http://www.almeraownersclub.com/newforums/showthread.php?t=8989&highlight=suteki . Im making my own suteki indicator and am trying to source as many images of a genuine suteki as possible so i make something that looks ok! If anyone else can find some good pics (only ones ive found on here aren't brilliant) feel free to post here!
 
ok.. here's what i can provide thanks to this forum and others....

sorry there's only a few pics but i tried to get diff angles on it..

suteki_vent.jpg


picture006.jpg


IMG_6832.jpg


sDscf3408.jpg


395103420_069b8cb30f.jpg


and here's a homemade one from someone on this forum whose username escapes me..

DSC00014.jpg


DSC00078.jpg
 
cheers dude. they look amazing compared to how mines turning out hahaha but lookily ive done mine on a spare indicator i had to practice on so if end result is appauling i dont have to worry. Dont suppose you can get hold of these shiny?
 
yeah i saw that mate, looks good. Ive used filler on mine but its not really worked well with the mesh. Whats the vynyl type stuff you've put around yours?
 
one just sold here in aussie... first one i've ever seen...


suteki is def aftermarket and I guess it has to be a UK based product as I've never seen that idea on any Jap car nor any other car other than UK ones...

looks like you guys are on your own but some awesome DIY mods as shown by tla and jockrock!! tops work!
 
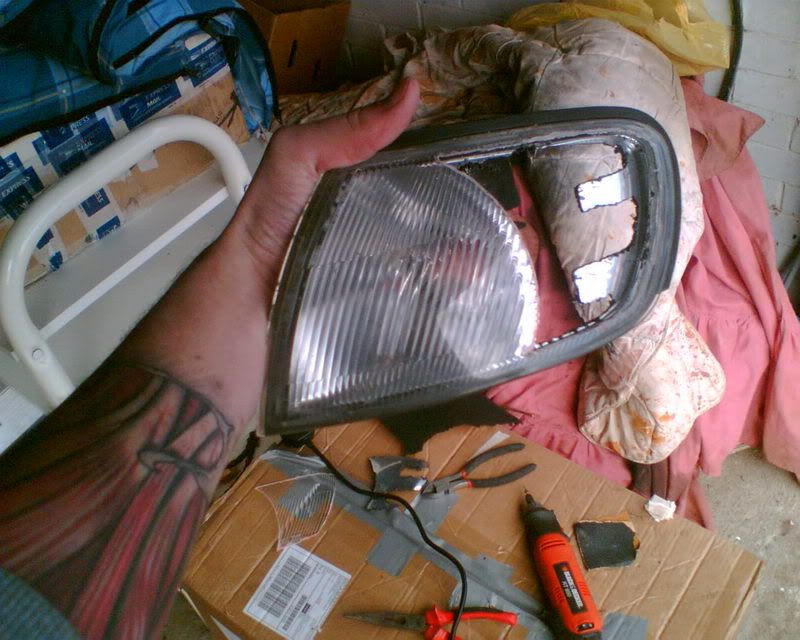
Well here's my finished practice. If i'd have spent more time fillering and smoothing it might have looked half decent, but it looks shite. Im gunna have to come up with a new way of making this look good. Tempted to get a friend involved and try and make a plastic mould!!
Image035-2.jpg

Image037-2.jpg

Image038-1.jpg
 
Simcard said:
Well here's my finished practice. If i'd have spent more time fillering and smoothing it might have looked half decent, but it looks shite. Im gunna have to come up with a new way of making this look good. Tempted to get a friend involved and try and make a plastic mould!!
Image035-2.jpg

:eek:

How big are your thumbs? :lol:

I'm no where near confident to try this.........and my cold air vent is sticking out of my fog light.
 
GTi kurt said:
:eek:

How big are your thumbs? :lol:

I'm no where near confident to try this.........and my cold air vent is sticking out of my fog light.
I'm 6ft 4 so i think they're probably in proportion lol. I'm gunna attempt to do my other indicator today for another practice. just trying to find out now where i can get thin yet strong perspex or plastic sheet. Hopefully if i bodge up a design, a mould of that should look ok.
 
i had to look at that picture for atleast a minute then i realised its a normal sized thumb cus the joint thats nearly at 90 degrees is the joint nearest the plam of your hand lol

btw love that tattoo!

where did you use the filler, to seal the unit from rain and dirt?

did you keep all the wing mounts from the first pic where the strips of silver are sticking out, if so you dont need them, you can cut them right back to open up the air gap as the actual part where it presses into the wing isnt affected and still stays strong.
 
Simcard said:
what materials did you use? still got the design or mould copy?

filler and wet and dry mate, takes a long time to get the curves right and the little damn air bubbles out of the filler to get the paint right, hence why I havent made any more, and why I said some one else was making them in the vain attempt to stop people pestering me for them lol, it didnt work.
 
cov_racer said:
i had to look at that picture for atleast a minute then i realised its a normal sized thumb cus the joint thats nearly at 90 degrees is the joint nearest the plam of your hand lol

btw love that tattoo!

where did you use the filler, to seal the unit from rain and dirt?

did you keep all the wing mounts from the first pic where the strips of silver are sticking out, if so you dont need them, you can cut them right back to open up the air gap as the actual part where it presses into the wing isnt affected and still stays strong.
Cheers boss! No i got rid of most of the wing mounts so they didnt show through the hole. I used the filler to seal the indicator between the lens side and the cutout side so it would have been completey sealed. I dotn want to use filler anymore though. Its too faffy for my liking i dont have the patience. I think it would be really cool if somehow i find a local company that can heat shrink some form of perspex or plastic to the shape of the indicator then it'd be a simple case of cutting off the unwanted parts and glueing it to the indicator. If you get where i'm coming from. I really want a mould to be available for those of us that want it. All you'd have to do is bodge your own cut out job and glue what mesh you want behind it all.... I'll let you all know how i get on with this idea!
 
Back
Top Bottom