You are using an out of date browser. It may not display this or other websites correctly.
You should upgrade or use an alternative browser.
You should upgrade or use an alternative browser.
EDK Bumper MKII - COMPLETED!
- Thread starter edk
- Start date
Feels like the hone stretch now 
Skirts and rear bumper

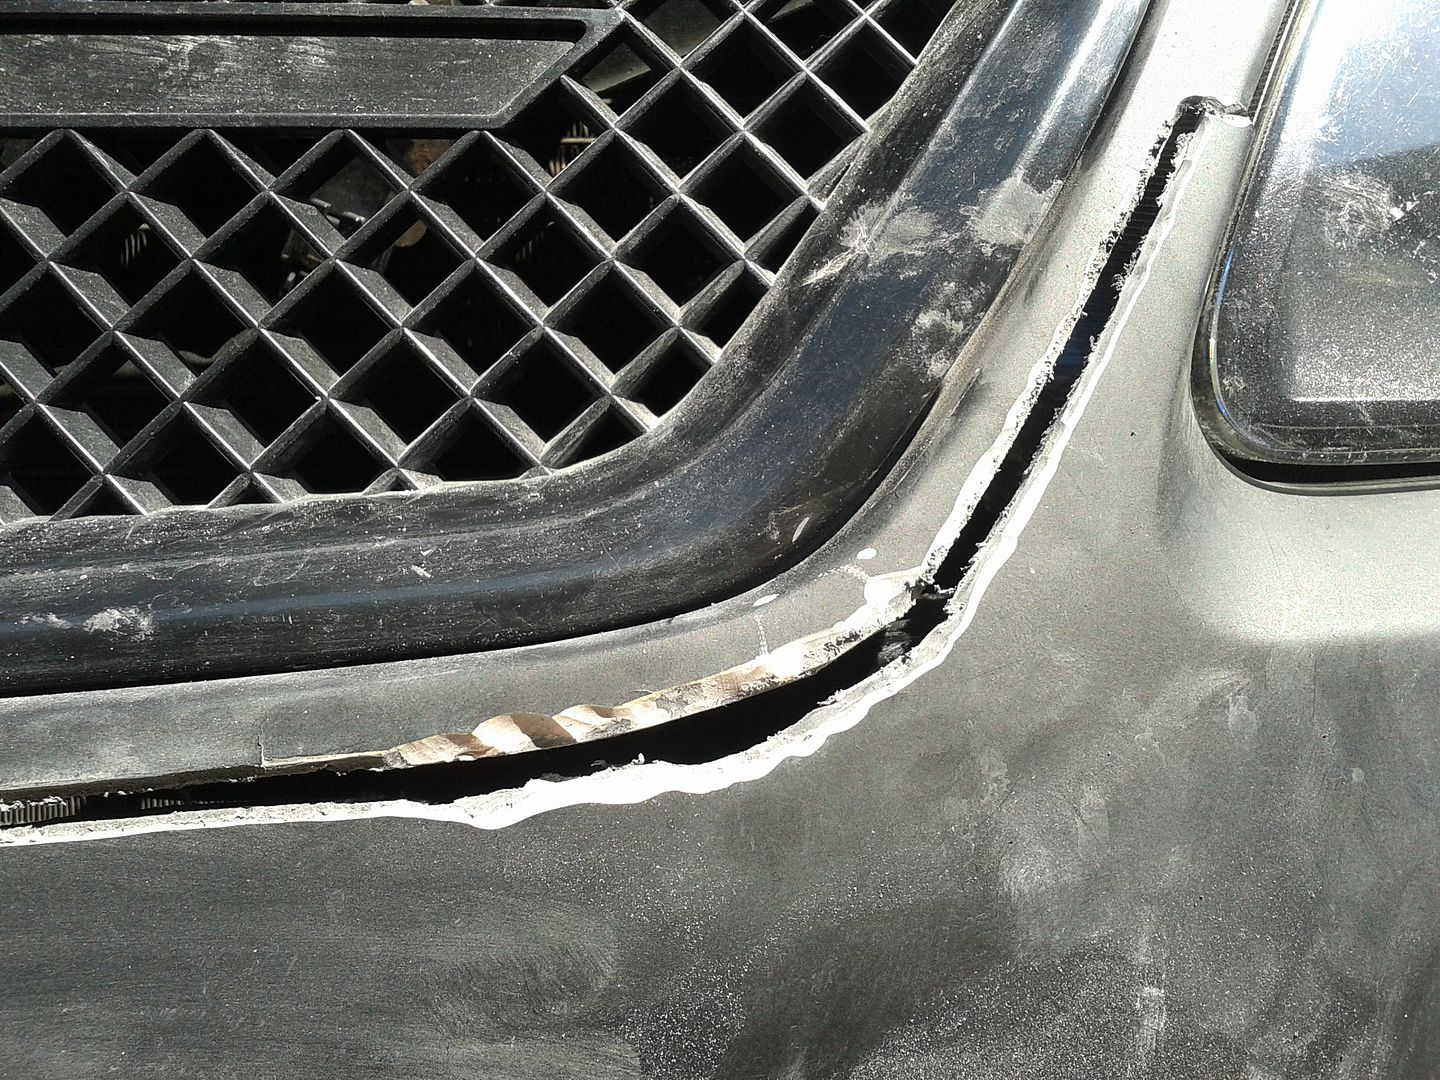
Fixing the front bumper. The left grille mount was under a lot of tension when secured so needed to move that side back and up a bit.
Cut. You can see how it's automatically lifted showing how much it was under tension.
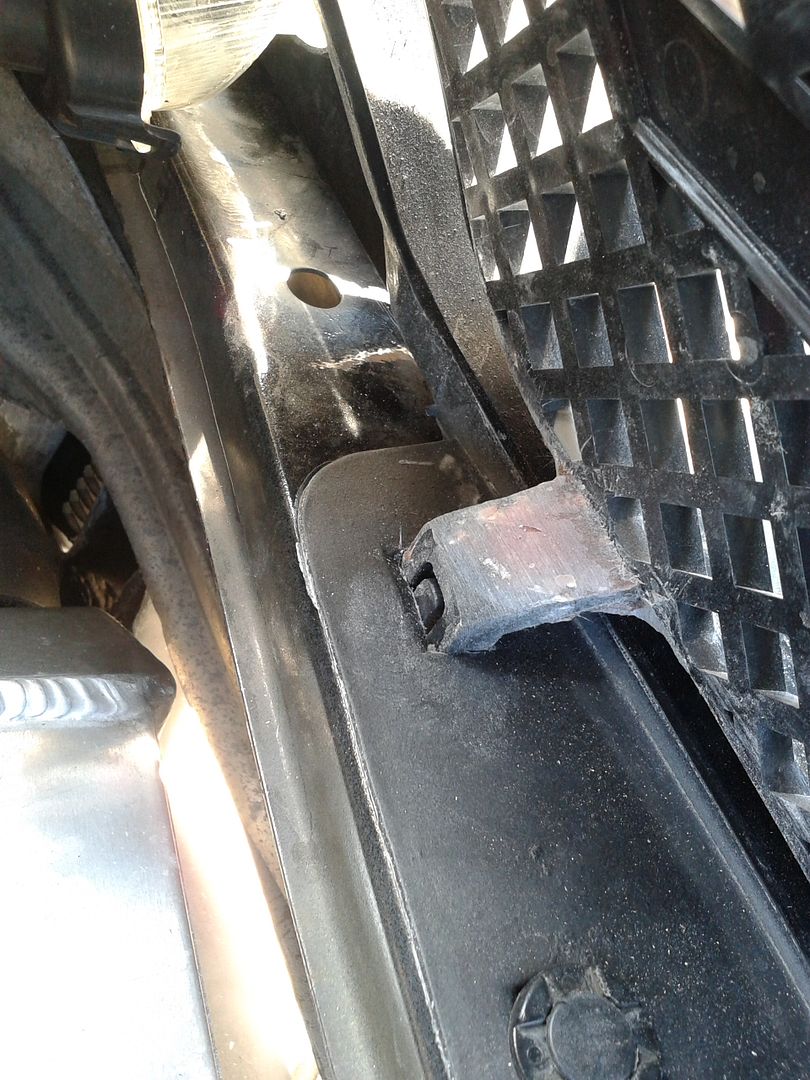
Also fixed the left grille locator that got broken in transit from Malaysia. Secured on the underside with fibreglass.
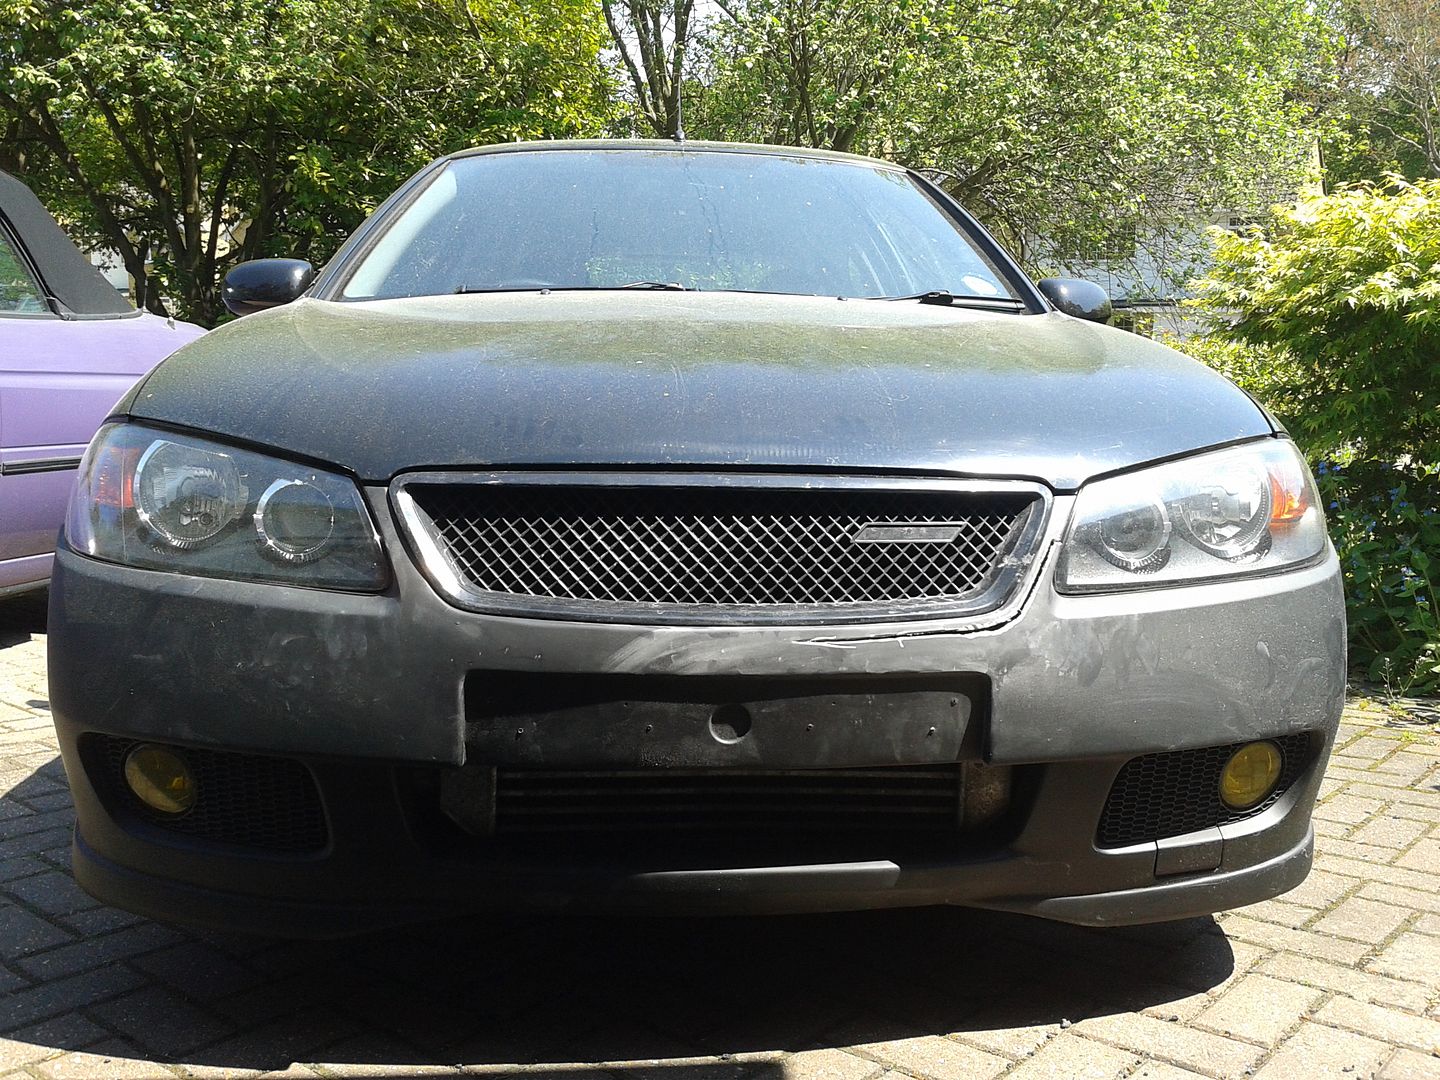
Checking grille/bumper/bonnet alignment. All good.
Locating holes to make the bond between parts stronger. A great tip from my bodywork guys at JD Modified. Especially when putting fibreglass on plastic.
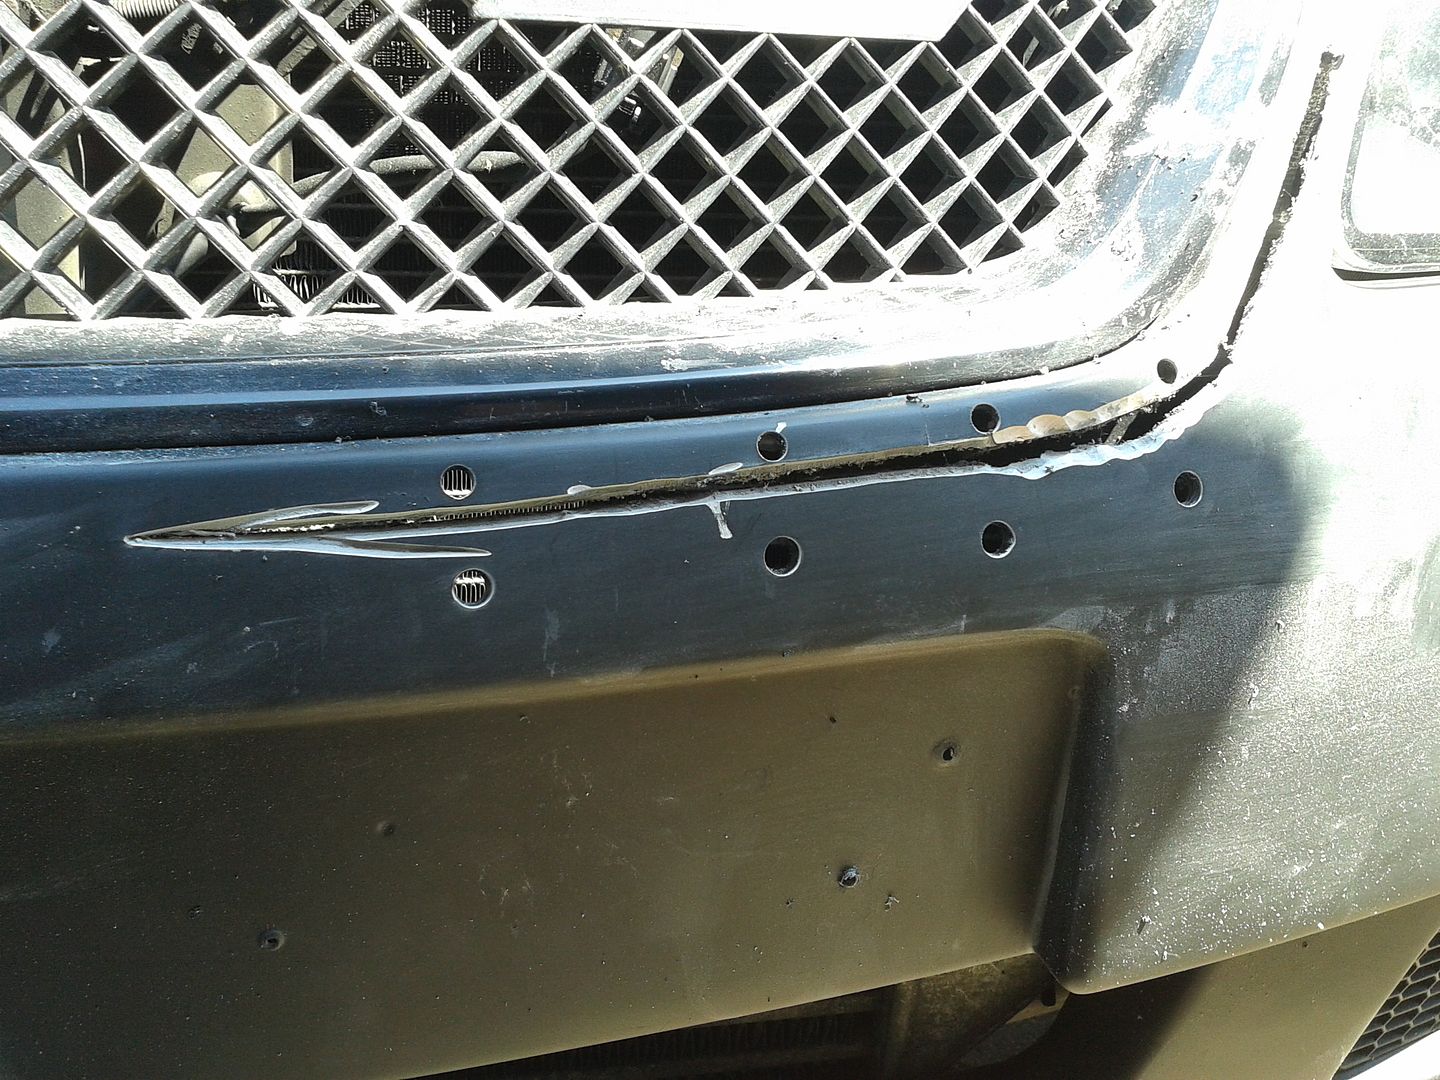
Fibreglass paste applied. held it in place while it set. Will remove bumper tomorrow and fix up the back with ali mesh too. Had to stop to go to work.
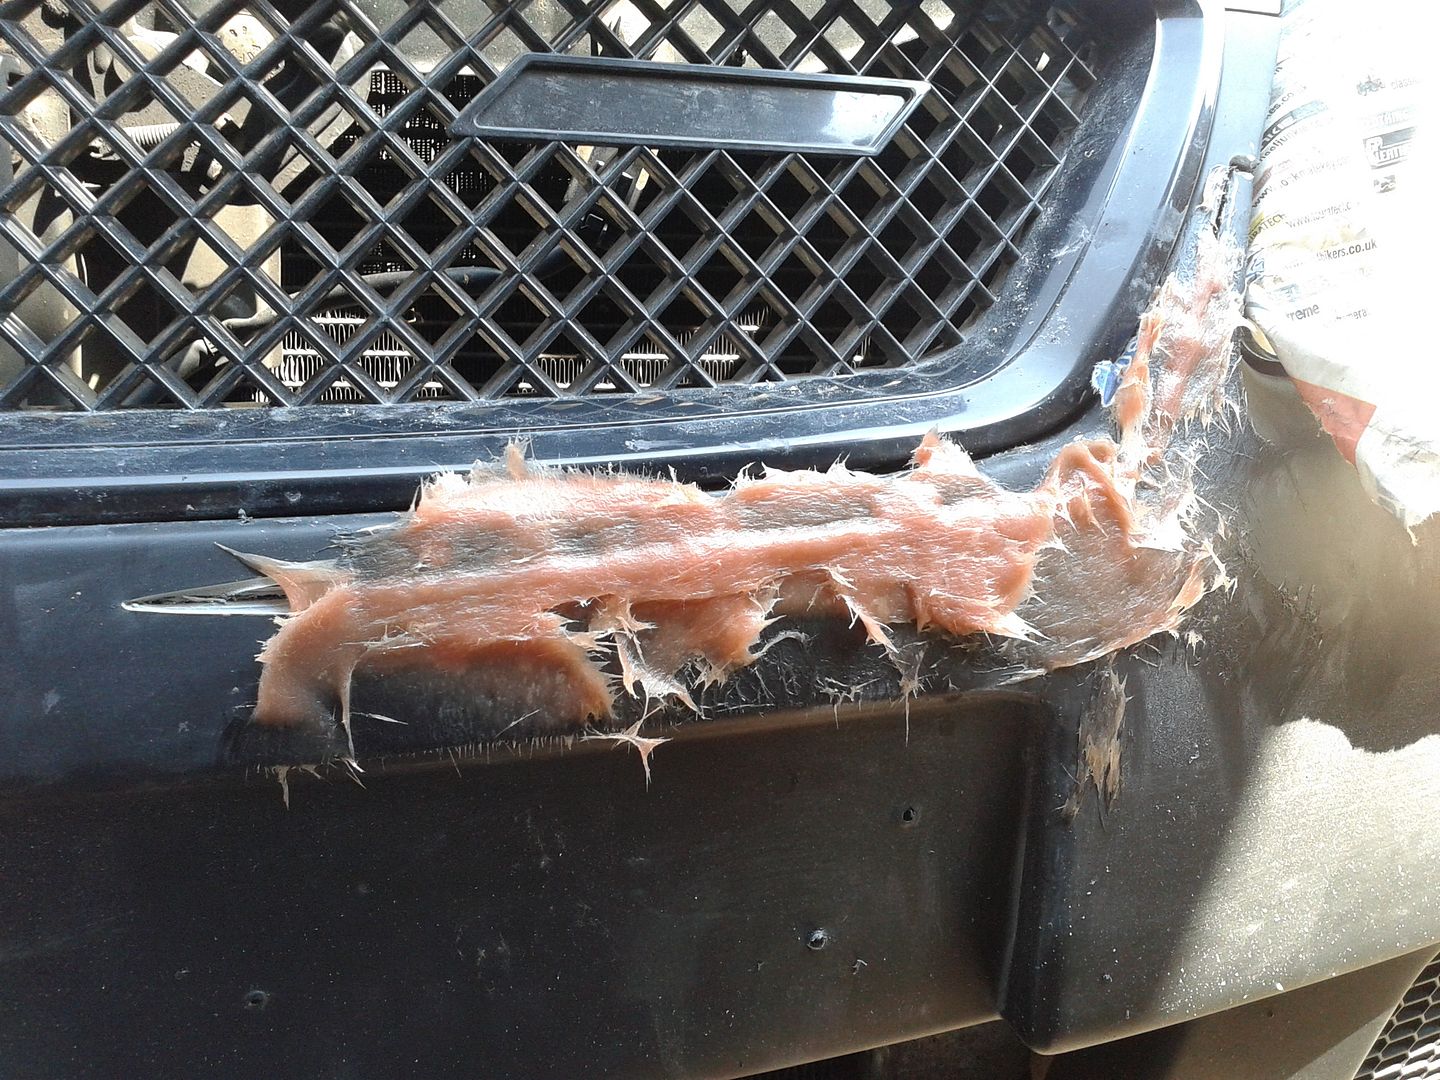
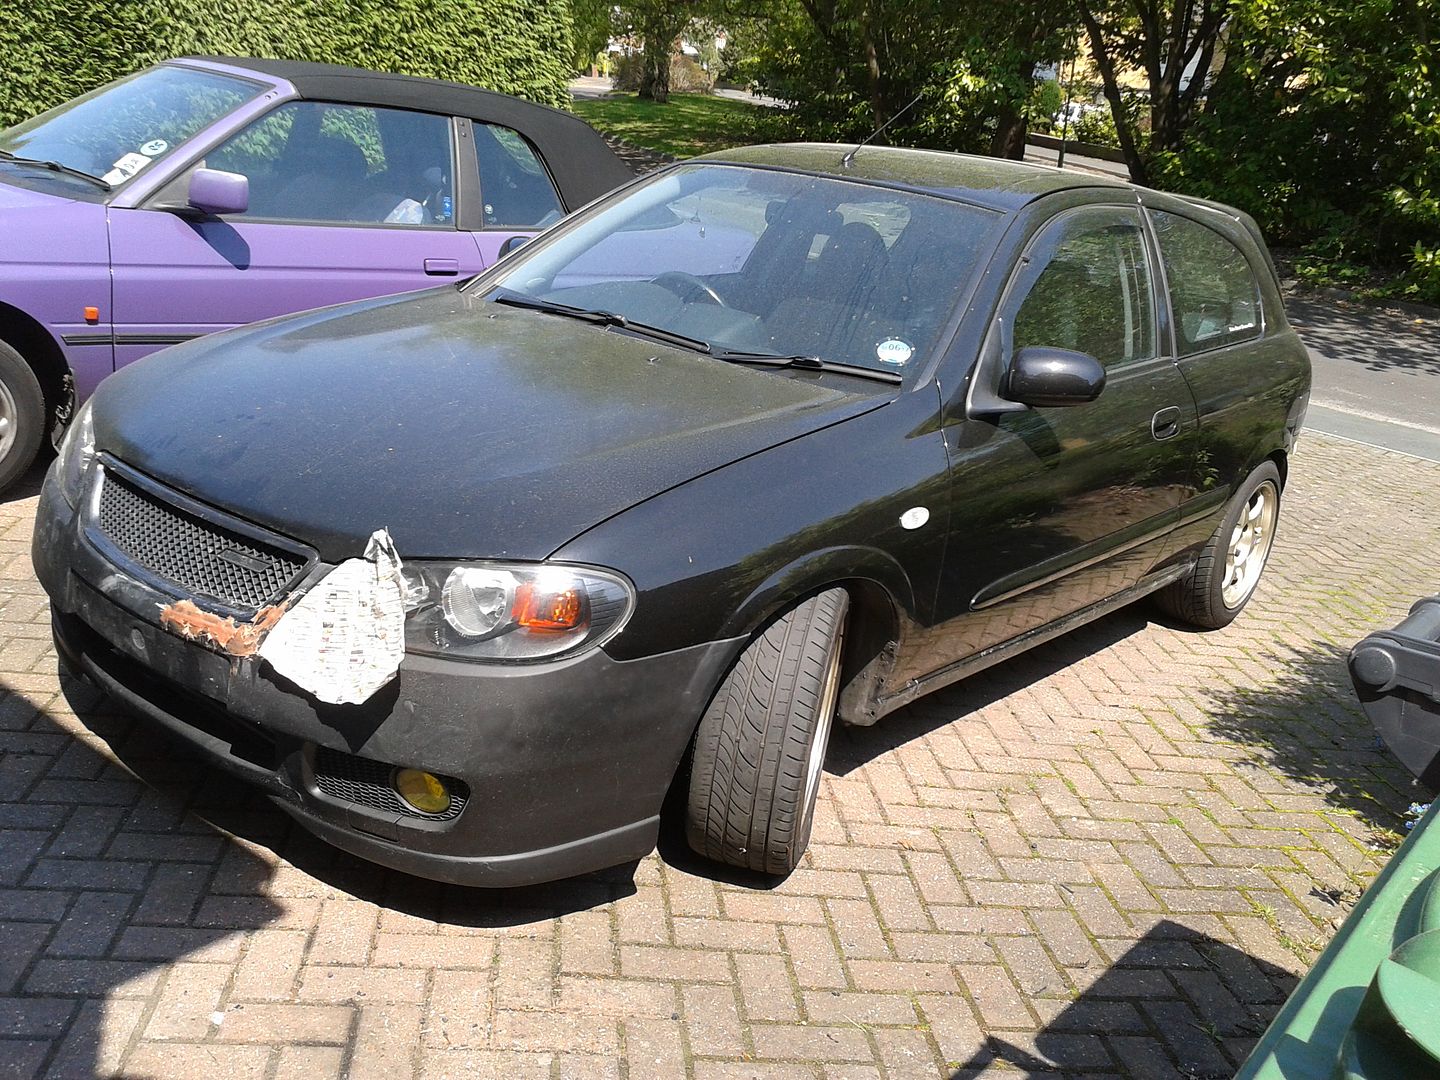
Looking sorry for itself with no skirts and unfinished bumper.
Skirts and rear bumper

Fixing the front bumper. The left grille mount was under a lot of tension when secured so needed to move that side back and up a bit.
Cut. You can see how it's automatically lifted showing how much it was under tension.

Also fixed the left grille locator that got broken in transit from Malaysia. Secured on the underside with fibreglass.

Checking grille/bumper/bonnet alignment. All good.

Locating holes to make the bond between parts stronger. A great tip from my bodywork guys at JD Modified. Especially when putting fibreglass on plastic.

Fibreglass paste applied. held it in place while it set. Will remove bumper tomorrow and fix up the back with ali mesh too. Had to stop to go to work.

Looking sorry for itself with no skirts and unfinished bumper.

nice work bud, looks like your nearly there 
....phone....
....phone....
looking good dude 
Yeah I know what you mean mate but I think like you say it'll be a whole lot better when it's sprayed. Don't forget all that area is stock anyway so it's not going to look bad. Also with the number not there is does look a little blank, and the wide angle closeup show and the shadow cast on the lower part of the bumper... lol so it's not a flattering photo! Once it's all lacquered up it'll pick up the light and give it more depth :Thumbs:
Thanks mate, it's certainly been a hard slog, but with the end in sight I feel now it'll be worth it. I can't help but look at old pics of the grey car's version though and think how good that looked, so I do hope this'll be an improvement.
Thanks mate, it's certainly been a hard slog, but with the end in sight I feel now it'll be worth it. I can't help but look at old pics of the grey car's version though and think how good that looked, so I do hope this'll be an improvement.
The fiberglass through the holes ready to bond with a layer on the back.
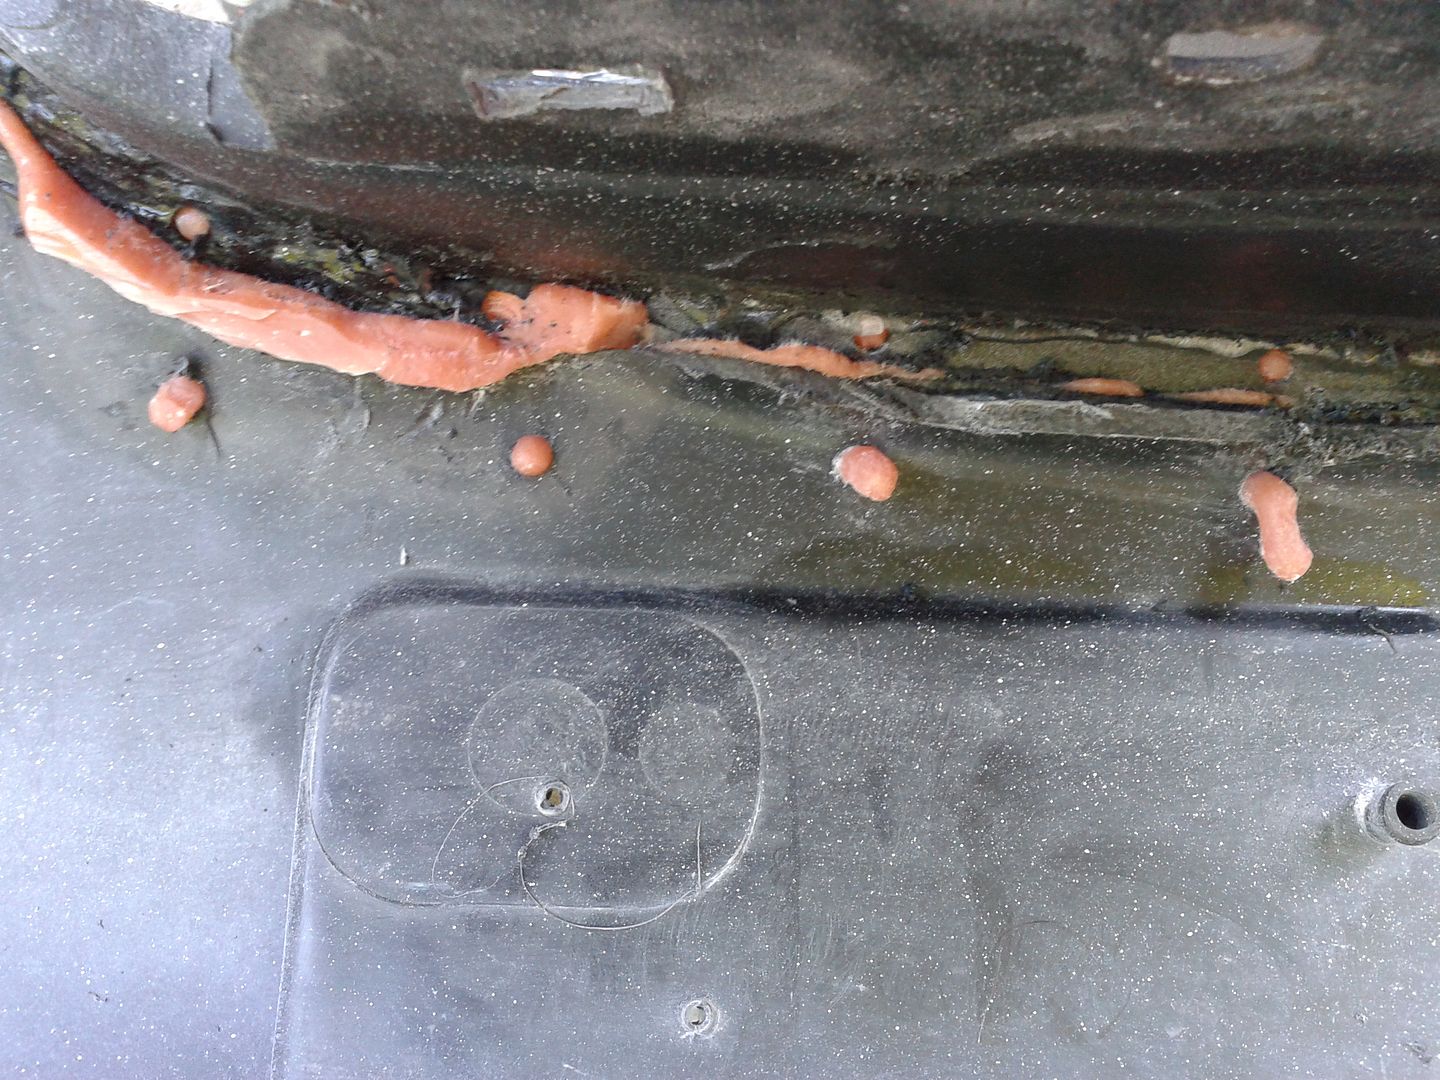
Mesh and fiberglass applied then left fixed to car to cure.
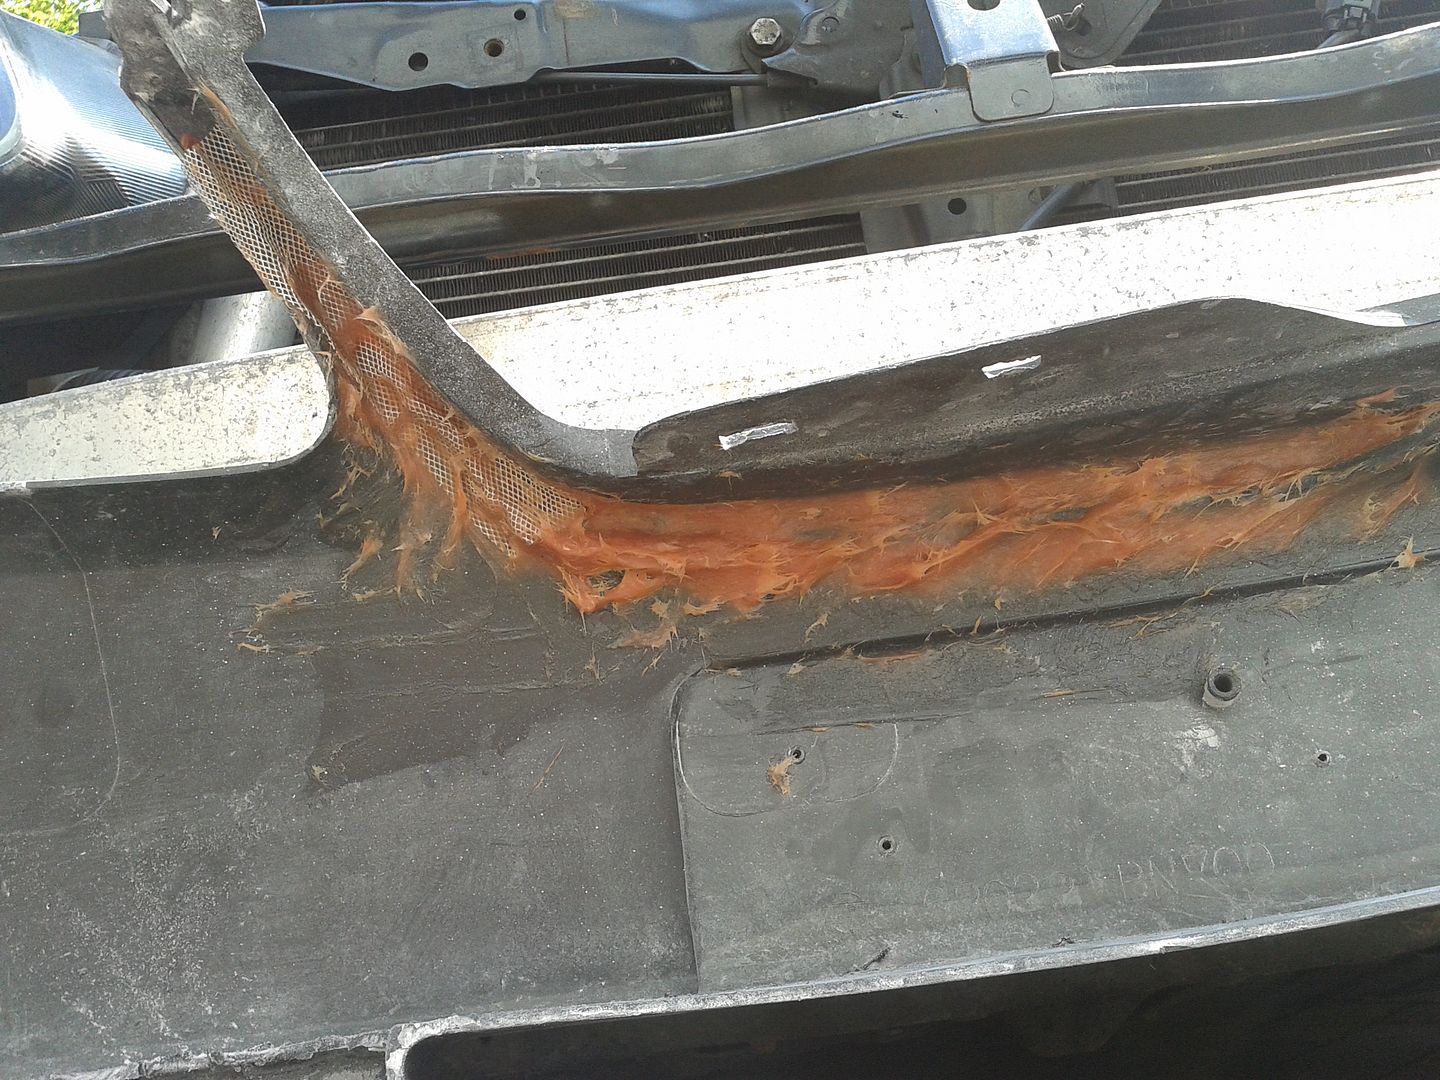
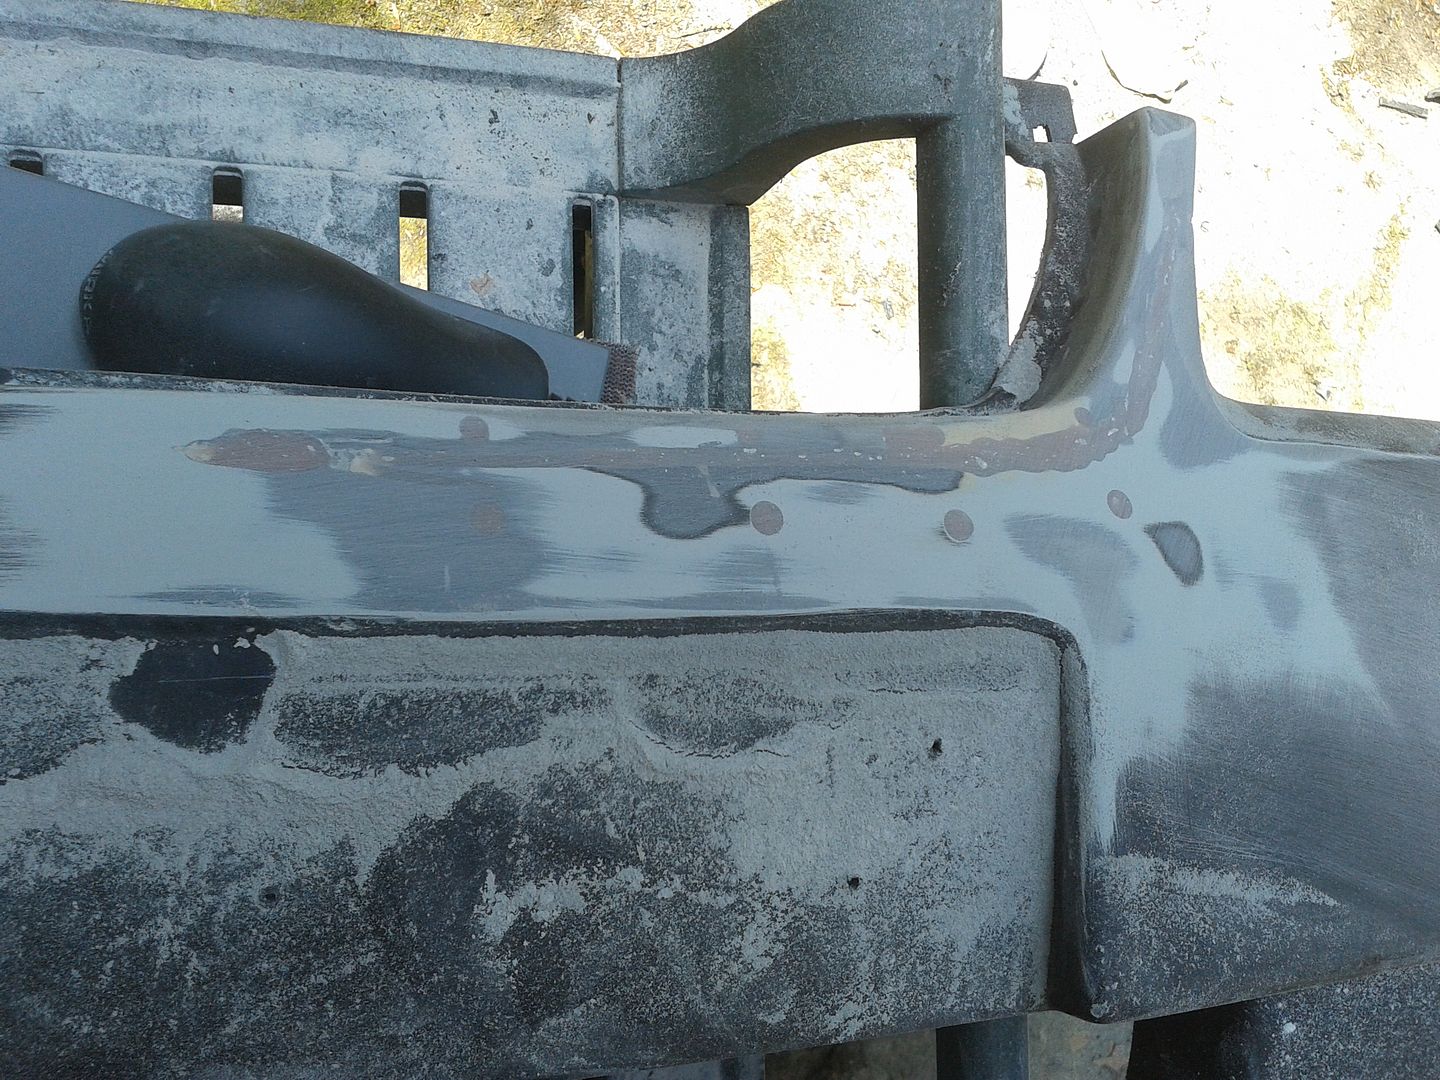
All smoothed off on the front ready for a thin layer of filler. Got some more Plastic filler from Wayside in the post today
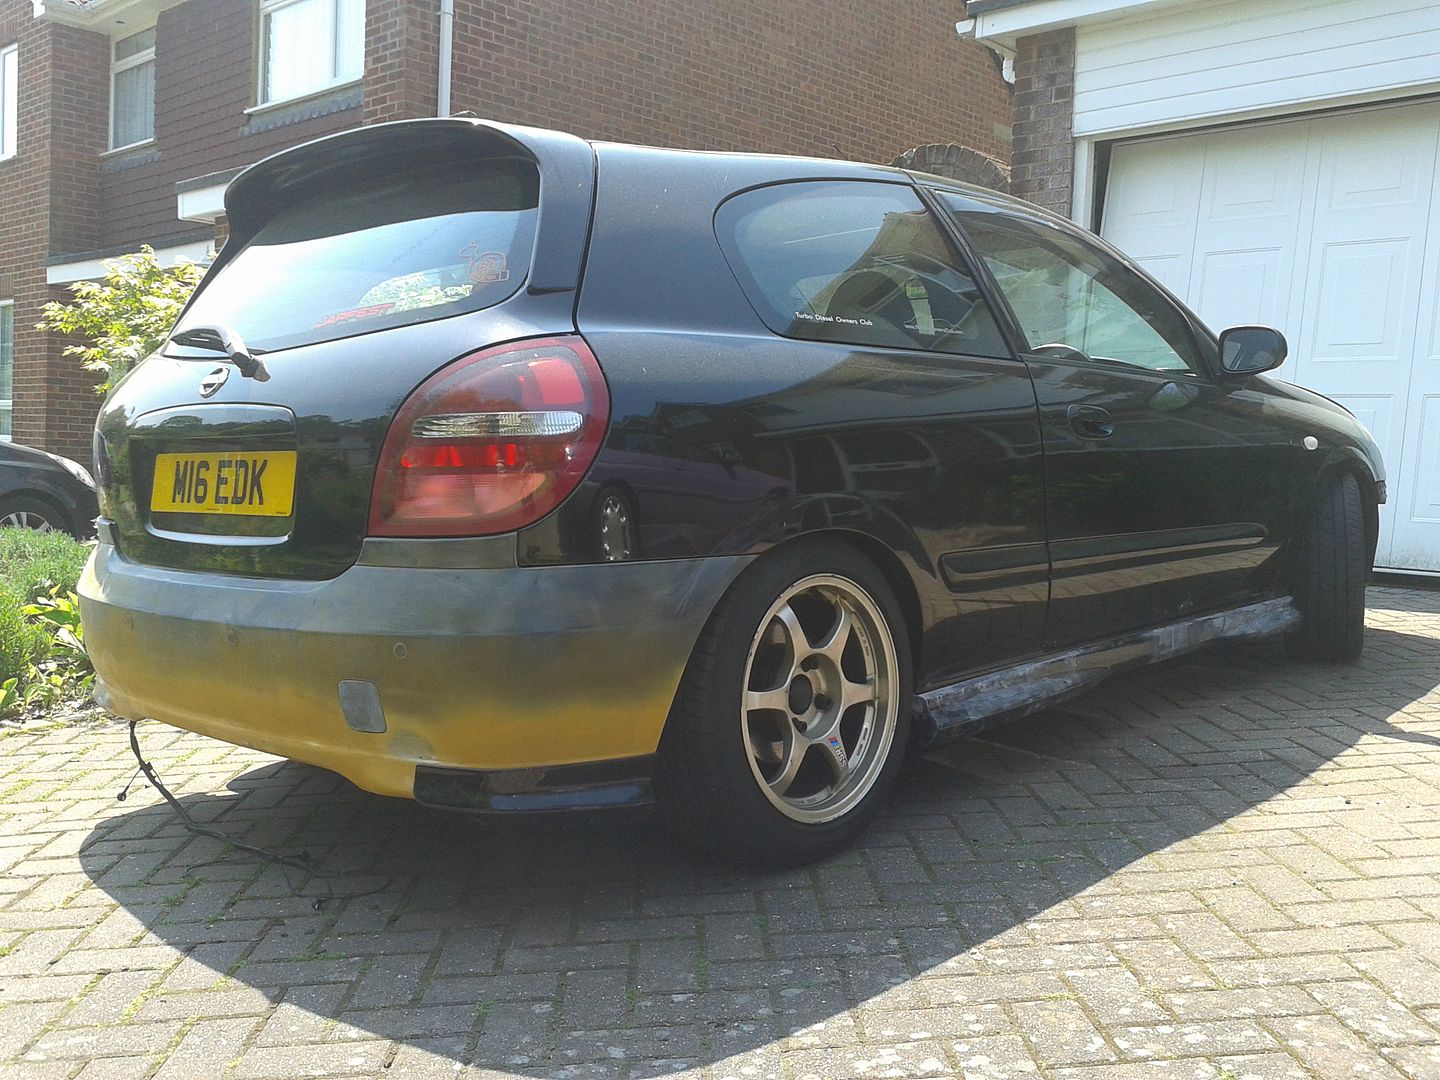
Car taking shape
Thanks for looking ;-)
-phone-

Mesh and fiberglass applied then left fixed to car to cure.

All smoothed off on the front ready for a thin layer of filler. Got some more Plastic filler from Wayside in the post today

Car taking shape

Thanks for looking ;-)
-phone-
this gets better with every update. pure dedication there!
quick question ed, on the ph2 rear are the inserts below the light clusters part of the bumper, or have you bonded them on?
Very impressive Ed - the whole design's looking much more cohesive now :Thumbs:
EdK customs 
Looks bloody amazing mate! Can't wait for it to be painted up now...
Looks bloody amazing mate! Can't wait for it to be painted up now...


