Haha okie dokie.
It's a bit of a novel, but here goes...
It’s been just over a year since I did the front power window write-up, so I thought It was time to convert to rear power windows and do the appropriate write-up.
N15 Power Rear Window Conversion.
Please only use this tutorial as a guide. I do not accept any responsibility for problems or breakages that may occur as a result of this tutorial. PLEASE READ THROUGH THOROUGHLY BEFORE ATTEMPTING. If in doubt, do not attempt.
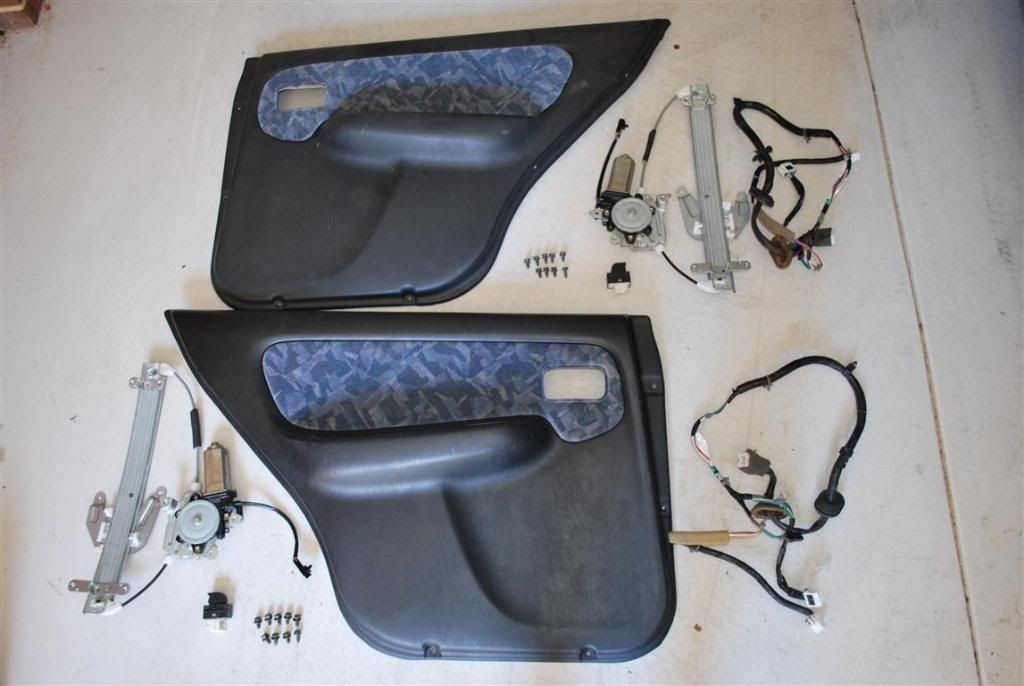
1 Parts you will need:
Rear Door Trims with Power Switches
Rear Door Wiring Looms
Rear Power Window Regulators with Power Motors
Tools you will need:
No. 2 Philips screwdriver
10mm socket with small extension bar
Small Flat screwdriver
About a meter of twine or string/another set of hands
12v power tool battery or the like
2x small lengths of jumper cable with small alligator clips (to power/adjust the regulators throughout the conversion)
An hour or two.
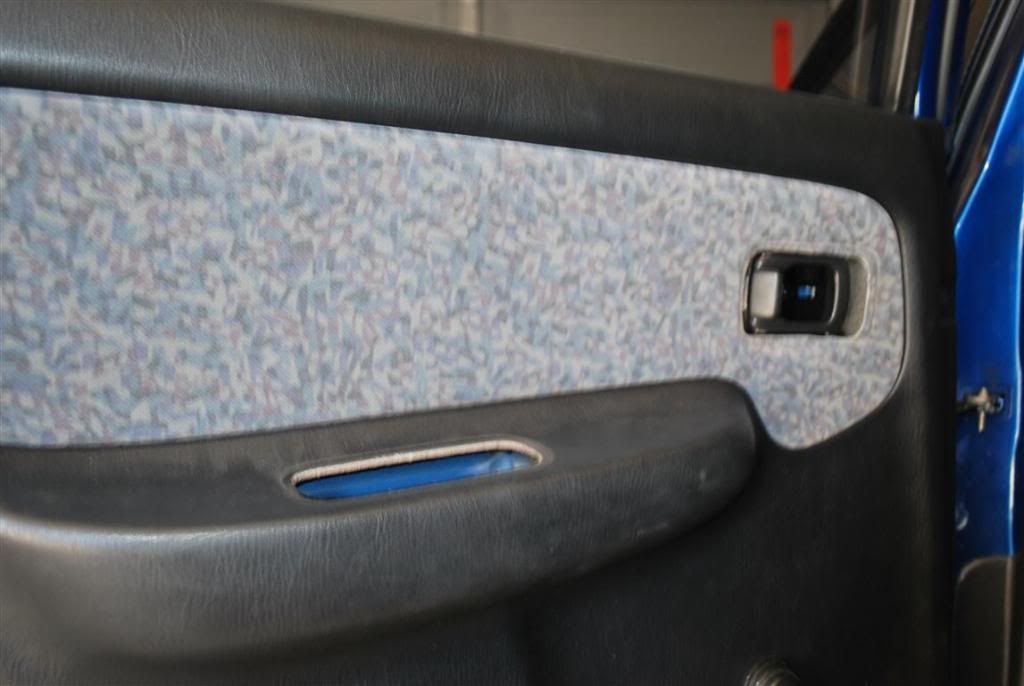
2 Taking off the door trim.
First step is to take off the door trim. (As I have the series 2, this is slightly different to the series 1)
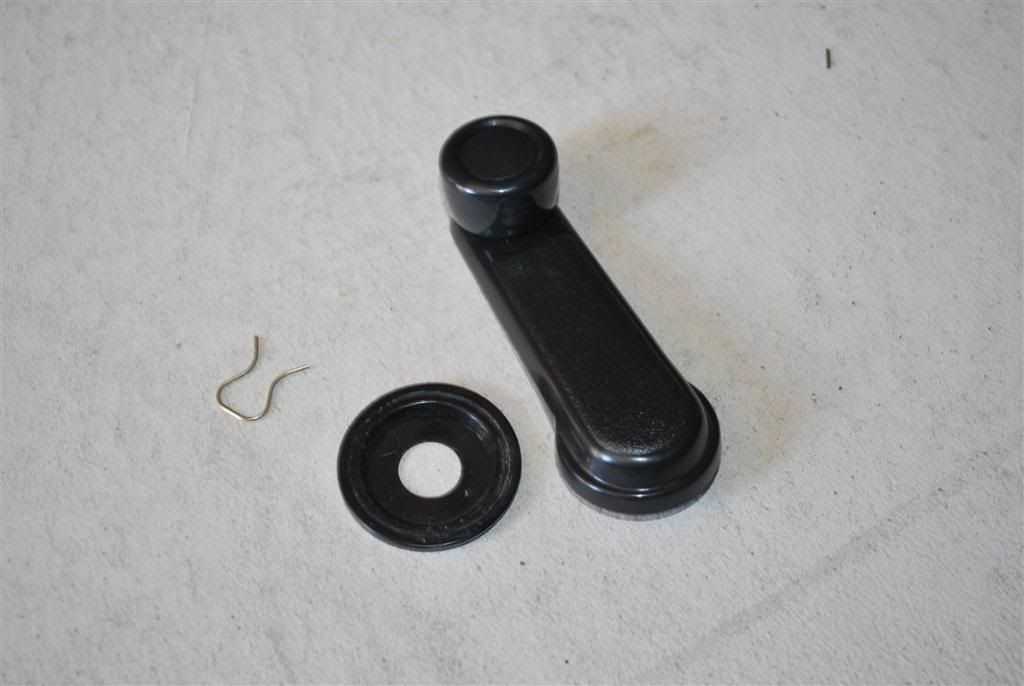
This is pretty straight forward. Take the 6 screws off around the outside of the door trim, and the door puller cup. Take the door opener trim off by slightly opening the opener and take the trim off with a screwdriver between the puller trim and the door trim. Then take off the window winder which has a wire cir-clip holding it on. Take these off by placing an old rag in between the winder and the door trim and wiggle it side to side while another set of hands winds the window down. This should pop a cir-clip off and the winder will come off. Failing that use your small flat screwdriver to pull it out.
Then lift up the door trim so that it unclips off the top of the door. (this is easier with the window down, but isn’t necessary) Place it aside.
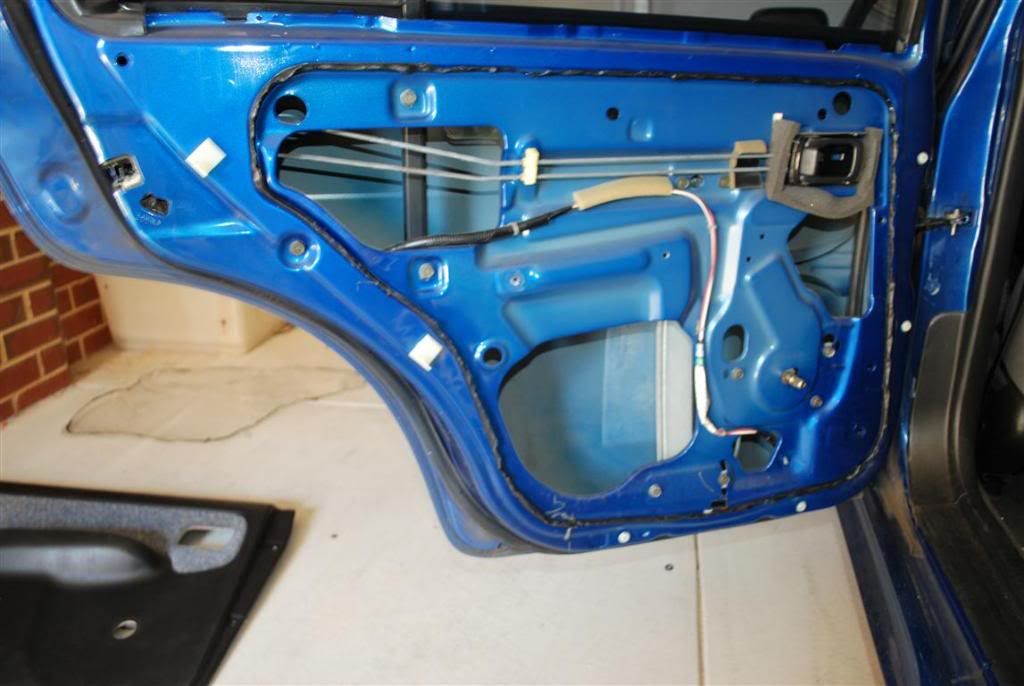
Now that the door trims are off, take the door puller chassis and the clear plastic moisture barrier off without damaging it. This is sticky and messy, but can be done with some patience. This will reveal the workings underneath.
3 Taking door loom out.
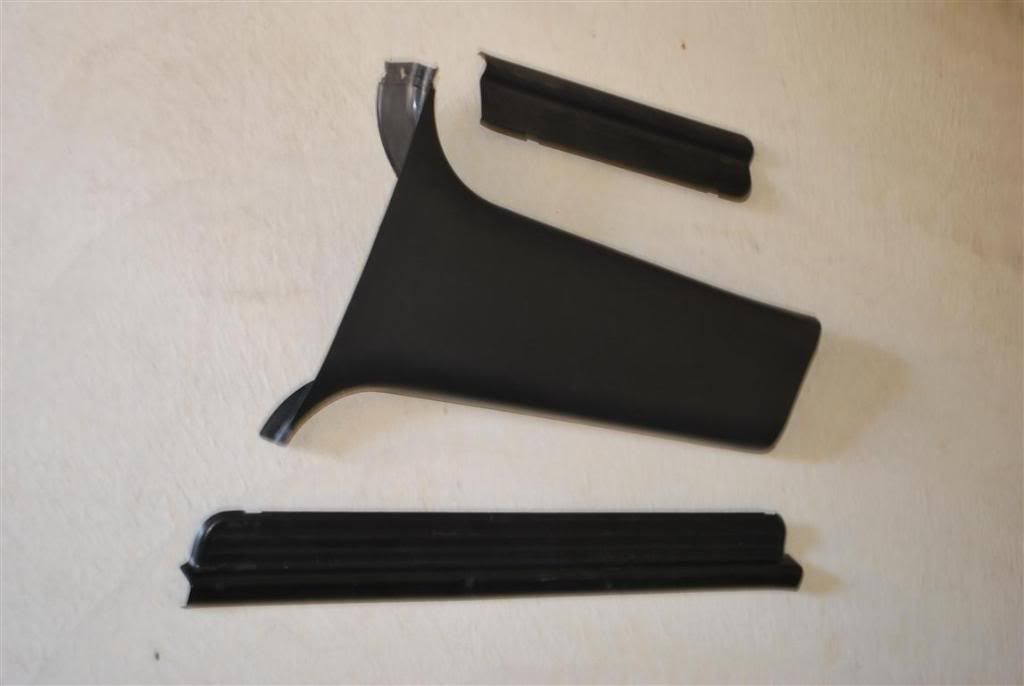
Start by taking the lower B pillar trim off inside the car. To do this take the front and rear door sill trims off and then the lower B pillar trim.
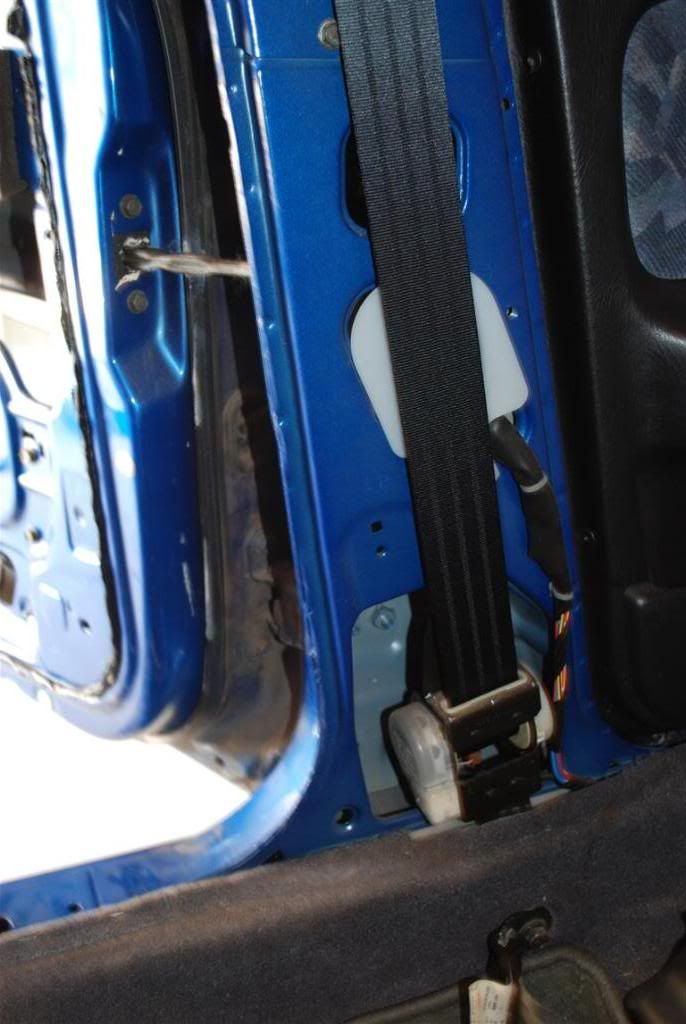
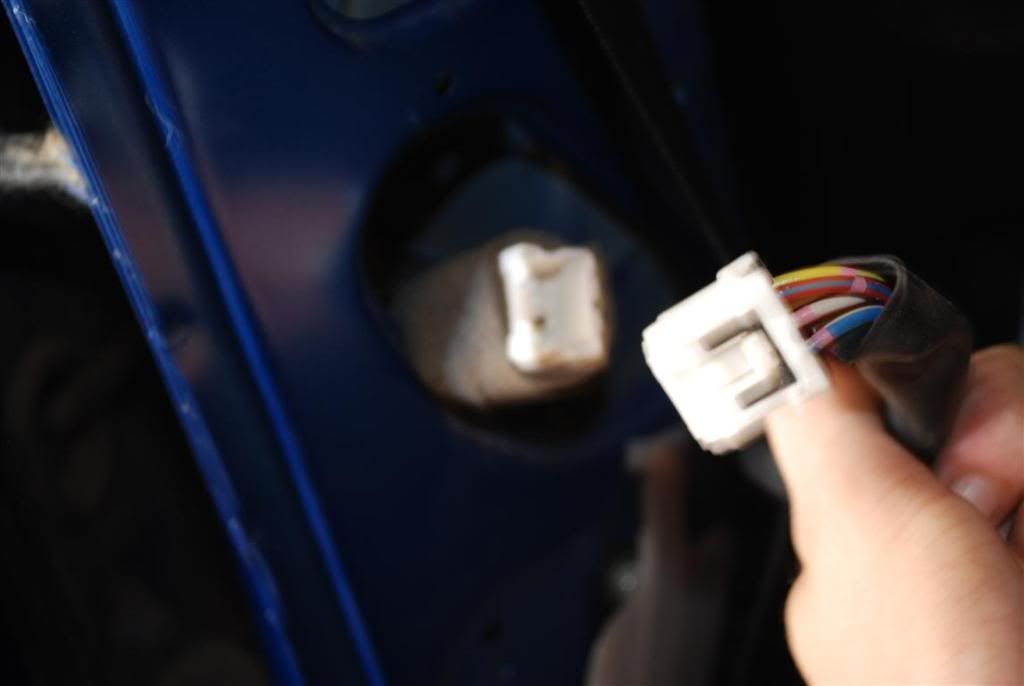
This will reveal the seatbelt and rear door harness connector.
Loosen the top clip holding the clear plastic cover onto the B pillar and then pull the rear door harness connector through. Unplug this.
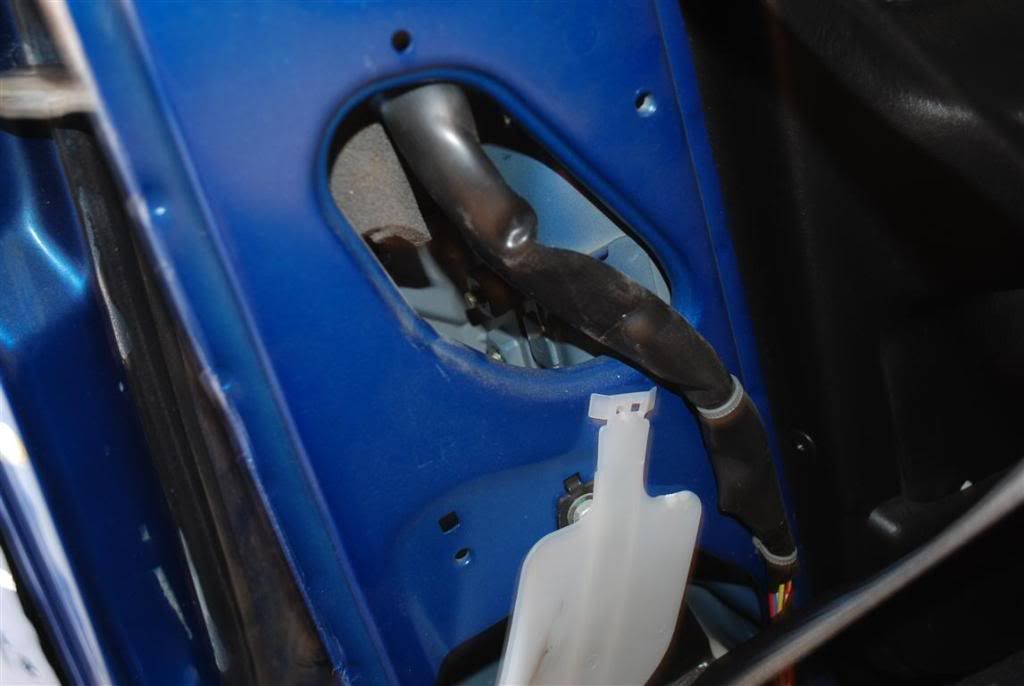
Thread the door harness out through the B pillar into the door cavity. You will need to take the two grommets out with it. When the harness connector and the two grommets are in the door cavity you will need to unclip two hidden cable tie clips (shown in red). Then take the remaining cable tie clips out (shown in green) Be sure to make note of the route of the loom through the door.
If you don’t cut your hand while doing this, try again...
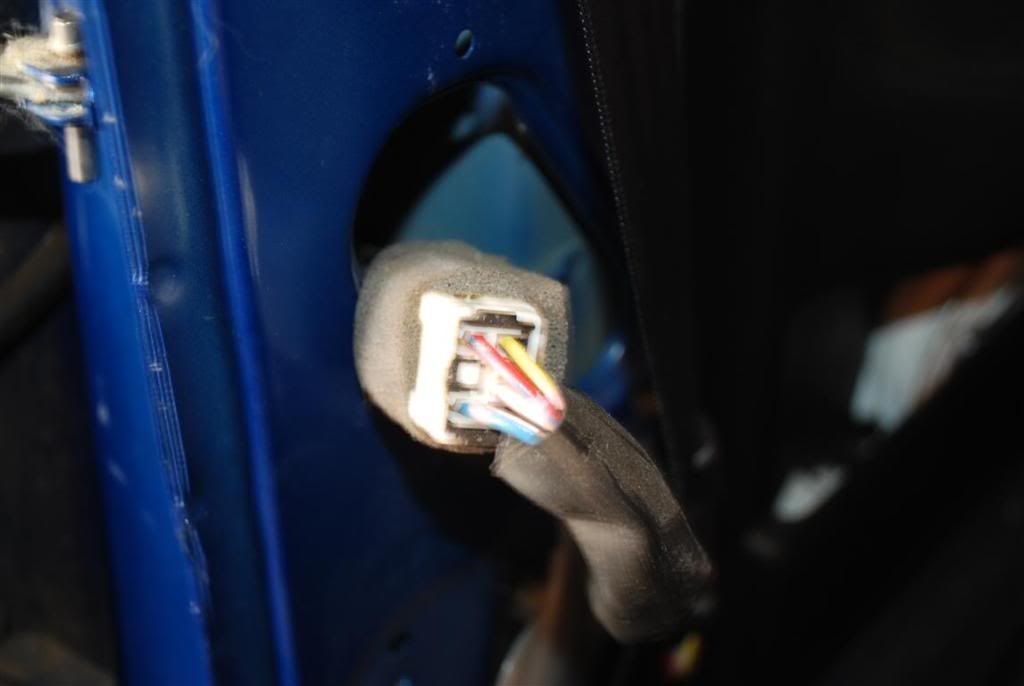
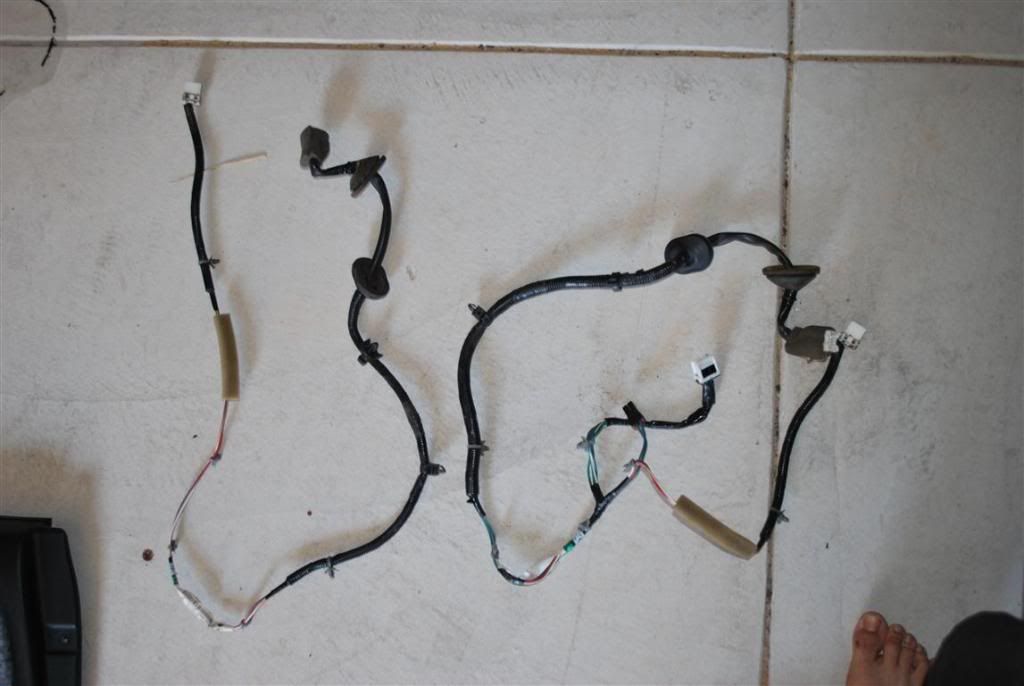
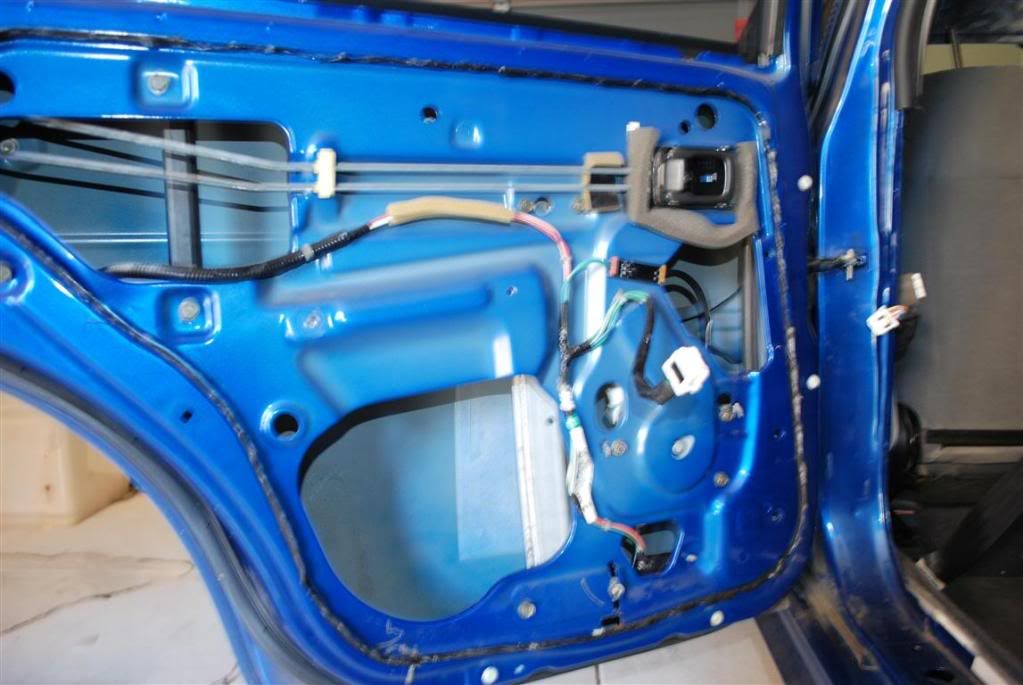
Then unplug the door lock plug. This should release the complete rear door loom so you can take it out. Below shows the manual and power door looms. Left and right respectively.
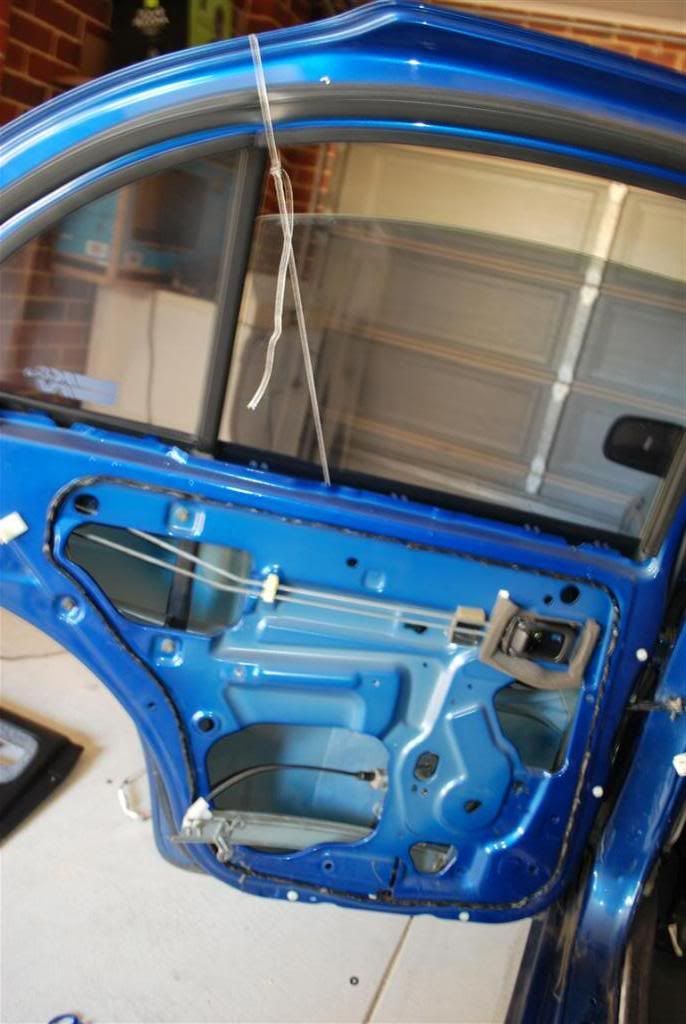
4 Taking door regulator out.
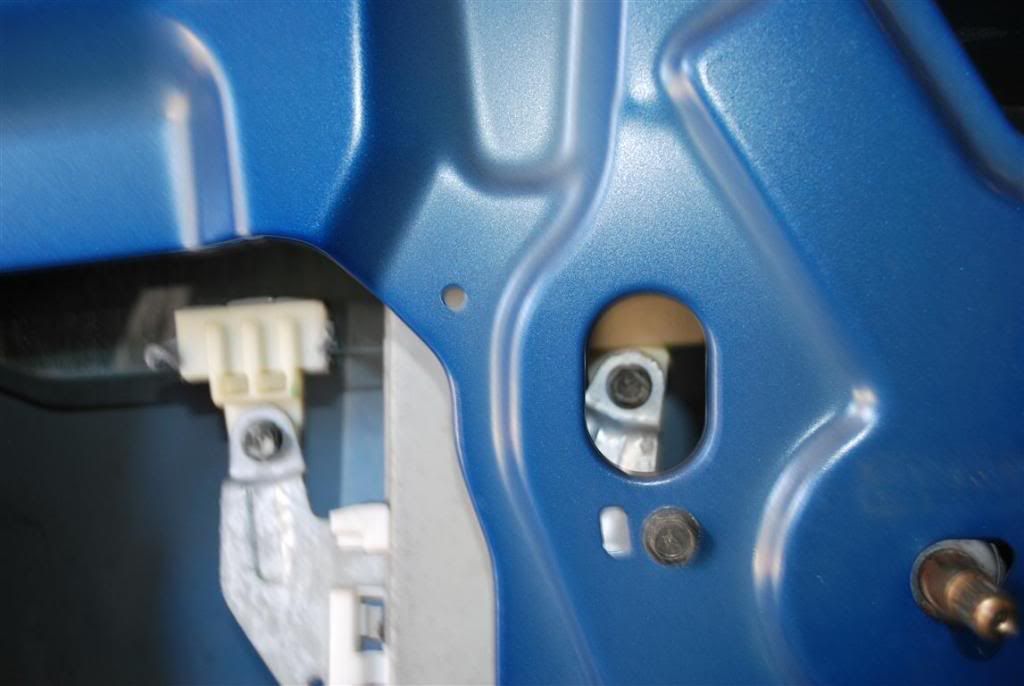
To do this, lower the window so that the regulator is about half way. You will see the bolts holding the window to the regulator visible through two holes.
Loosen these.
Then loosen the three bolts holding the winding mechanism and the four bolts holding the regulator rail onto the door.
If you have another set of hands, get them to hold up the window while you take out the two bolts holding the window to the regulator. If you don’t have another set, tie the window up so that it is as high up out of the way that you can get it.
When this is completely up, take the remaining 7 bolts holding the regulator assembly to the door out and take the whole thing out.
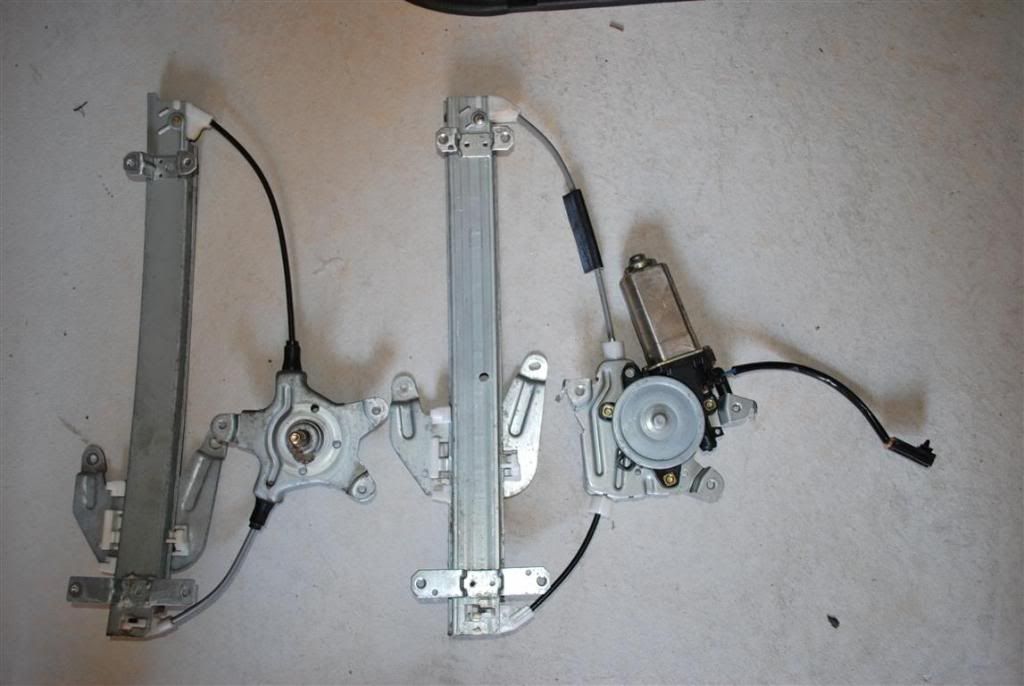
Comparison between the manual and power window regulator assemblies.
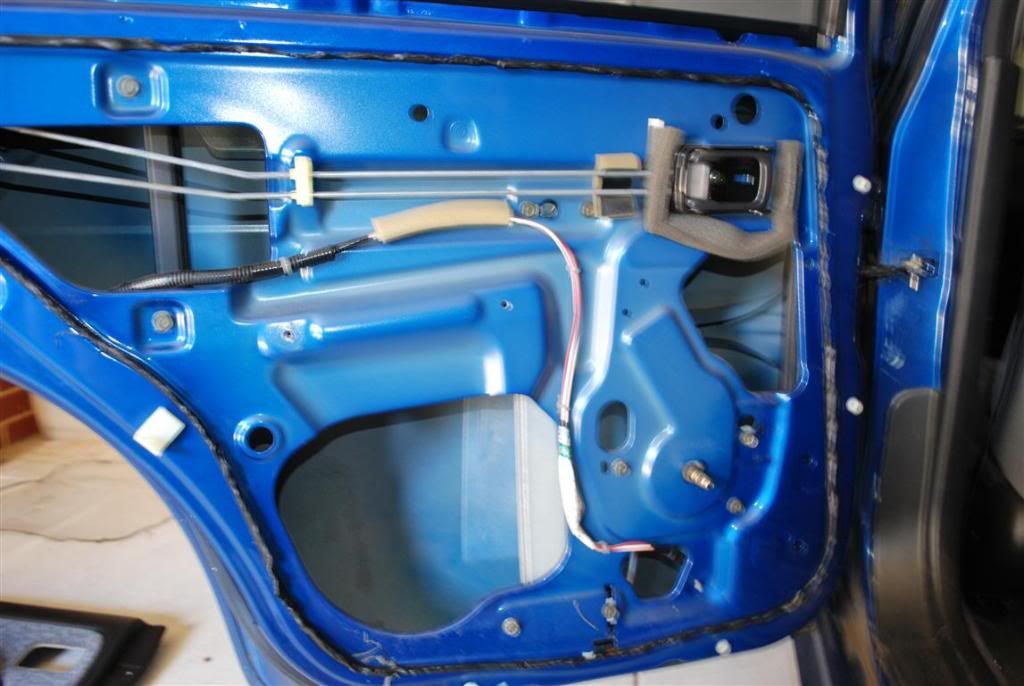
5 Installing the power window regulator.
This is a reverse of the procedure to take the regulator out. Except this time there are some hooks to help locate the regulator/motor assembly onto the door.
When this is positioned and the 7 bolts are securing the rail and assembly, CAREFULLY lower the glass window onto the regulator rail/window holes. If these aren’t visible, use the 12v battery and the jumper leads to move the regulator up or down so that they are. Bolt the window to the regulator rail. Then tighten all the bolts in the assembly.
Use the battery once more to wind the window up to its upmost position. (this will ensure you have enough room to put the door loom into the door)
6 Installing the door loom.
Again, this is basically a reverse of the removal except you may have a couple more clips to put into the door.
Plug in all the appropriate switches and connectors.
7 Refitting the door trim.
Make sure to refit the moisture barrier, door puller chassis and door trim and fit up switche(s).
Repeat for the other side.
This should be the end of the conversion.
8. Enjoying
Enjoy.
Now go cruising while winding your windows up and down using electricity.
The conversion took me about an hour to do the first side (with taking pictures) and just under 25minutes for the other side.
If you need any further help or if I have forgotten something, please PM me or reply to this thread.
Thanks for reading
Chris.
:thumbs:
")