You are using an out of date browser. It may not display this or other websites correctly.
You should upgrade or use an alternative browser.
You should upgrade or use an alternative browser.
Sams VZ-R N1
- Thread starter Sam
- Start date
ah ok that could be a problem then, have they not got the plate?
No, not got the plate but it was a good price so bought it up first and did the thinking later

thats what you need
That's perfect, shouldn't be too difficult to get made up for it. I've been reading over your thread trying to get a look at how it was joined but to no avail

Look at the for sale thread the one I have, shows how I joined it.
On my mobile so can't link picture now.
On my mobile so can't link picture now.
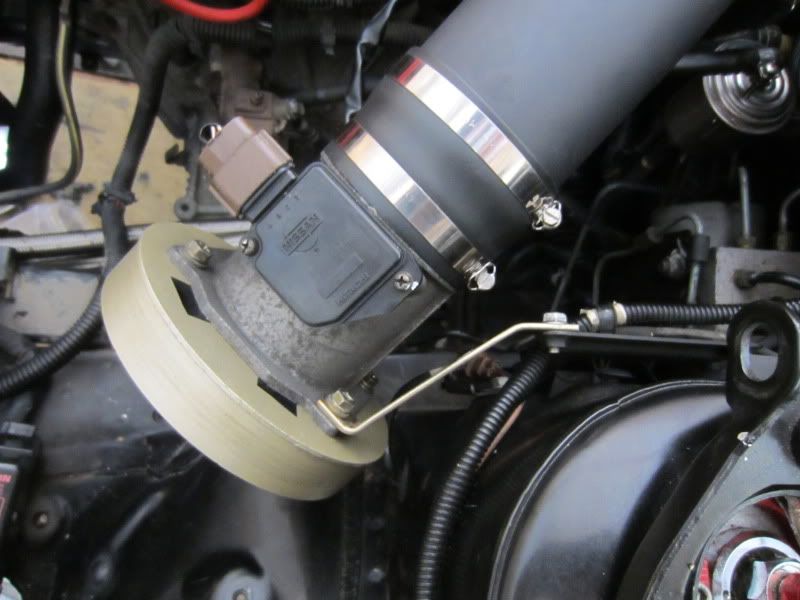
its basically a plate with a rim that slots inside, the big jubilee holds it on
Yeah, i'll just get one made unless Blitz sell them separate and cheap
@ Nos, just looked there, they look to be the very same size that I need, I understand how you and Sam joined the MAF just needed to see the plate that Sam posted as mine will not have it
i think the incomplete filter you've got coming, paired with the below *velocity stack would result in much WIN :devil:


dboi
dboi
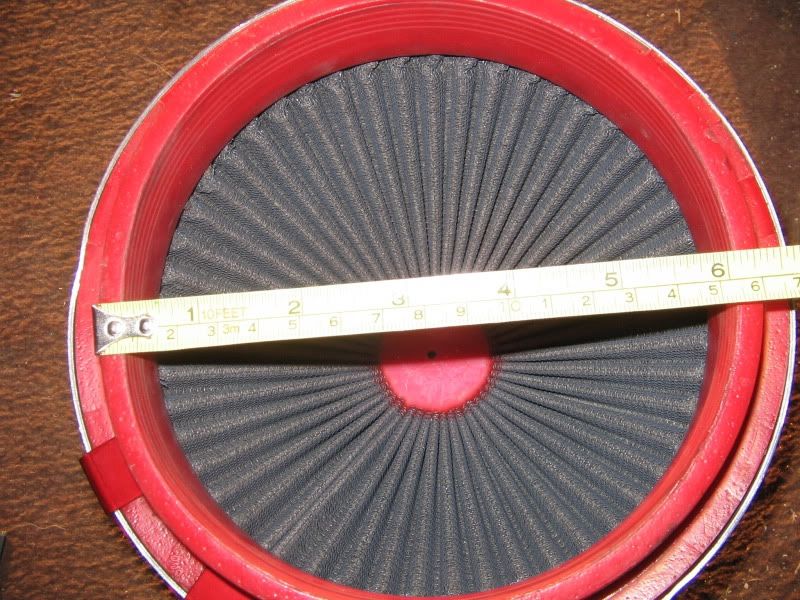
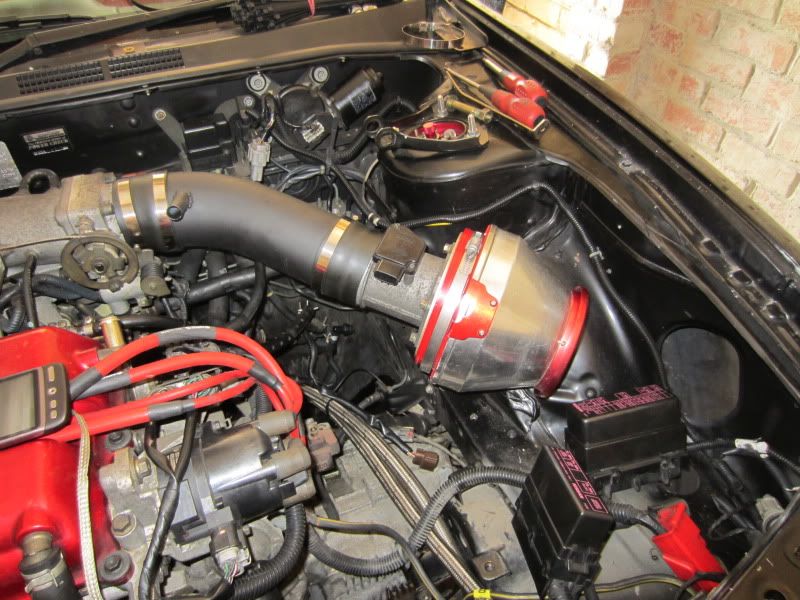
Dave, I was actually looking into the Blox velocity stacks but they are 6" wide with 3" throat where as this filter falls slightly short of 6" so don't think it would fit, going by Sam's pictures earlier in the thread 
Yer, no way i'm paying for this then lol
http://www.blitz-uk.co.uk/ProductItem-225.aspx
Yer, no way i'm paying for this then lol
http://www.blitz-uk.co.uk/ProductItem-225.aspx
would be an epic WAI tbf
Soooo the biggest thing Ive ever undertaken on my own car.
Monday
began mooching round collecting parts ordered a release bearing, bought some bits n bobs.
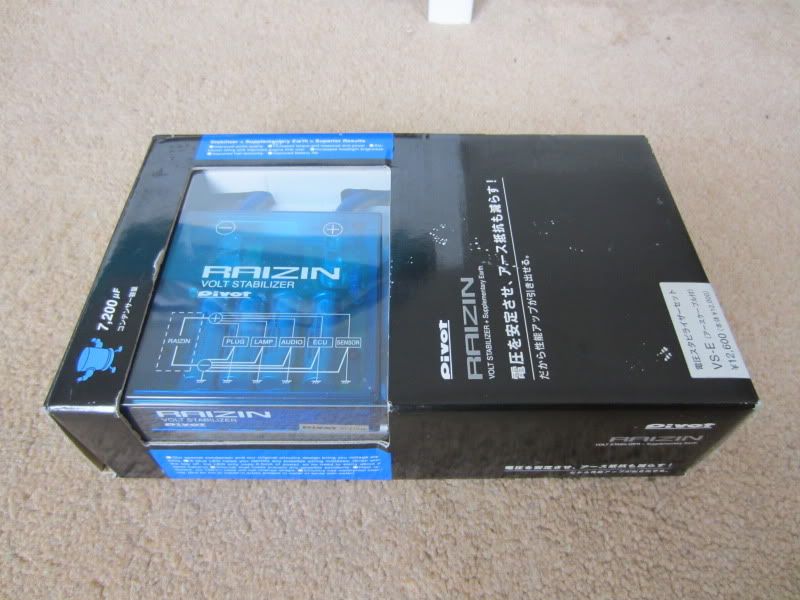
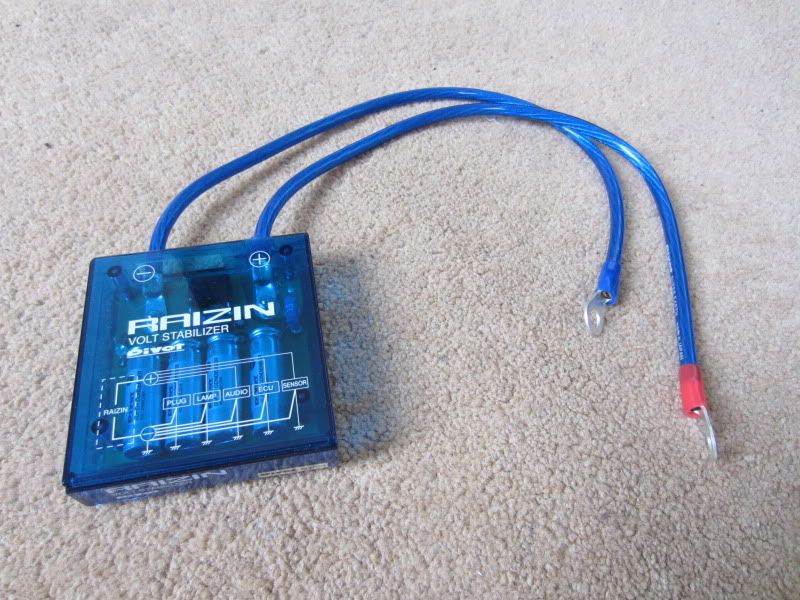
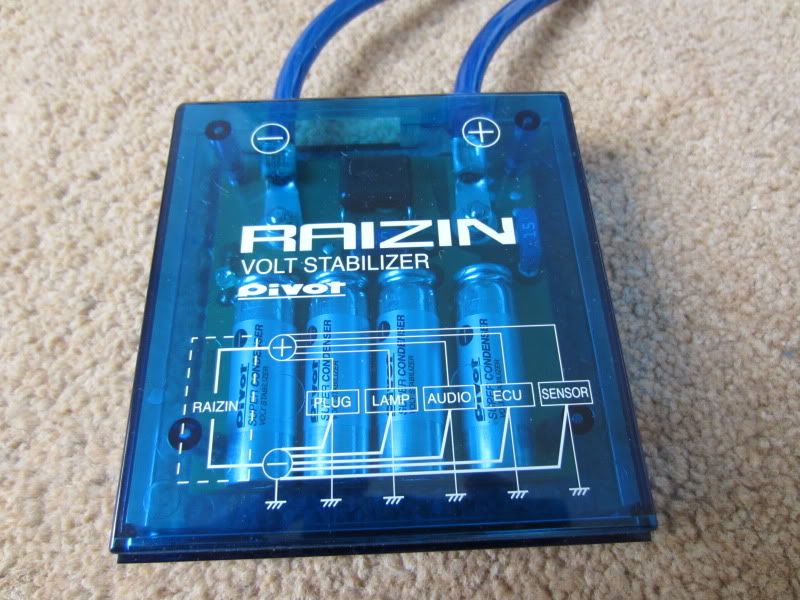
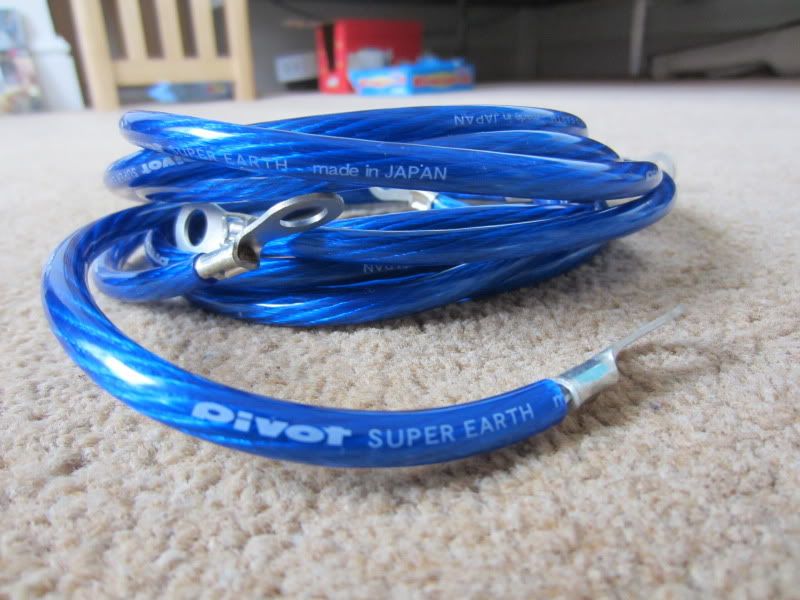
This was also delivered Pivot Voltage Stabiliser and Earthing Kit
Tuesday
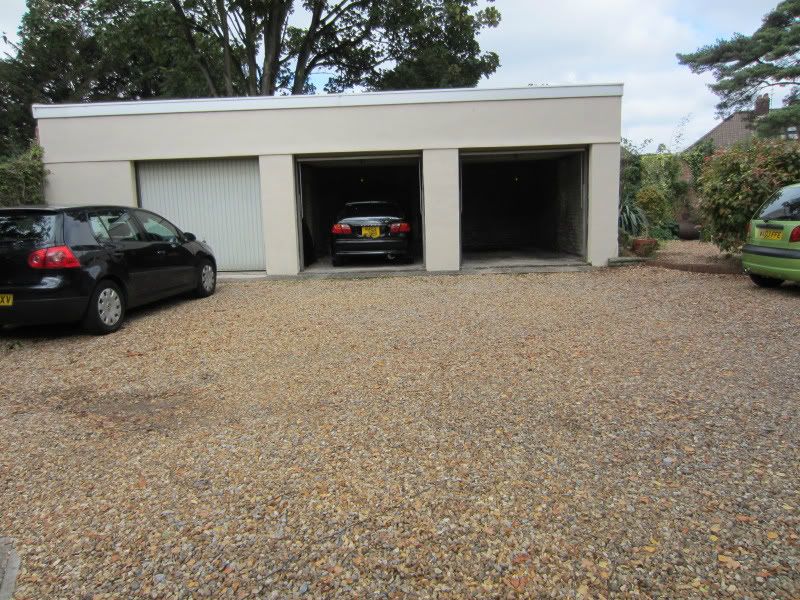
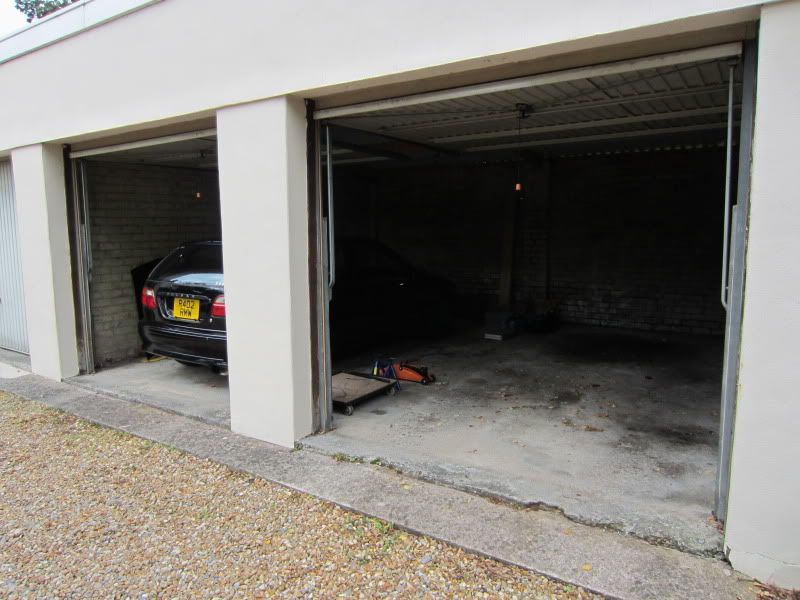
Collected release bearing and some more bits n bobs, then set about stripping the car.
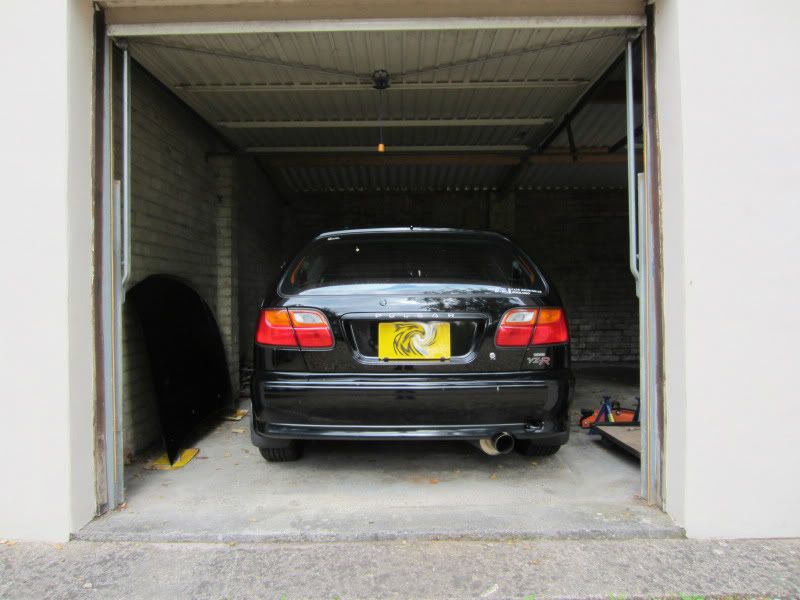
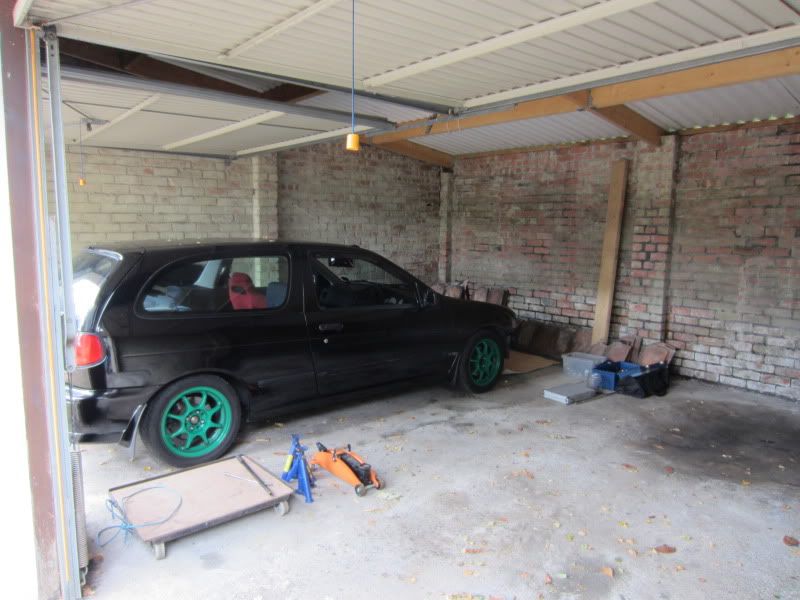
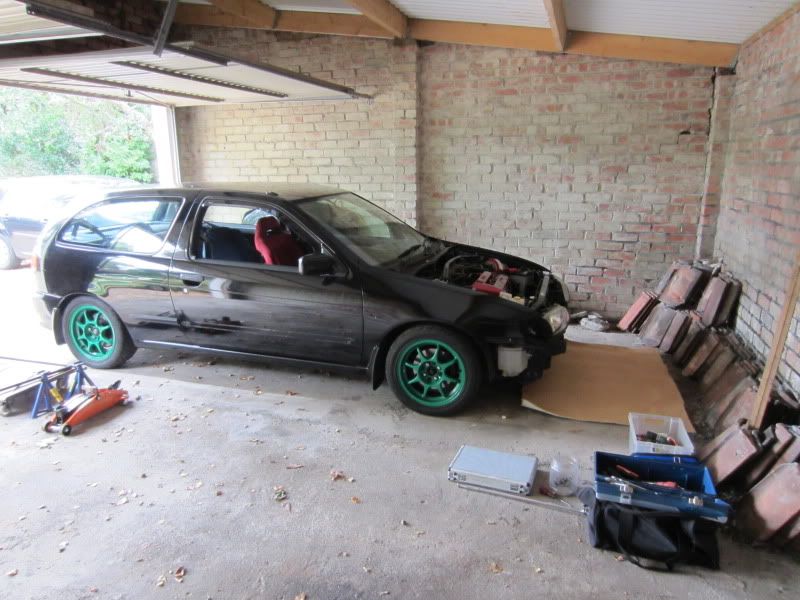
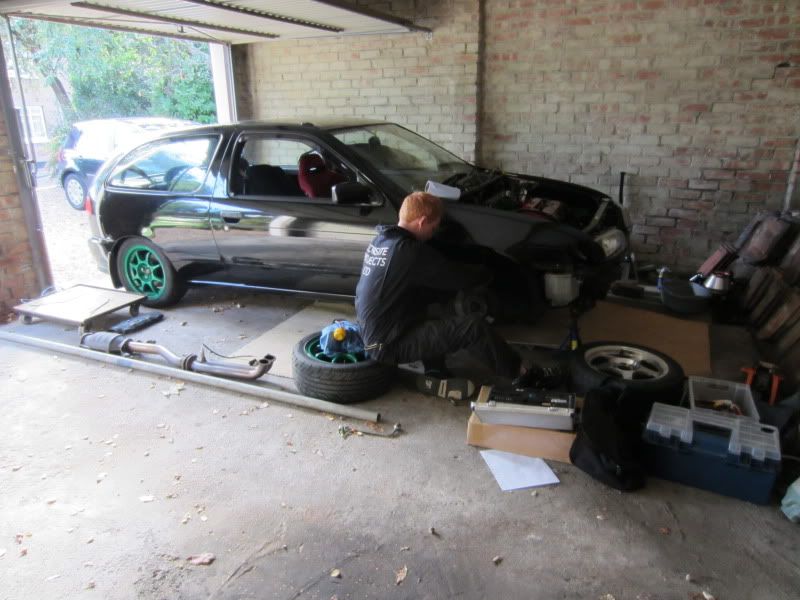
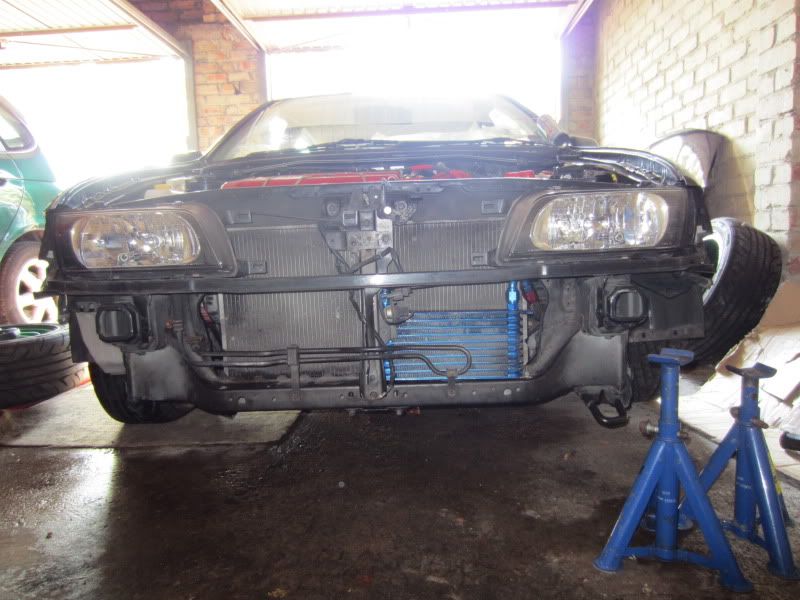
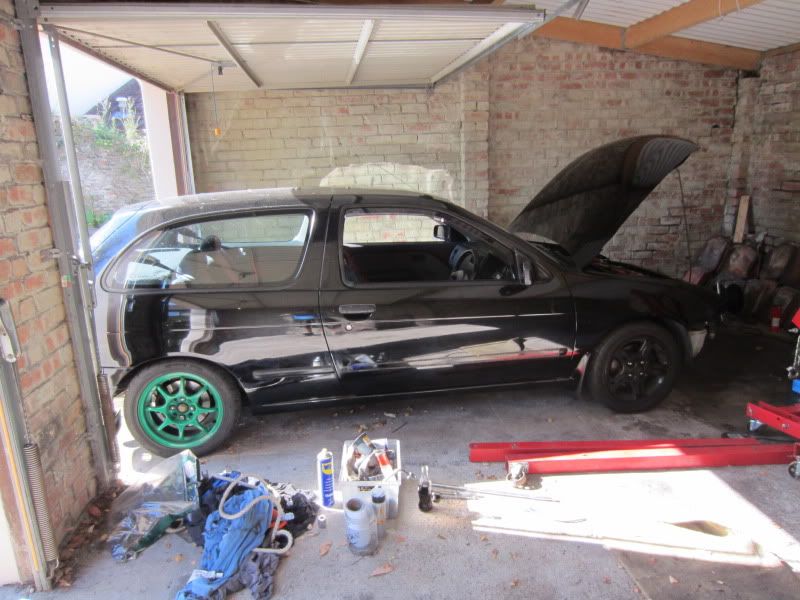
Front end removed to get in the garage
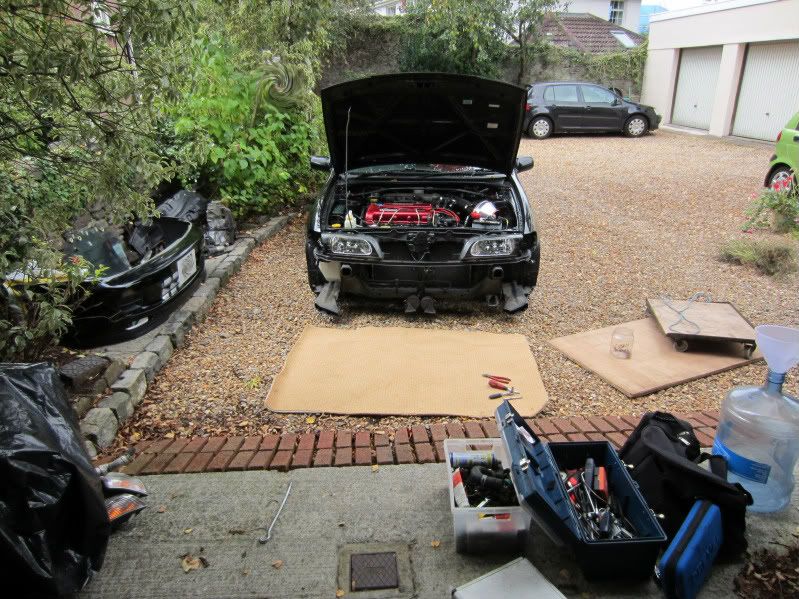
Work space for the week
Draining fluids

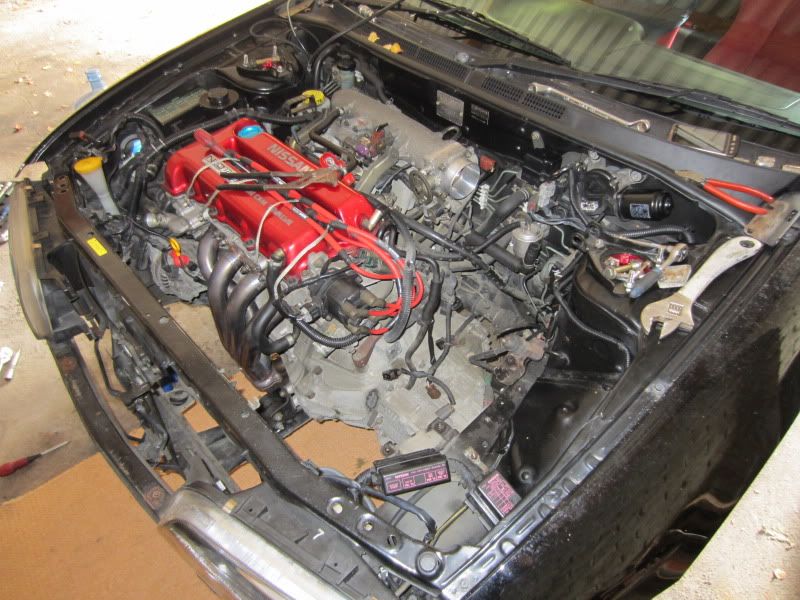
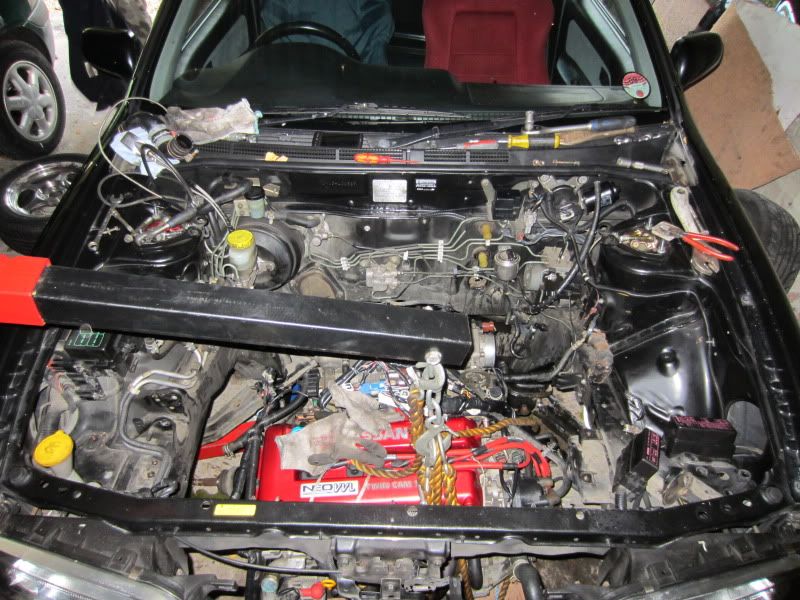
Stripping the bay
Corblar arrived

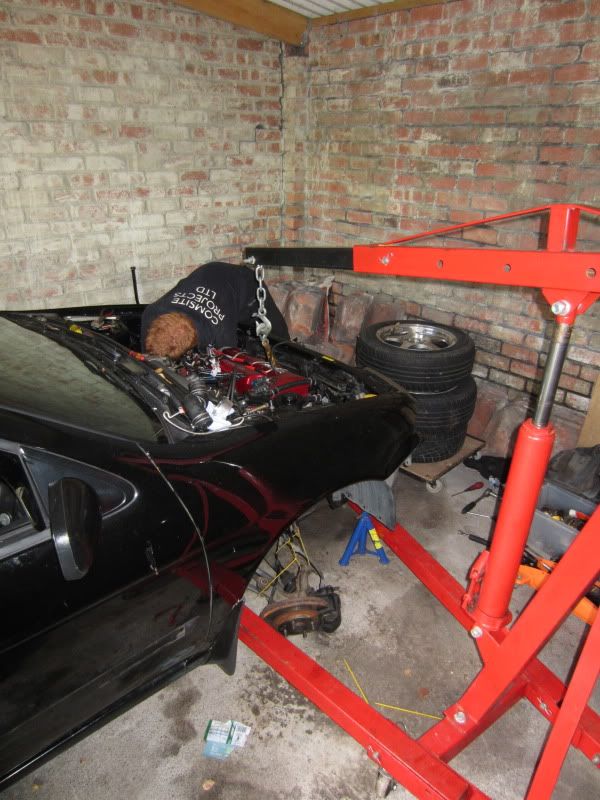
Crane in place
Fuck hes ginger
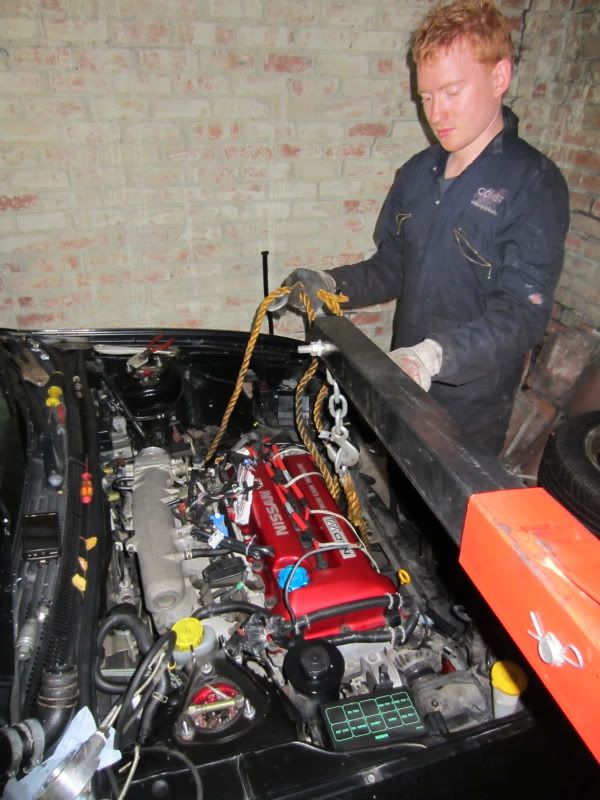
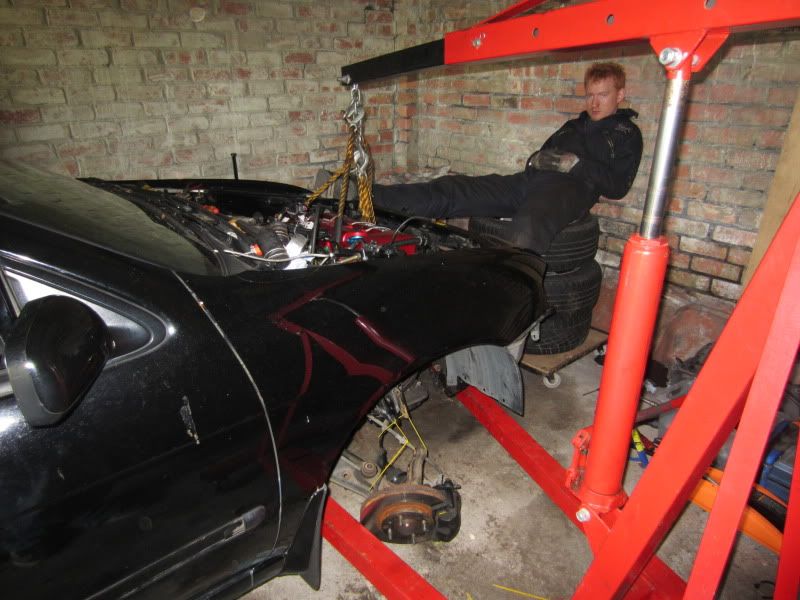
And we are down
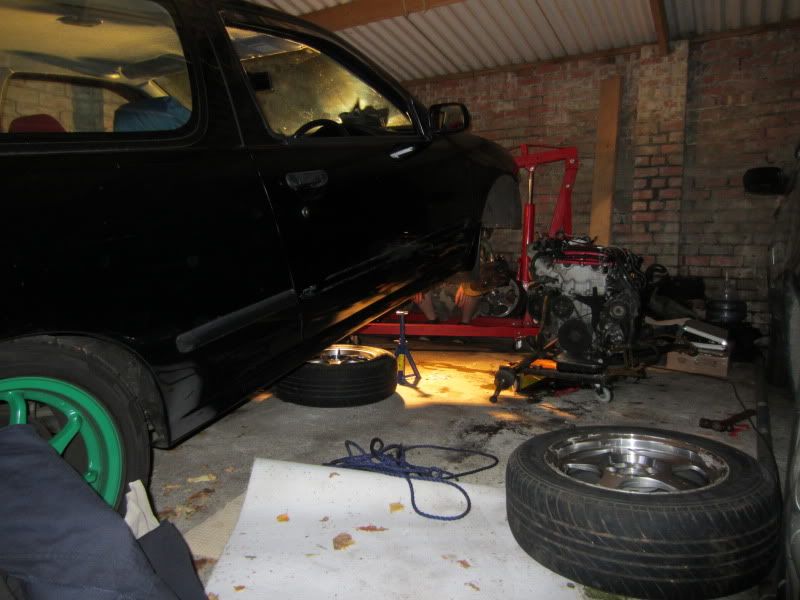
On the dolly
Monday
began mooching round collecting parts ordered a release bearing, bought some bits n bobs.
This was also delivered Pivot Voltage Stabiliser and Earthing Kit
Tuesday
Collected release bearing and some more bits n bobs, then set about stripping the car.
Front end removed to get in the garage
Work space for the week
Draining fluids
Stripping the bay
Corblar arrived
Crane in place
Fuck hes ginger
And we are down
On the dolly
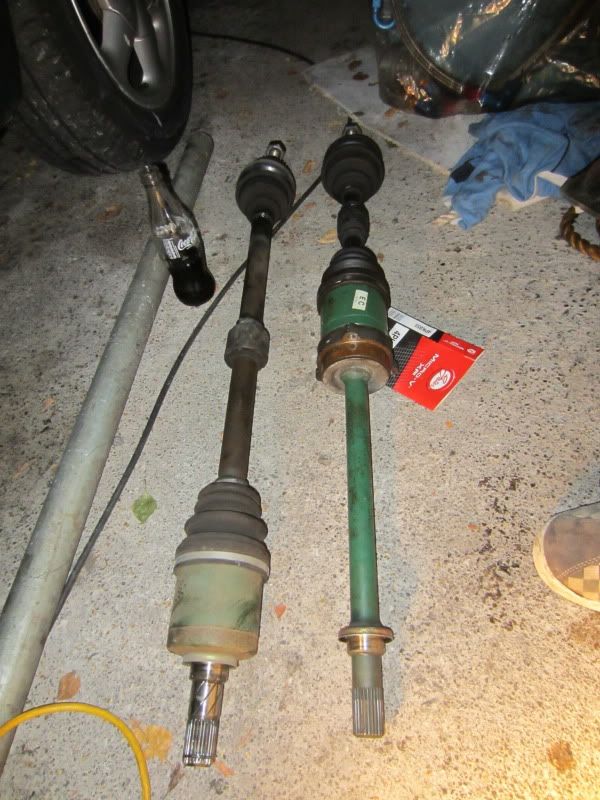
Removed the 1 piece shaft for an LSD drivers shaft that bolts to the block

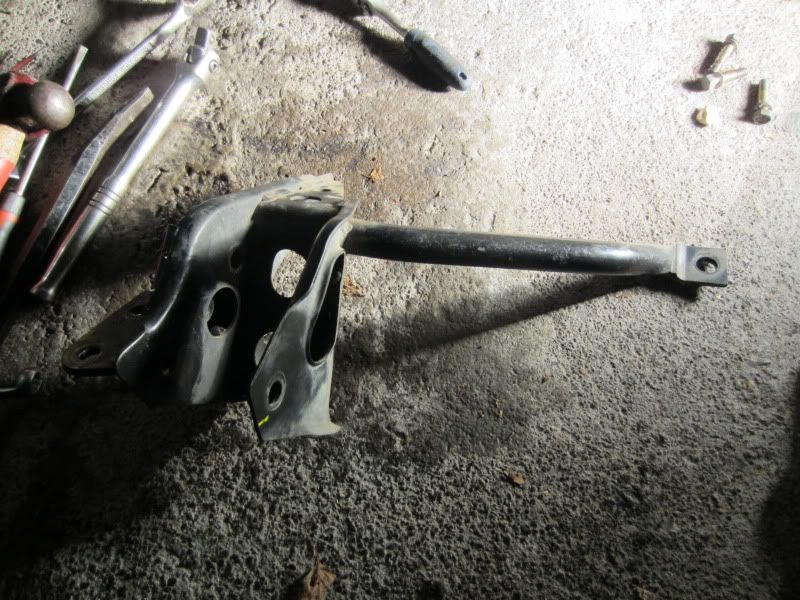
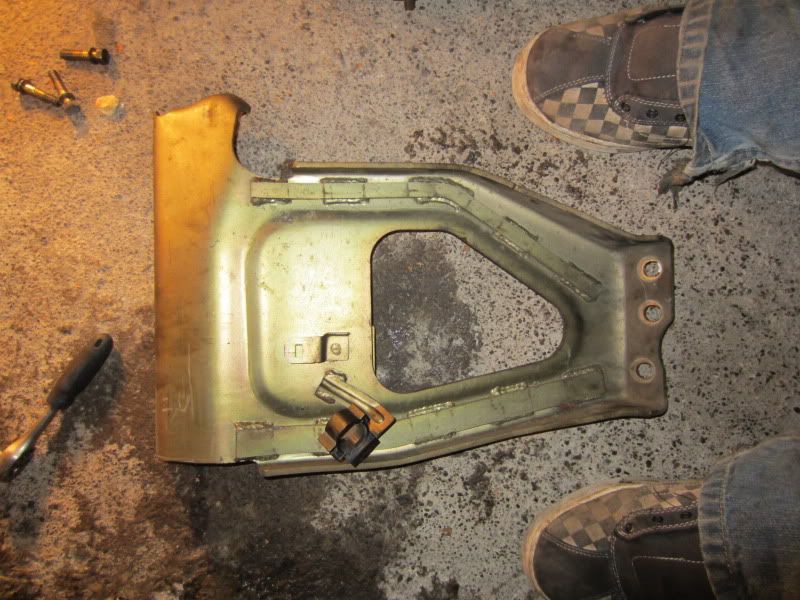
In order to fit this I had to remove a few things
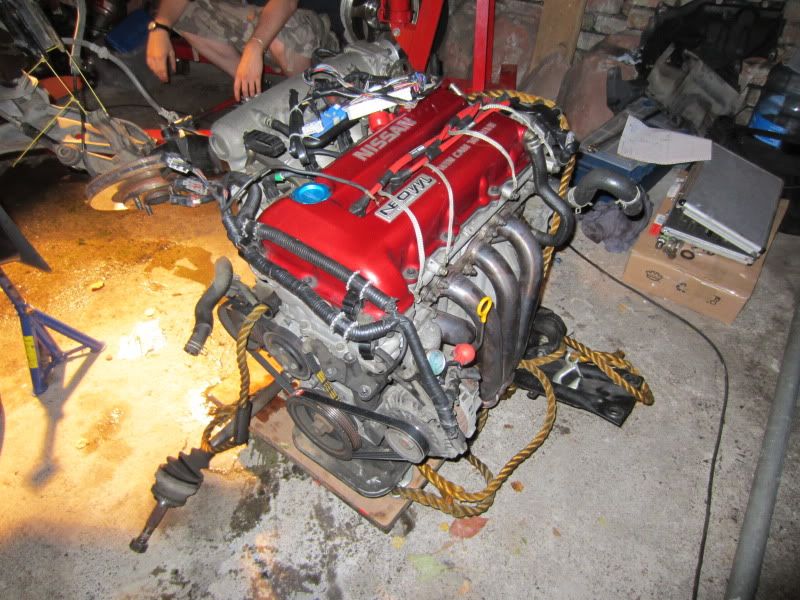
and this heavy fucker
With the starter removed I took the opportunity to strip it down and clean it out, every one should do this with a clutch change
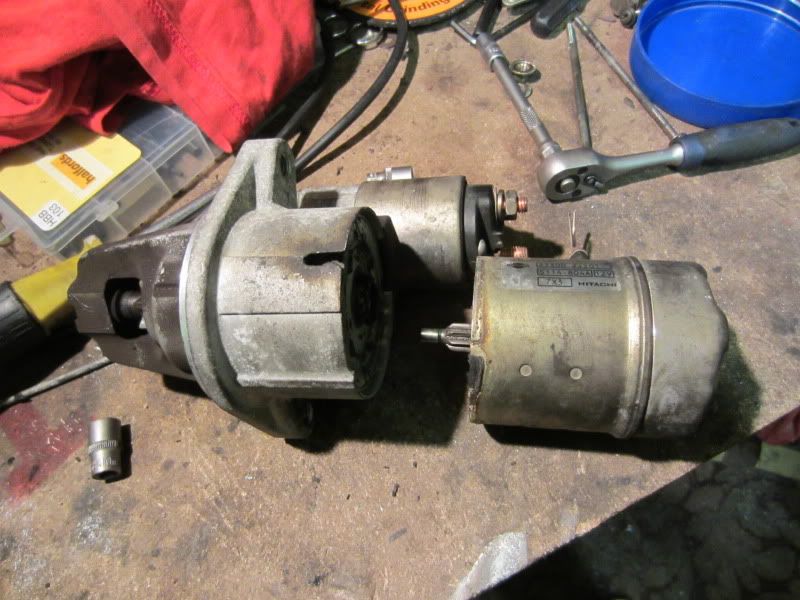
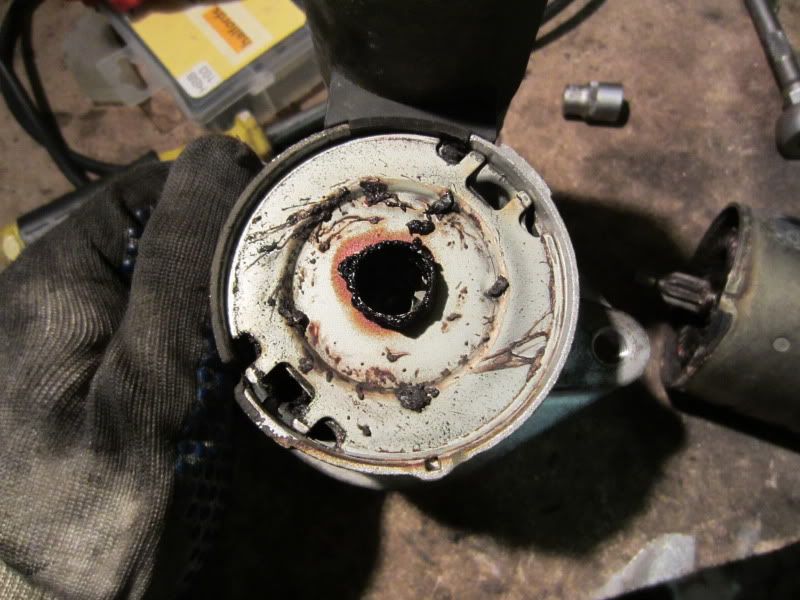
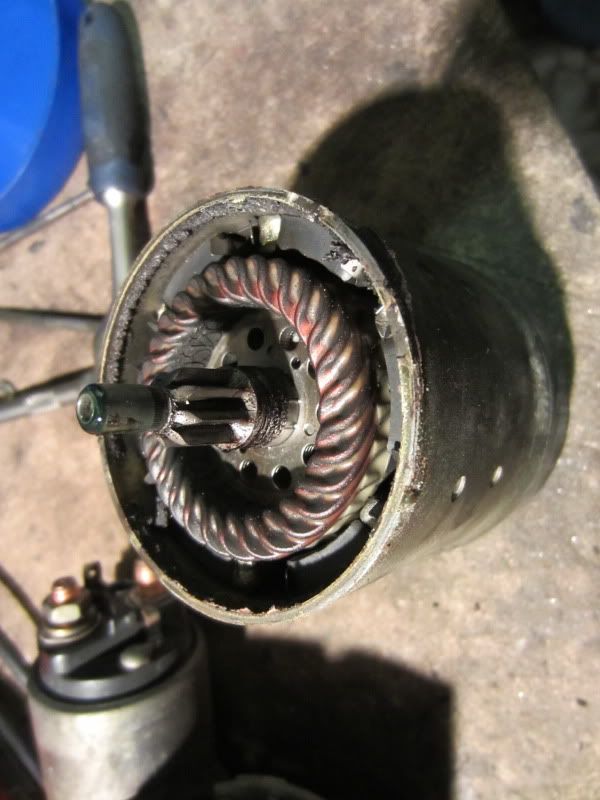
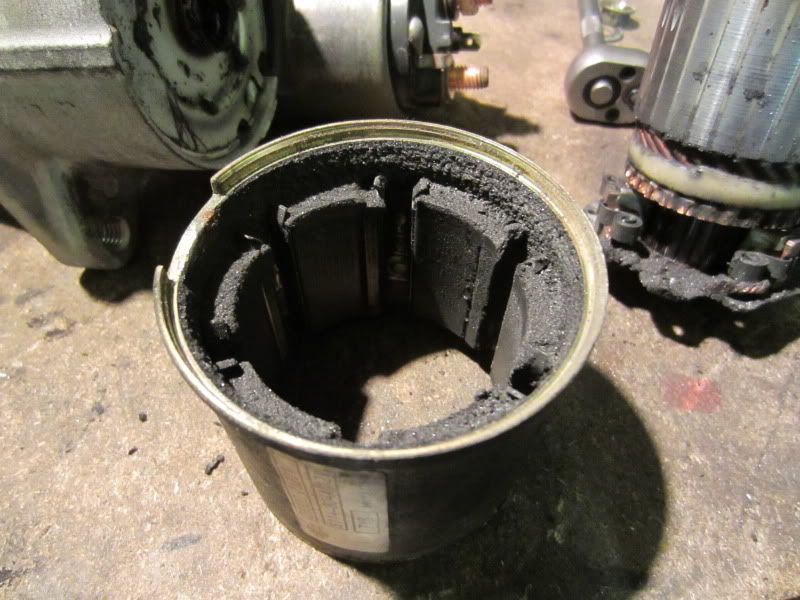
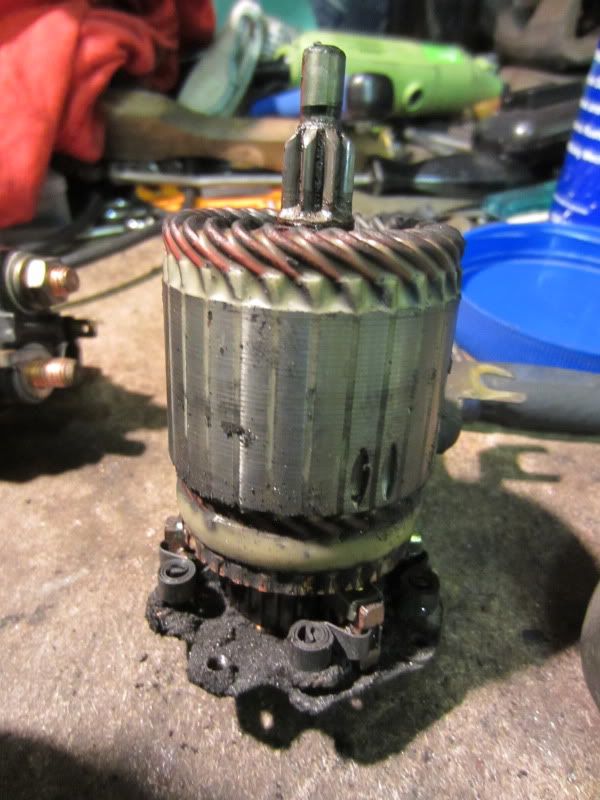

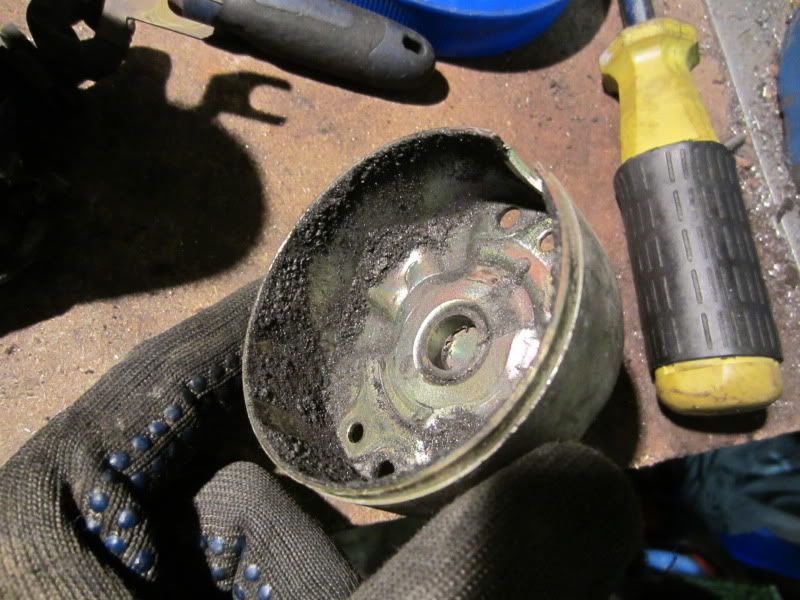
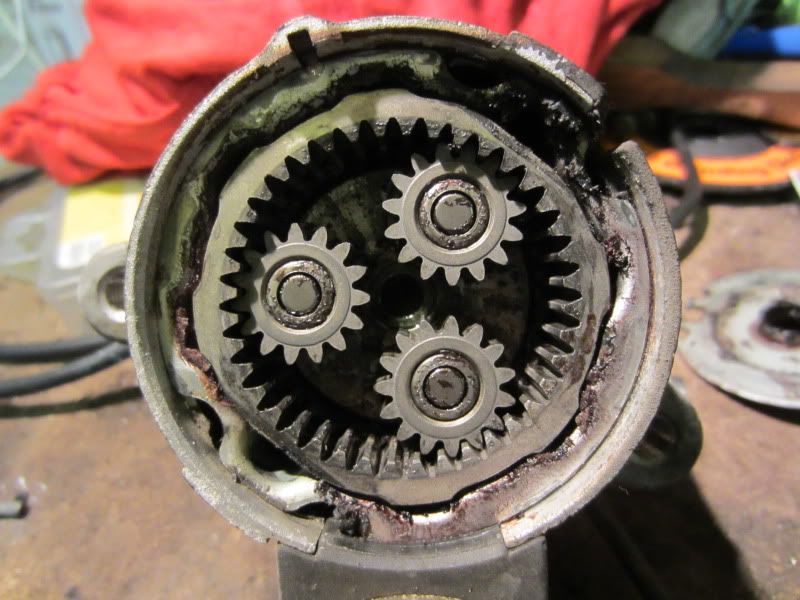
no pictures of it back together but it looks brand new inside now, cleaned it all out with petrol and packed it full of grease.
In order to fit this I had to remove a few things
and this heavy fucker
With the starter removed I took the opportunity to strip it down and clean it out, every one should do this with a clutch change
no pictures of it back together but it looks brand new inside now, cleaned it all out with petrol and packed it full of grease.
Wednesday
began sorting out the exhaust
Take one hanger bracket ground back
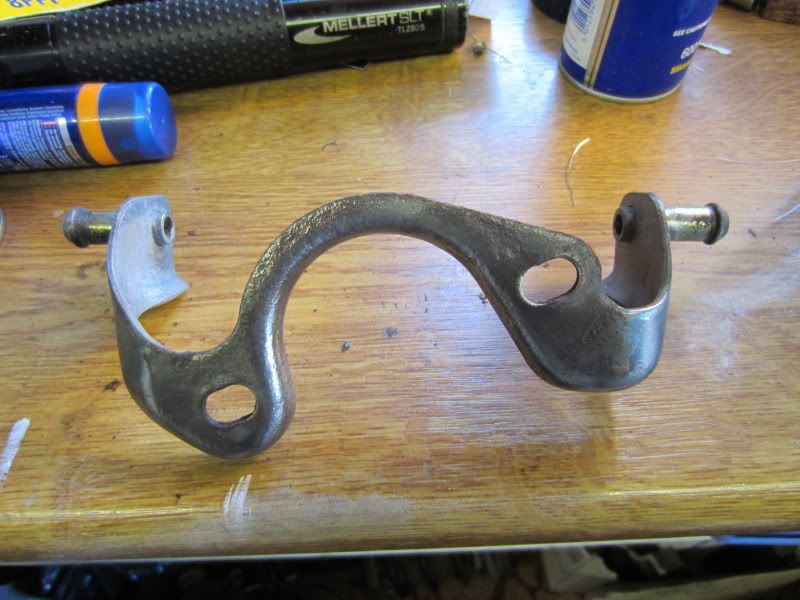
licked with some paint
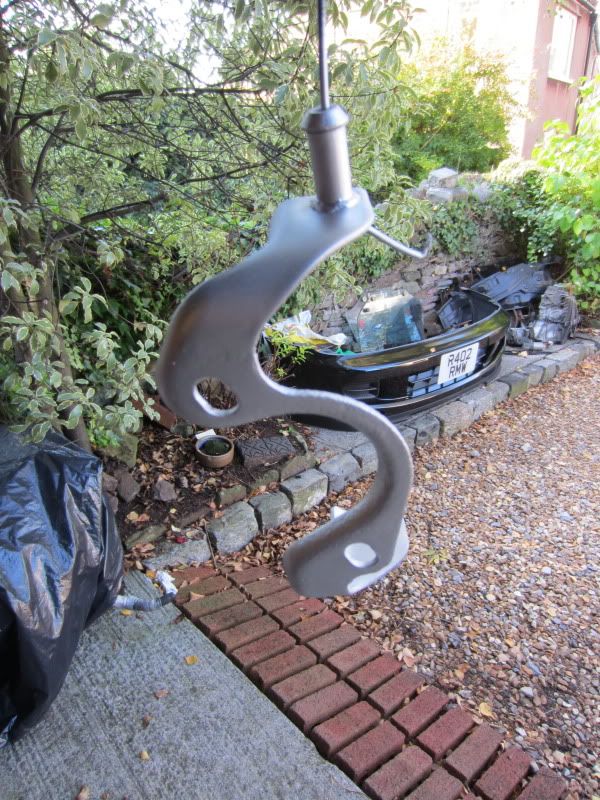
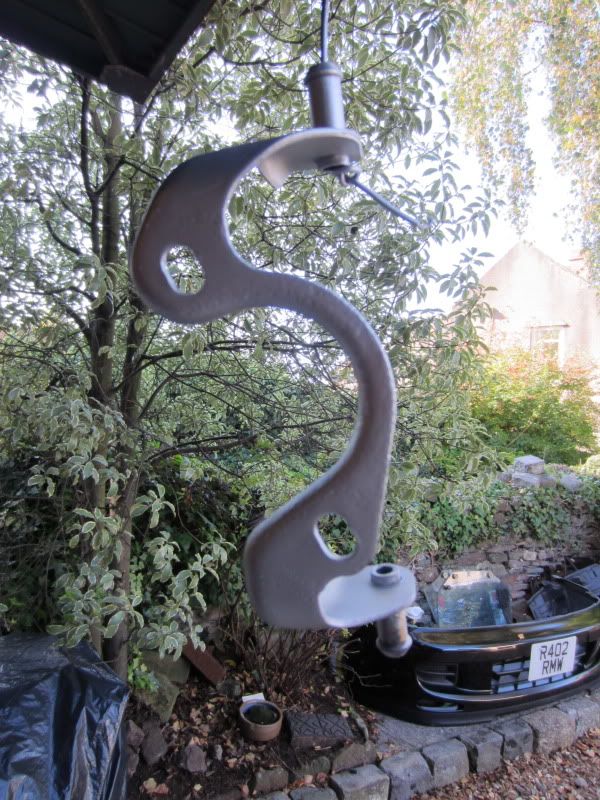
Then hammerited
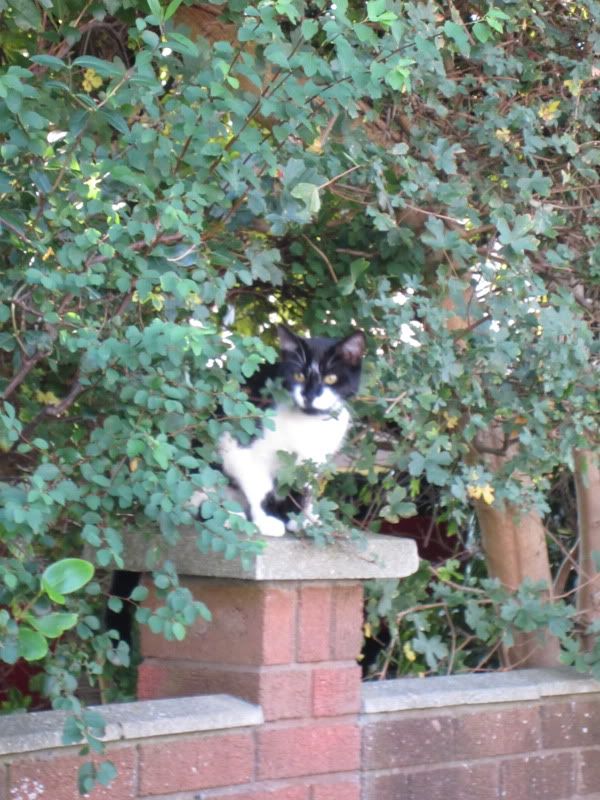
this is how Im helped
a cat
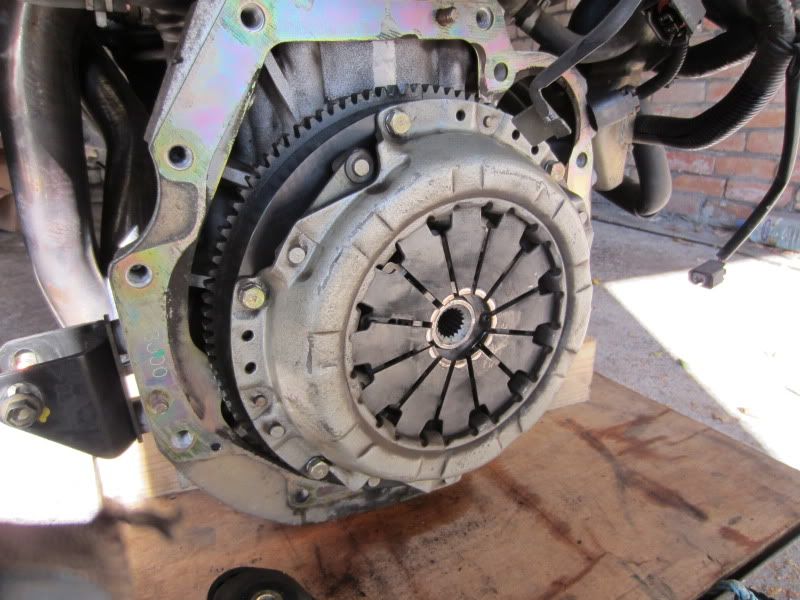
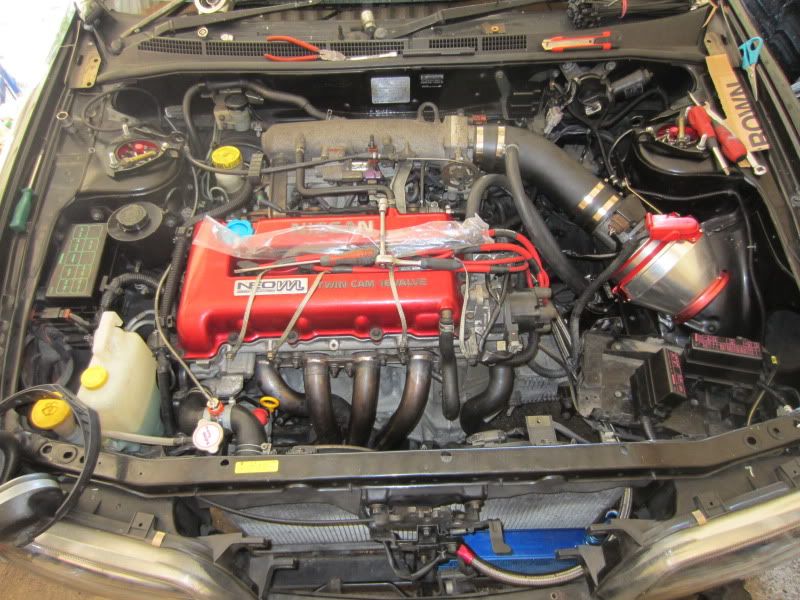
with the engine on the dolly I pulled the gearbox off and put my JWT flywheel and GSpec clutch on
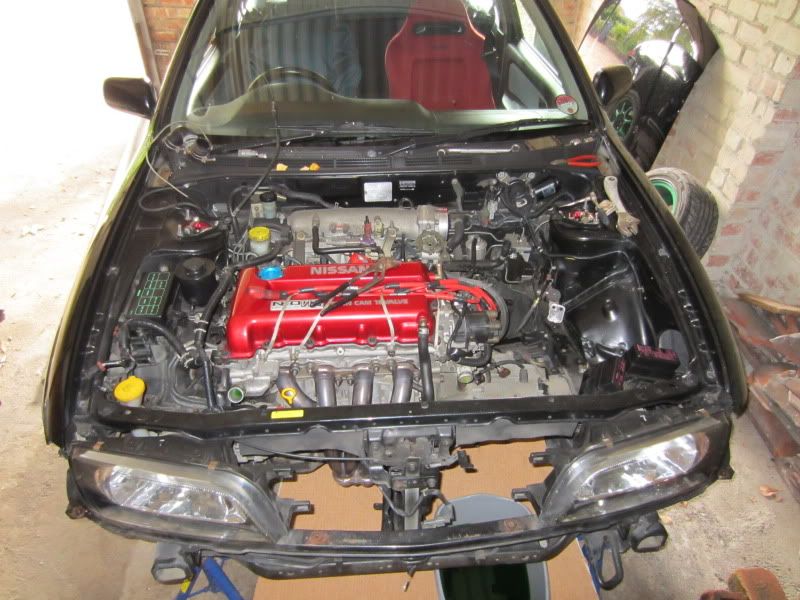
I had also changed the PS pump and fitted a new sandwich plate to allow me to run an oil cooler, I modified the plate to take my gauges aswell.
In the bay I rubbed down a few areas and changed the Steering rack bushes for poly ones.
after umming and ahhing over removing the ABS I fucked that off for next year and we got the engine back in
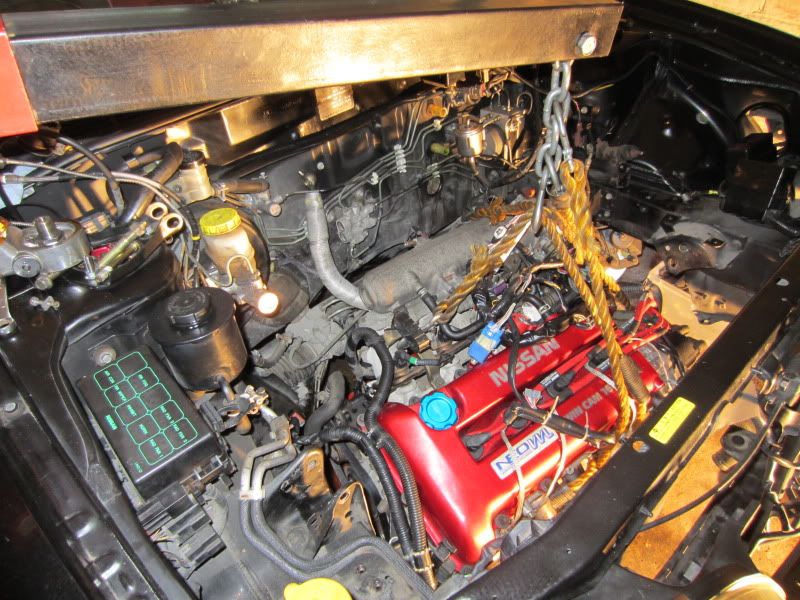
this time on all 4 poly mounts
Thursday
Just tidying up loose ends, had a package from Dale resulting in
Custom brackets cause Im smart
Refitted the manifold with a new decat from shagwah, got the cooler mounted in place
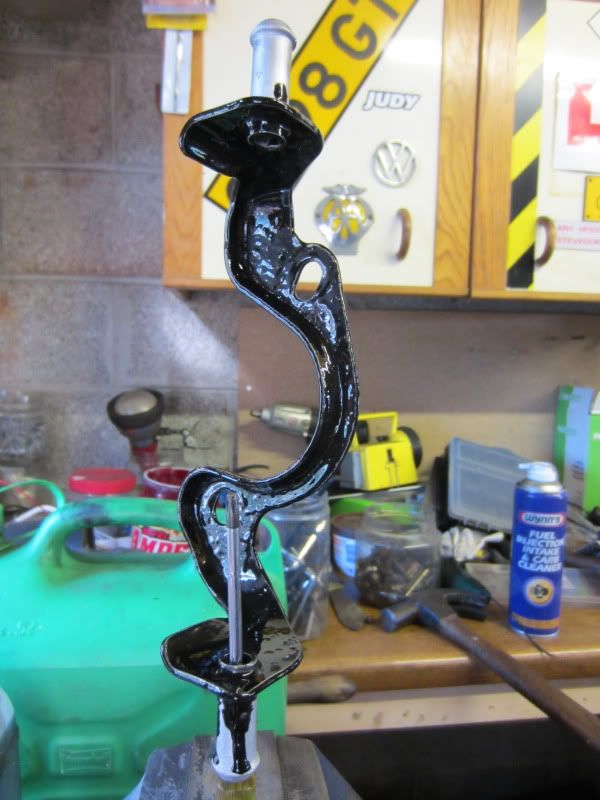
began sorting out the exhaust
Take one hanger bracket ground back
licked with some paint
Then hammerited
this is how Im helped
a cat
with the engine on the dolly I pulled the gearbox off and put my JWT flywheel and GSpec clutch on
I had also changed the PS pump and fitted a new sandwich plate to allow me to run an oil cooler, I modified the plate to take my gauges aswell.
In the bay I rubbed down a few areas and changed the Steering rack bushes for poly ones.
after umming and ahhing over removing the ABS I fucked that off for next year and we got the engine back in
this time on all 4 poly mounts
Thursday
Just tidying up loose ends, had a package from Dale resulting in
Custom brackets cause Im smart
Refitted the manifold with a new decat from shagwah, got the cooler mounted in place
Friday

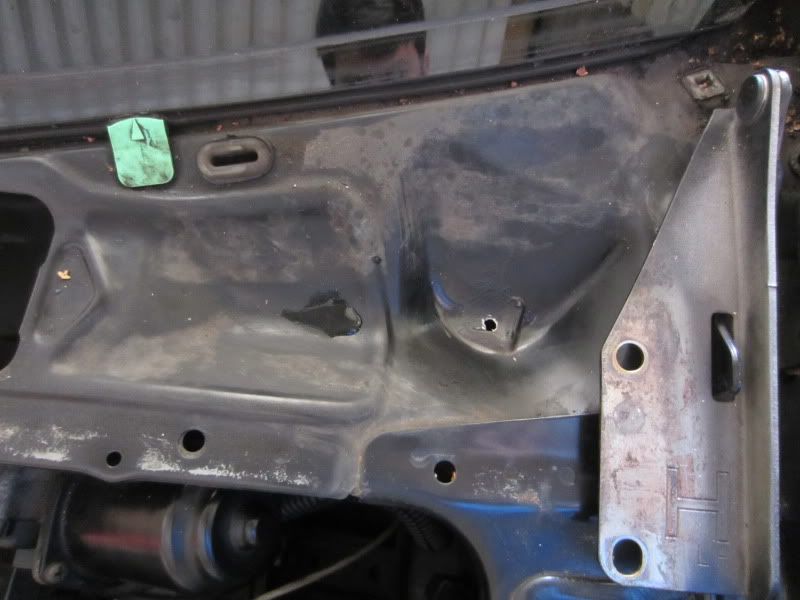
Few things that have annoyed me I took the time to fix
the little pockets under the scuttle panel that water happily sits in, Ive drilled two drain holes either side, these were sprayed over with stonechip to prevent rust.
I cranked the car over a few times with the HT leads and plugs pulled till the oil pressure light went out to prime the cooler and it fired up first time")
The cooler has given me almost 3/4 litre extra capacity of oil which is a huge bonus
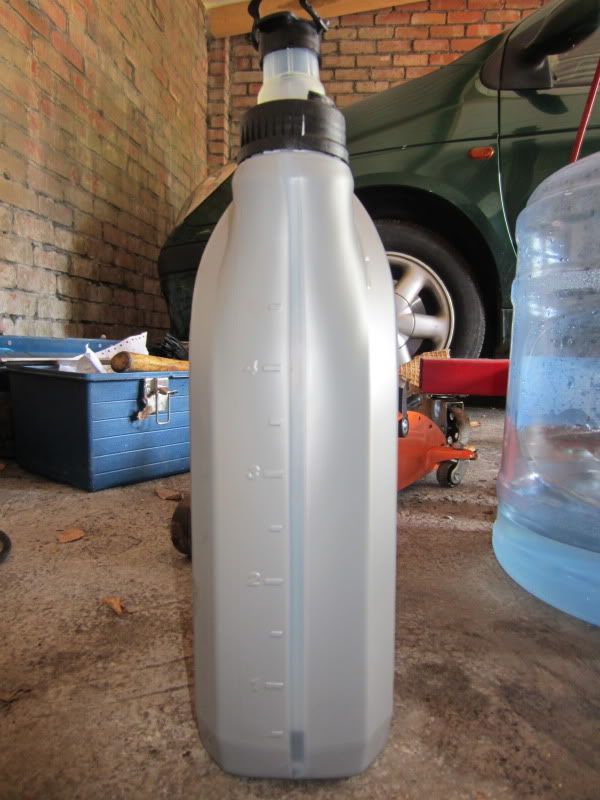
This was brand new
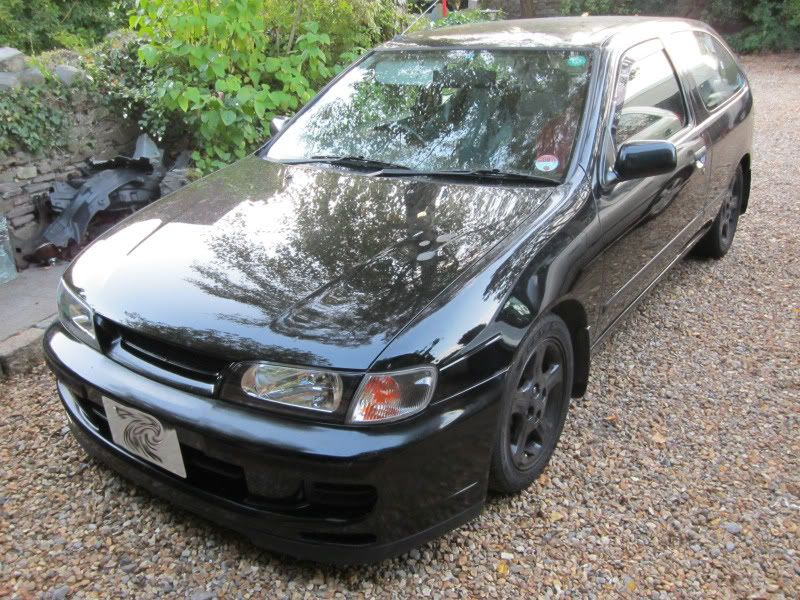
almost complete, green wheels are off now for the winter.
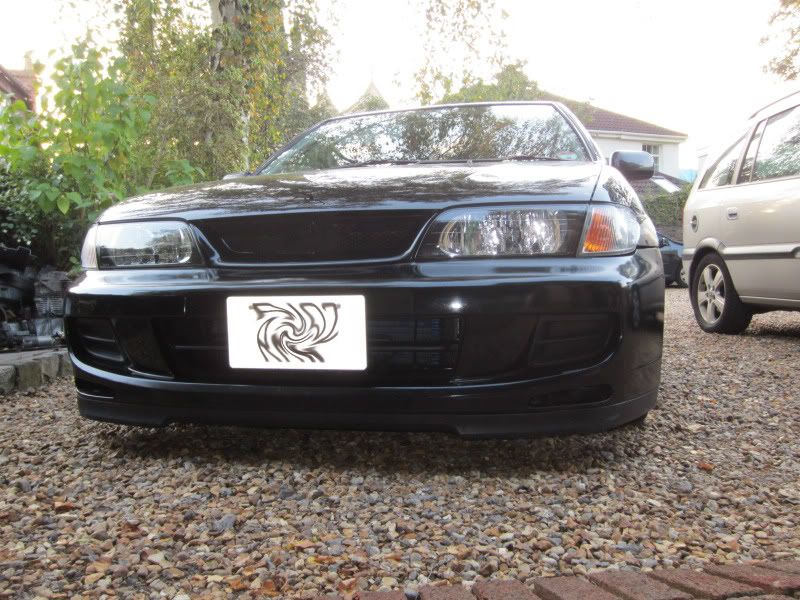
and back down with the bumper all fitted up nice and snug
cheeky cooler
I took it out and Im happy to report it feels very quick, I did have a moment of no lobes.... the cause was the RSM not being powered on, checked back through the wiring and the earth cable had been pulled from the loom, most likely from being pulled through the firewall.
All in all a hell of a week sweating my tits off but it feels good now Ive done it, mods added weight saved things future proofed and lots of improvements
Few things that have annoyed me I took the time to fix
the little pockets under the scuttle panel that water happily sits in, Ive drilled two drain holes either side, these were sprayed over with stonechip to prevent rust.
I cranked the car over a few times with the HT leads and plugs pulled till the oil pressure light went out to prime the cooler and it fired up first time
The cooler has given me almost 3/4 litre extra capacity of oil which is a huge bonus
This was brand new
almost complete, green wheels are off now for the winter.
and back down with the bumper all fitted up nice and snug
cheeky cooler
I took it out and Im happy to report it feels very quick, I did have a moment of no lobes.... the cause was the RSM not being powered on, checked back through the wiring and the earth cable had been pulled from the loom, most likely from being pulled through the firewall.
All in all a hell of a week sweating my tits off but it feels good now Ive done it, mods added weight saved things future proofed and lots of improvements
shaggy_master
brapp brapp!
Productive
Well done man. Just think of the labour charges you've dodged there, £500 worth?
Joe
Well done man. Just think of the labour charges you've dodged there, £500 worth?
Joe