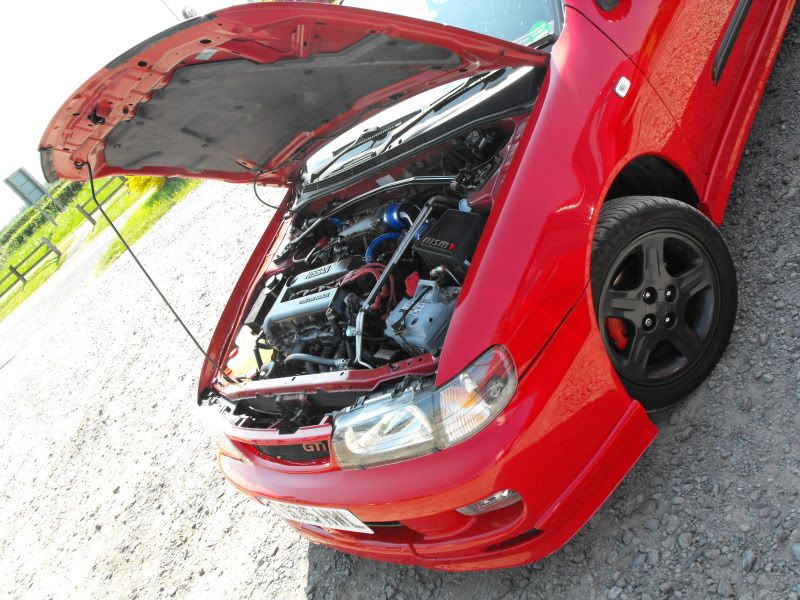
dunno why that n/s/r wheel looks milky?, maybe the beige toyota avensis next to me in the works carpark.
this one that paul took looks better
d
this one that paul took looks better
d
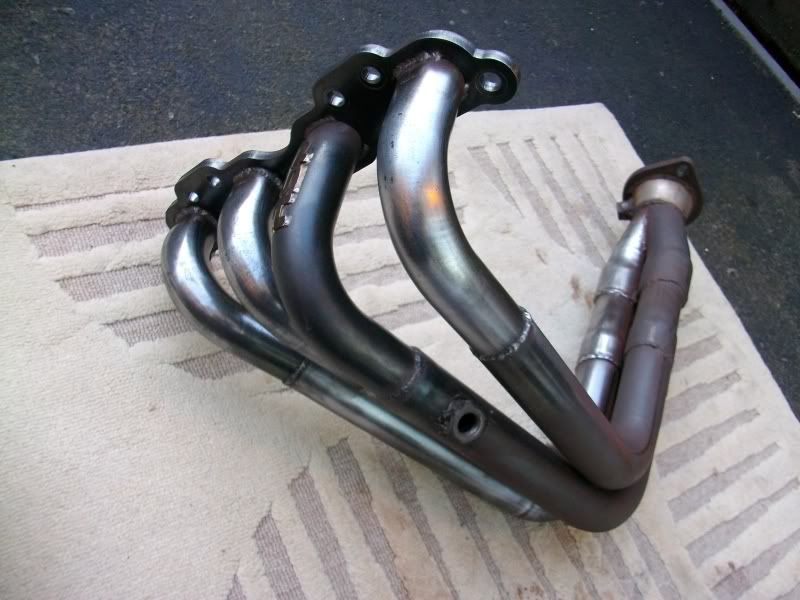
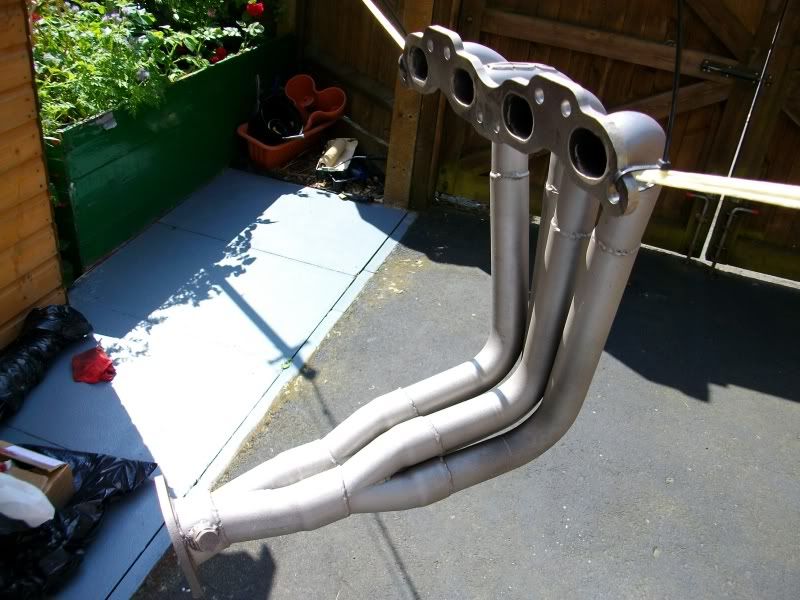
Very nice dave. For a second there i thought it was a 4 to 1. Those primaries are tres long
Steve
Wee update - me fuji off
it is
")
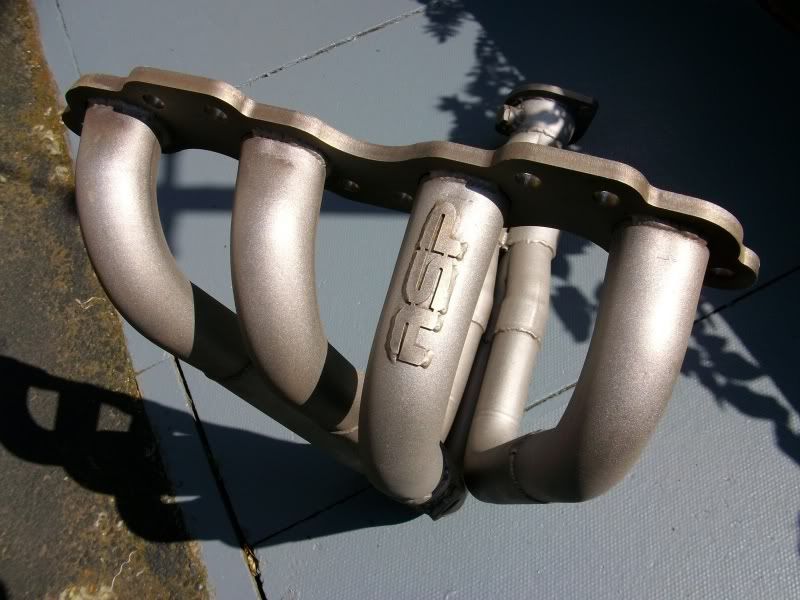
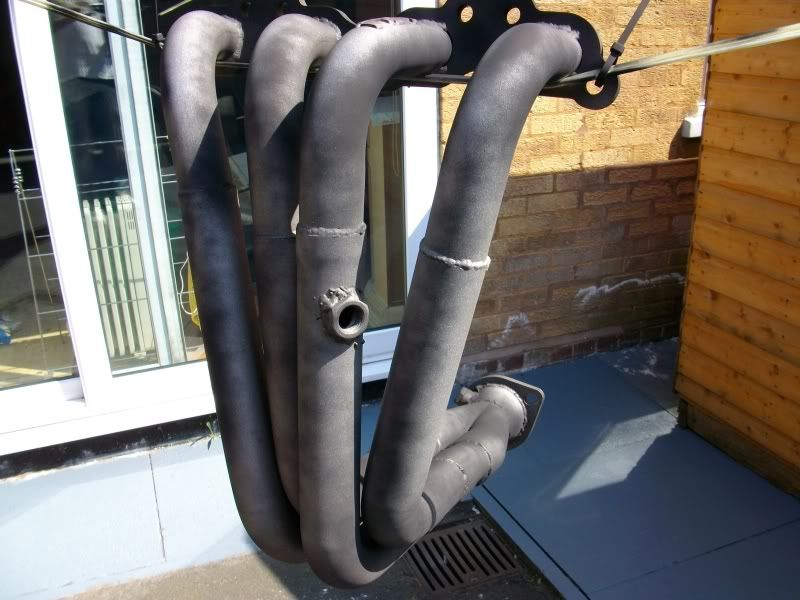
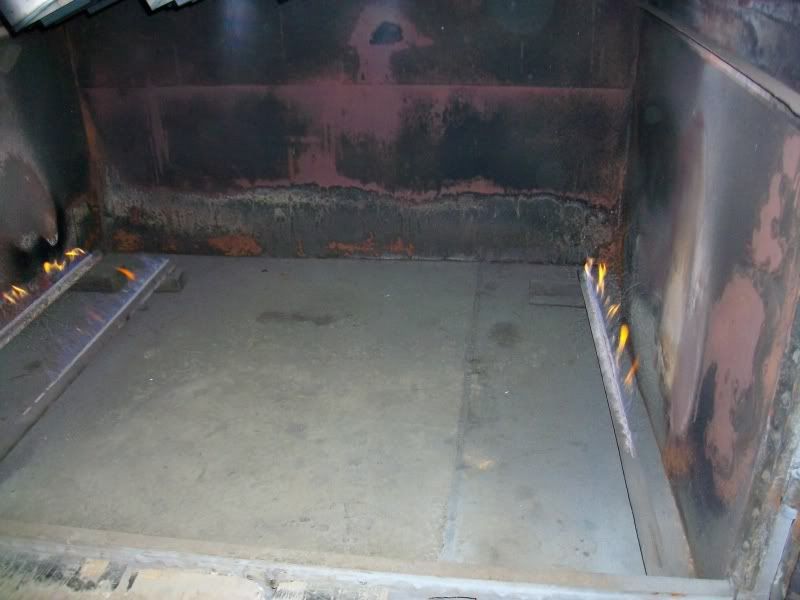
no idea with wrapping mild steel, soulds like a big no no coated or not ed.
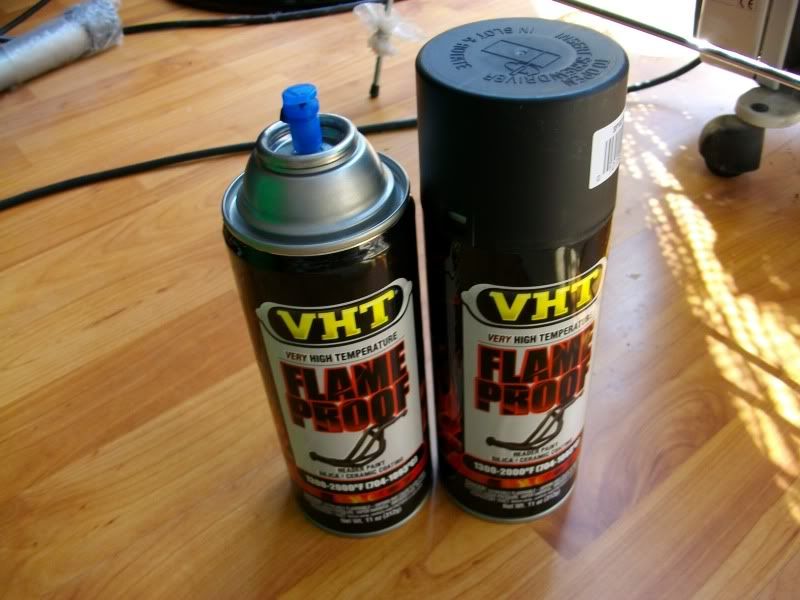
spray was 22 notes usautos1997 on eBay
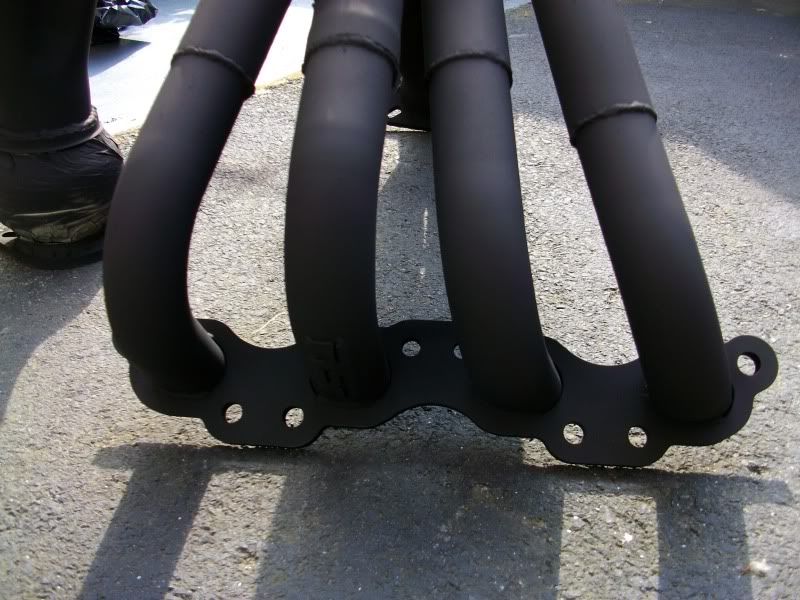
with high temp paint the most important thing along with good prep is the curing afterwards
dd