'The Sleeper'

while were on the subject, dont worry about the state of the interior ill be spraying all black at some stage

222799_10150184798921704_725276703_6929583_6724612_n.jpg
 
Ok, today was the day where I stepped into the unknown and took on the task of removing the spare wheel well and making the rear section as flat as possible, while also trying to remove as much unnecessary weight as possible.

So here's how it started...

RearBodyModification1.jpg


As usual, a number of bolts that hold on the bumper sheared off, but fortunately I found that only the screws at the far edge of the wings and the rear button clips are really necessary to hold the bumper in place securely.

So bumper off, it ended up looking like this...

RearBodyModification2.jpg


After some investigation work, I found that there was quite a lot of material back there that didn't really do anything, so out came the angle grinder and I started cutting...

No going back now...

RearBodyModification3.jpg


and after a few hours of cutting, chopping and swearing (bloody Nissans are sharp), it ended up looking like this...

RearBodyModification4.jpg


After some prep work with the flap disc, the floor was cut to shape, sealer applied then bolted down securely. After that was done, it was looking better and with some body sealer on the underside and some paint on the inside, it was looking good...

RearBodyModification5.jpg


The only thing left to do was trim the bumper of all unnecessary weight and try and relieve it of its parachute effect, so another flap disc was attached and an hour later it was a bit lighter. I used a hole saw to cut the holes in the rear to let any unwanted underbody air escape and after some sanding to smooth it off it was looking good...

RearBodyModification6.jpg


Minus the materials I used, the total weight saved was just over 7 kgs...BONUS!!!

Next up, the clutch!
 
Looking good bud! I was a bit worried with that last picture though, got some bad memories of this muppet...

1287926411.jpg


By the way, don't you need a spare wheel well for MOT?
 
Looking good bud! I was a bit worried with that last picture though, got some bad memories of this muppet...

1287926411.jpg


By the way, don't you need a spare wheel well for MOT?

Hahahahaha, I remember seeing a Saxo like that at Crail many moons ago, thinking 'WTF!!!'

No, you don't need a spare wheel well for MOT.

You don't even need a spare wheel.

In fact, you'd be suprised how little comes under an MOT and how easy it is to get around the requirements.

TRICKS OF THE TRADE BABY!!!
 
The only good thing about living up here when it comes to AOC meets/track days is we get to see this and get passenger rides and you lot don't :lol:

Looking good mate, looking forward to the 12th even more!
 
The only good thing about living up here when it comes to AOC meets/track days is we get to see this and get passenger rides and you lot don't :lol:

Looking good mate, looking forward to the 12th even more!

aint no passenger seat for us to steal rides in anymore unless we sit where its meant to be and hold on for dear life lol
 
OK, as some of you may or may not know, I have been after a front upper strut brace for a while. In fact I have been after one since I got the car.

When I bought the car back in September 2007, it did have a factory fitted GTi strut brace, but unfortunately due to my intake manifold, I wasn't able to use it due to severe clearance issues.

I had looked at a number of alternatives, including the Whiteline and NISMO versions, plus a host of versions designed for the Pulsar GTiR, but until recently, none were suitable.

I had even thought about making one from scratch, but too many other things have taken a priority, so the idea was put to the side.

Anyways, while I was at a Trackday in November at Knockhill, I got talking to an old friend who had purchased a GTiR for the track and it had come with a SPATS version of the brace.

Due to it's design, it looked like it could be made to fit, as it could be made to sweep around the manifold.

Anyways, after months of searching, I finally found a 2nd hand one for sale and promptly purchased it.

After receiving it today, I quickly found that due to my modified strut towers, I would not be able to fit the brace, as the holes didn't line up or would they allow any sort of fitment.

So after a few minutes of head scratching or swearing, I decided that I wanted to keep the towers as they were and simply modify the brace to suit. I decided that I would remove the mounting brackets, spin them 90 degrees, cut off one of the original mount points and redrill the bracket to line up. Then with a bit of luck I would be able to sit the brace underneath and behind the intake manifold.

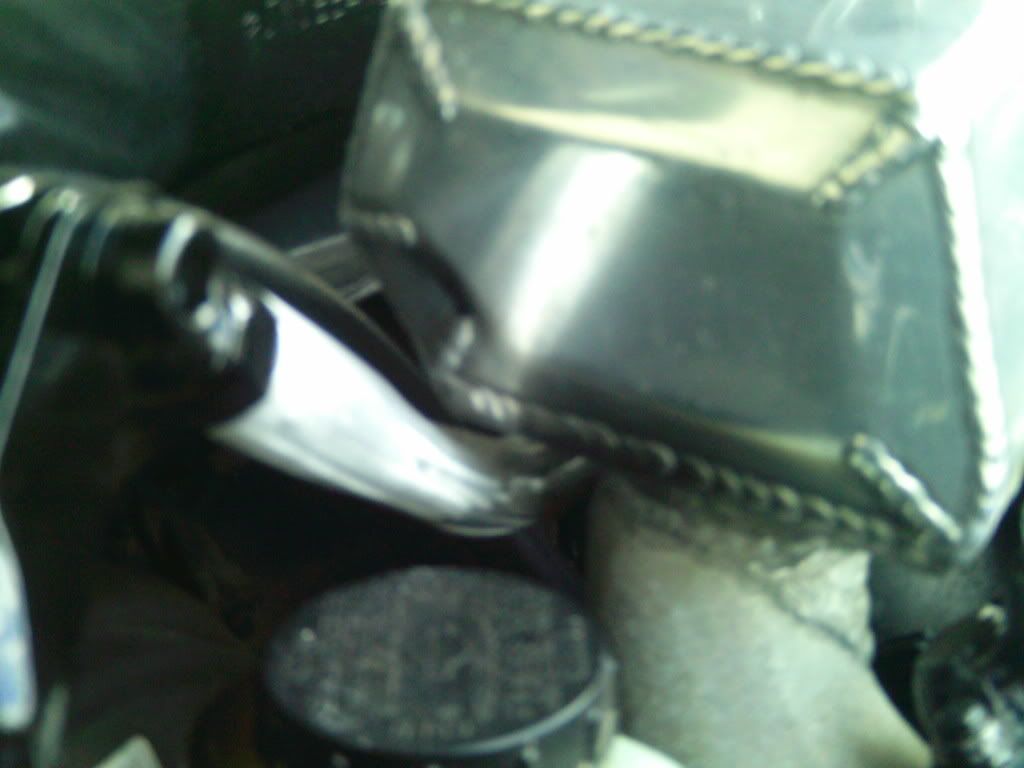
Well after a few hours of messing about, I finally got it fitted and only had to make a slight indentation to clear the intake runner on number 1 cylinder. As you can see, it was pretty close...

EngineBay20thMay20112.jpg


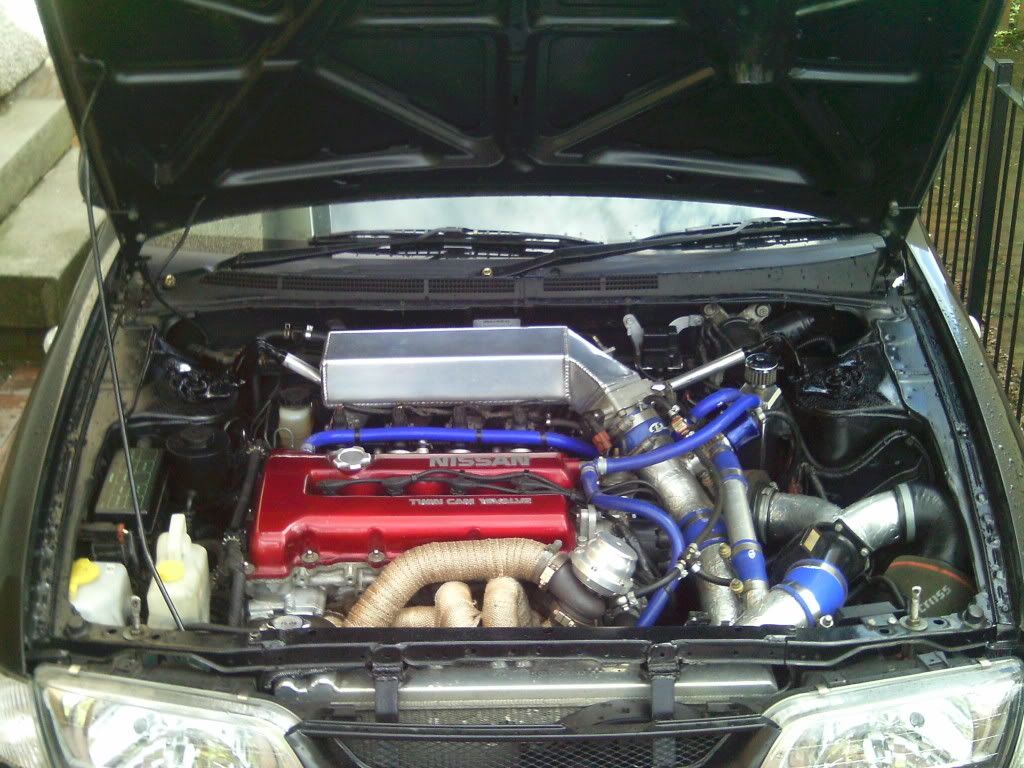
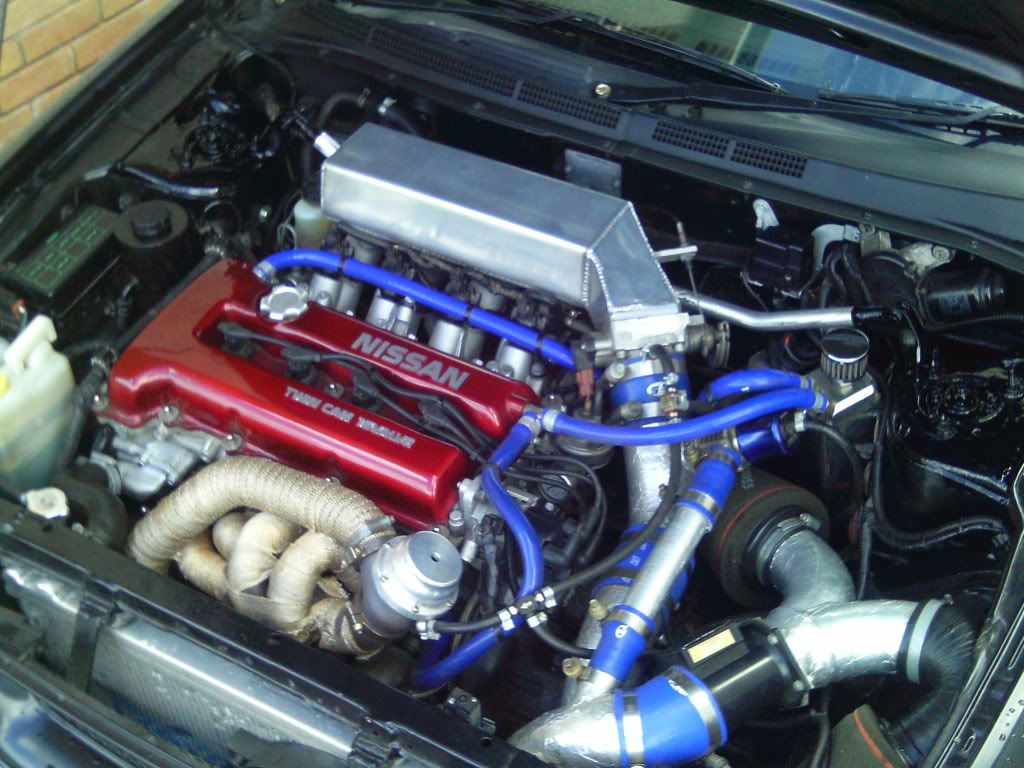
After a lick of paint, here's how the engine bay is now looking...

EngineBay20thMay20111.jpg


EngineBay20thMay20113.jpg


Another job done!

Now where is my bloody clutch? (4 days now in Customs!!!)
 
Back
Top Bottom