Change of direction Daily to Track toy

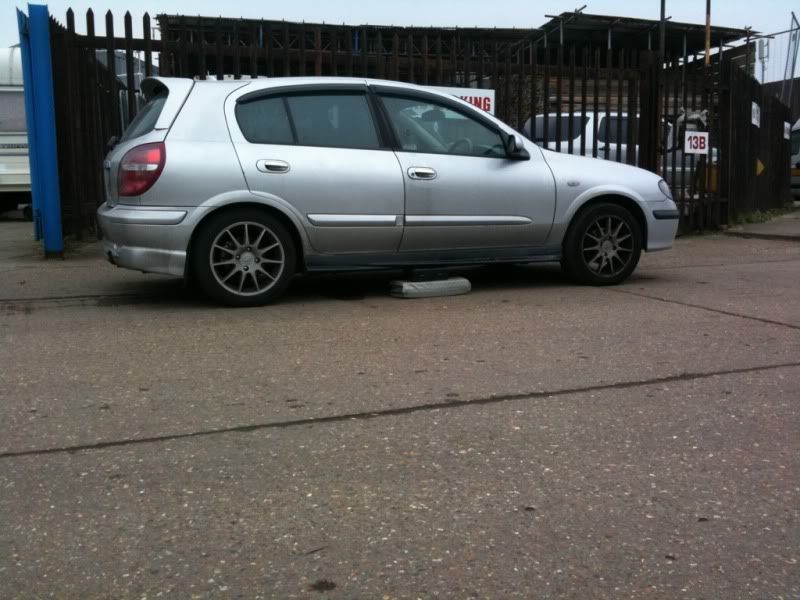
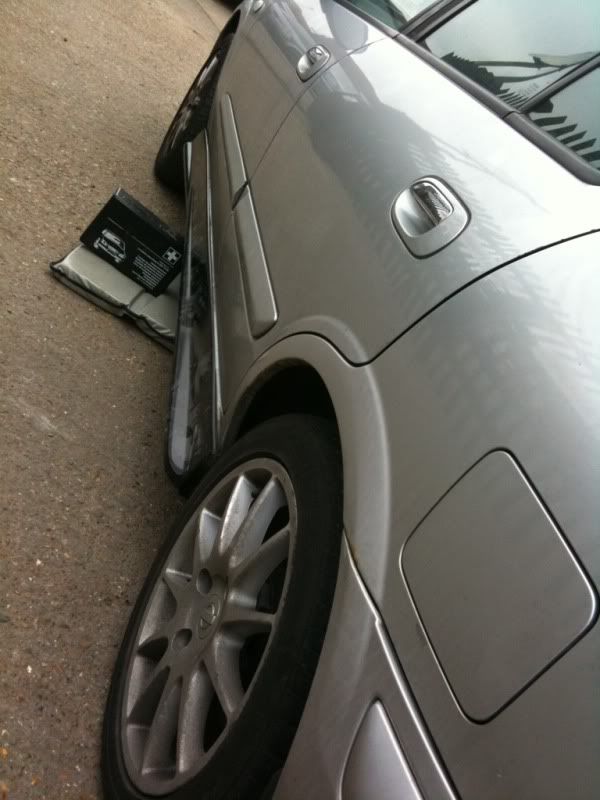
Right Sunday (15th Jan) was a productive day as I finally fitted my shark fin aerial and ran the wiring for the booster and my P12 auto dimming rear view mirror. After a minor issue it's all working but the signal quality leaves a lot to be desired compared to the one on GTT. It might be a different make or that I need to check the aerial cable for any damage but if I cannot improve on the signal it may well end up being replaced by the OEM one.

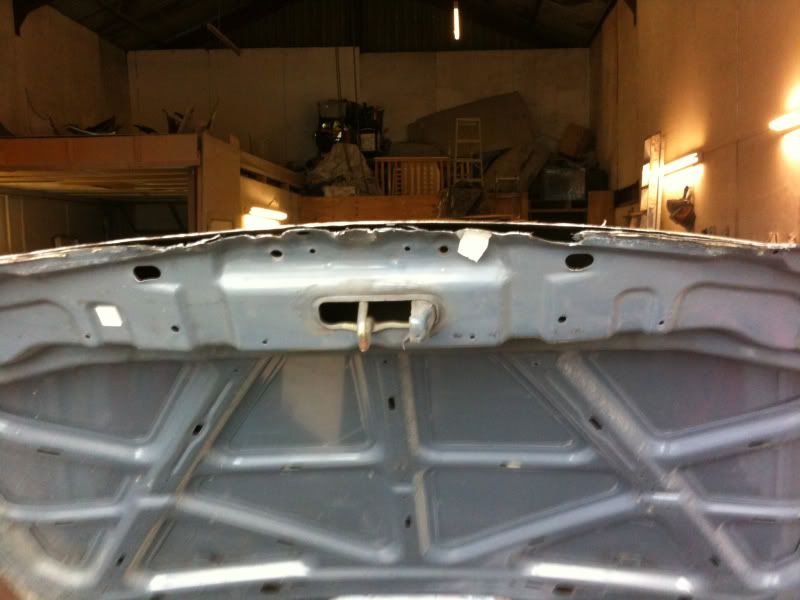
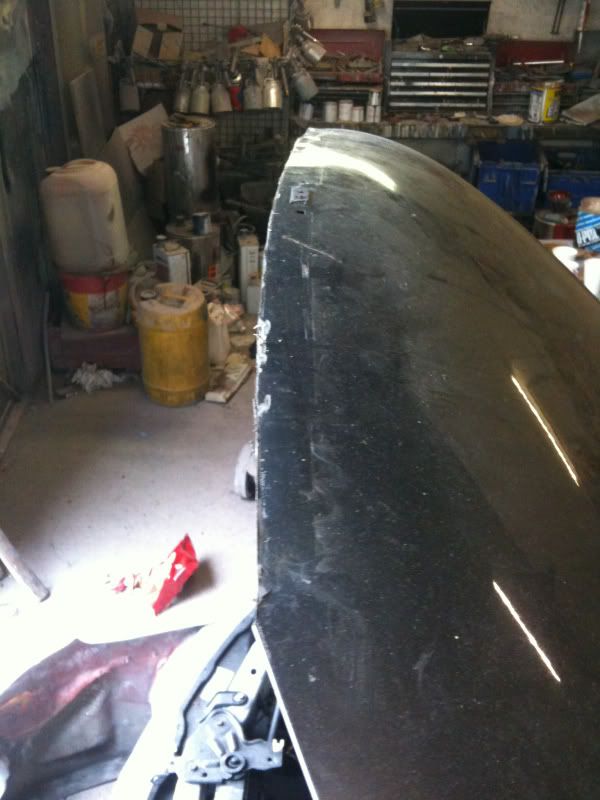
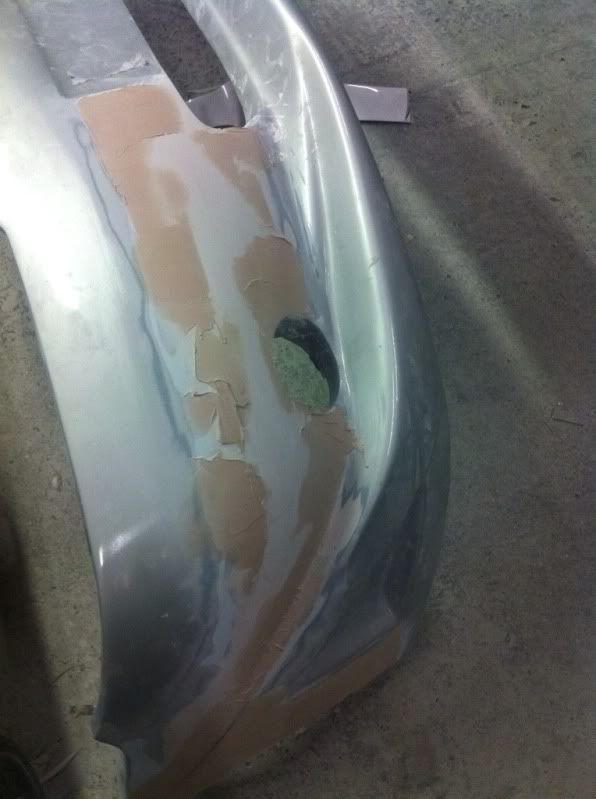
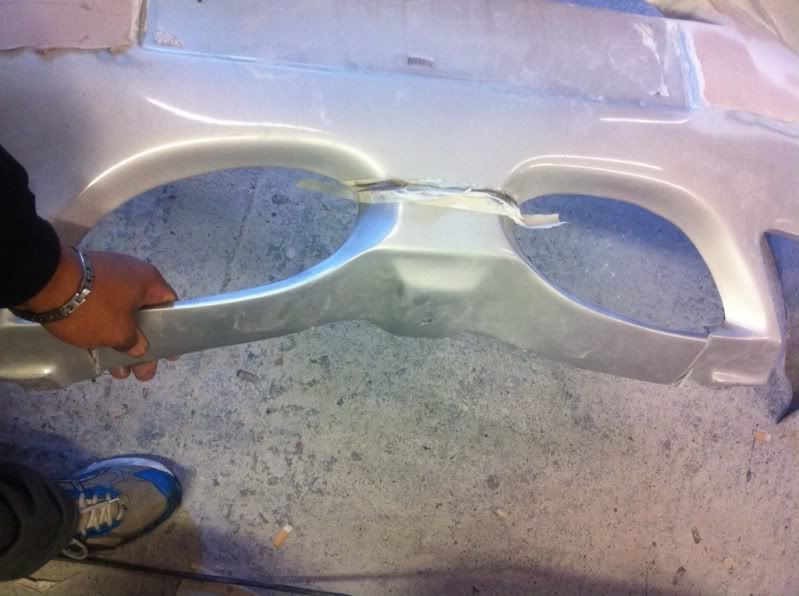
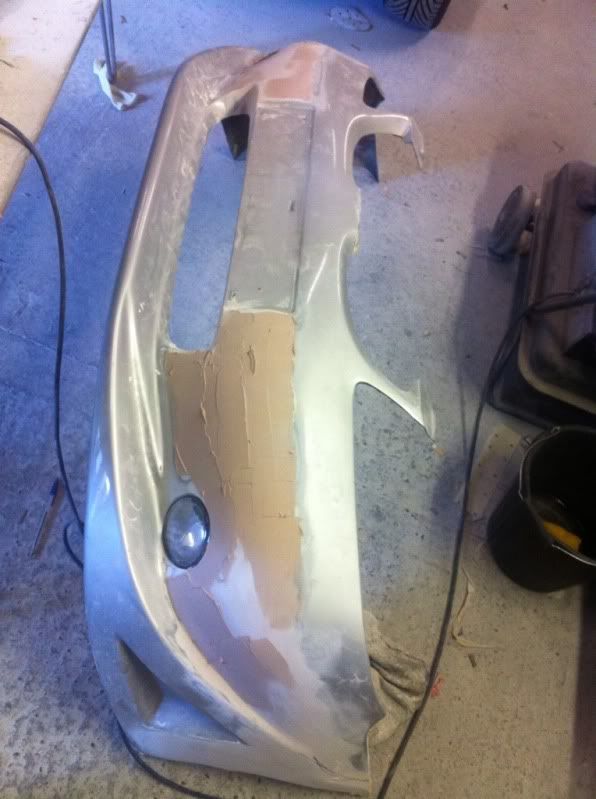
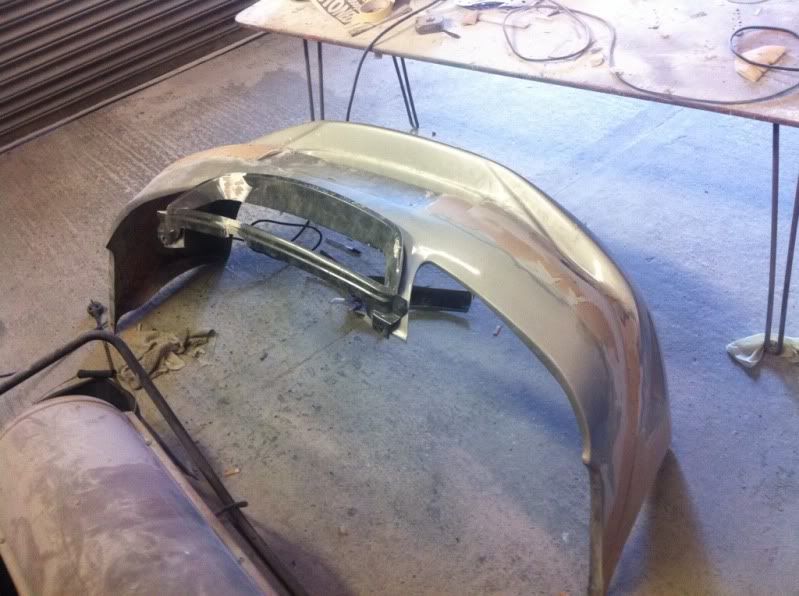
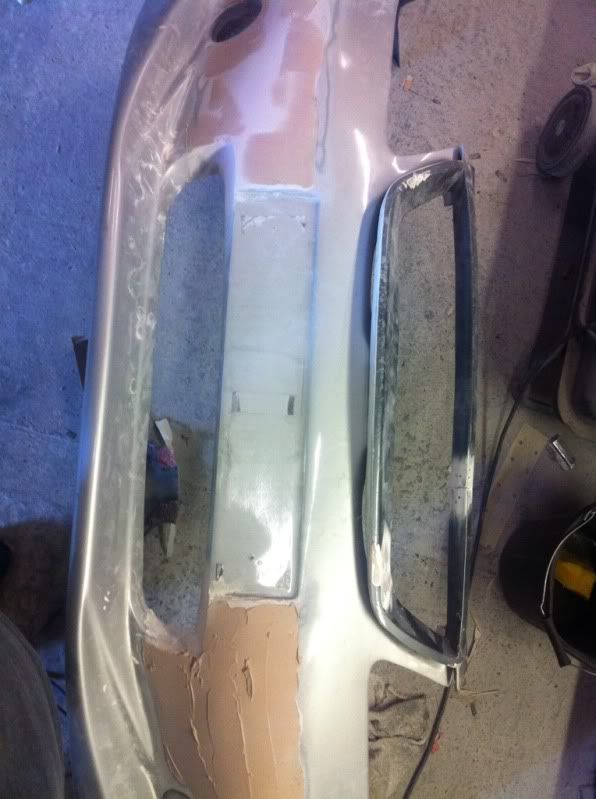
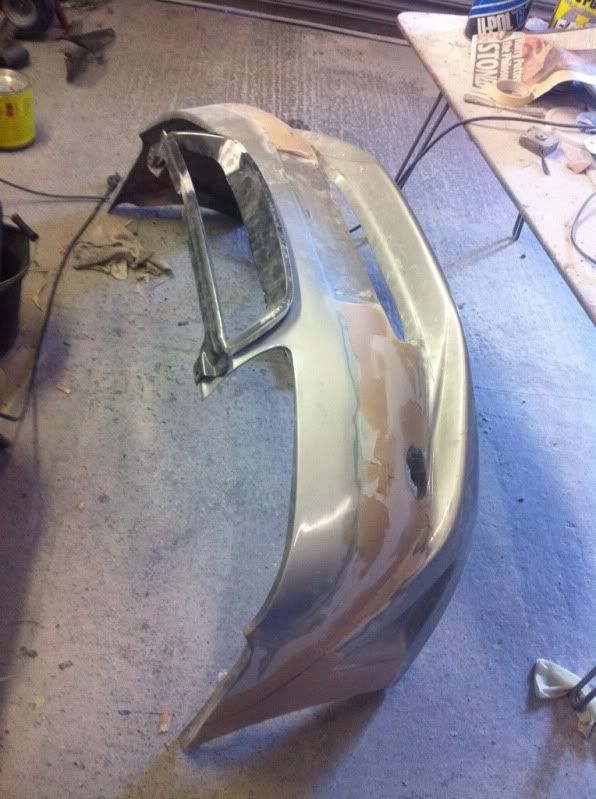
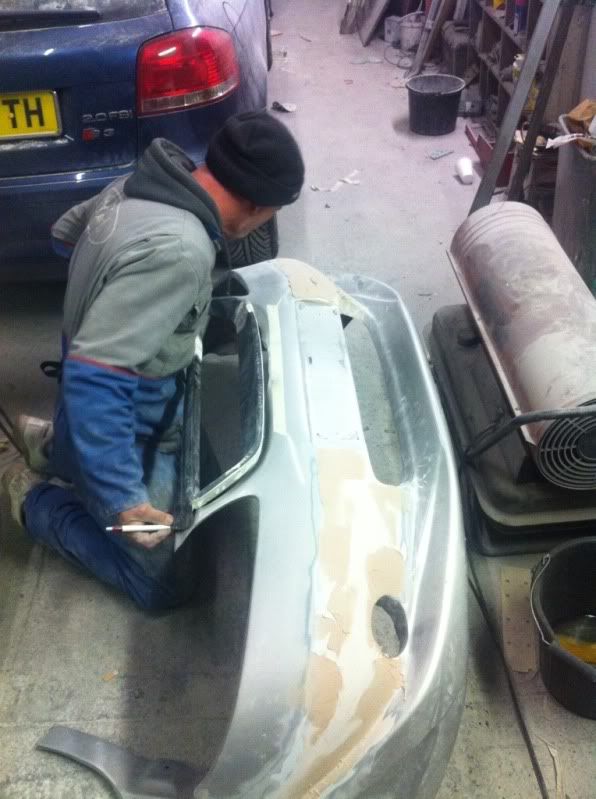
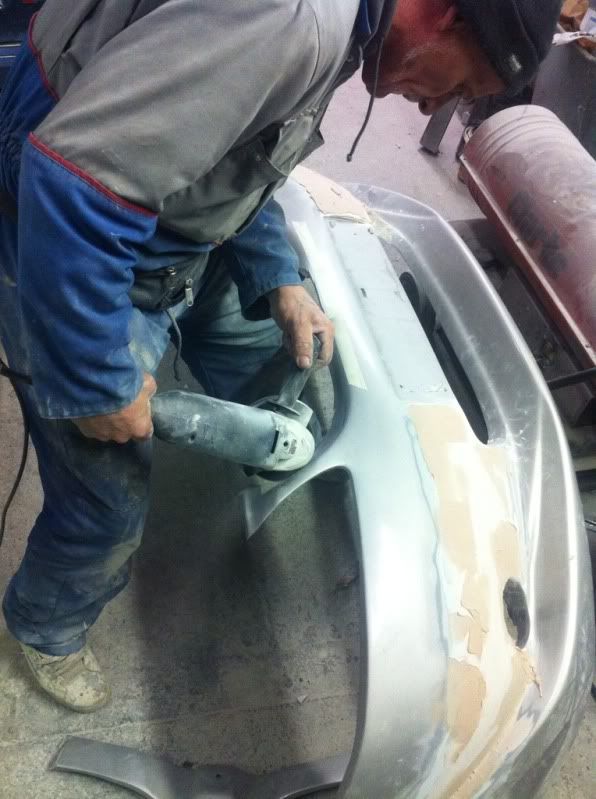
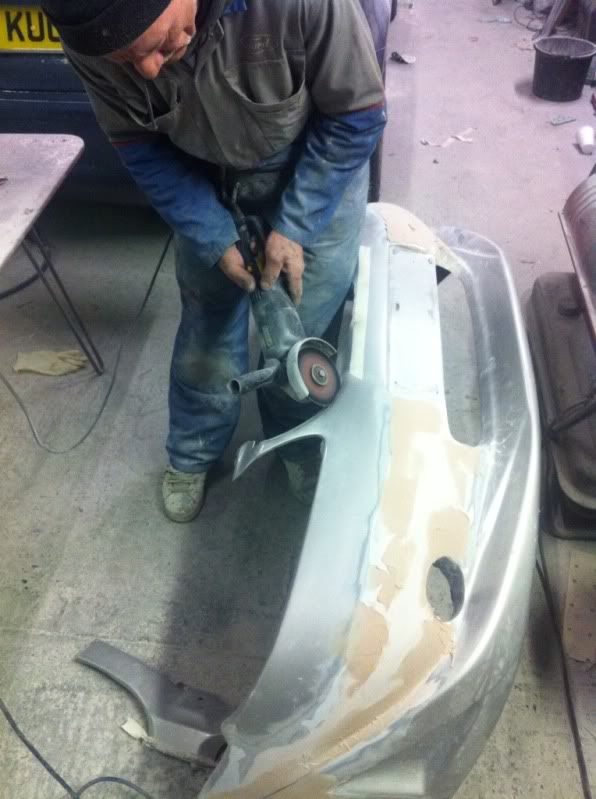
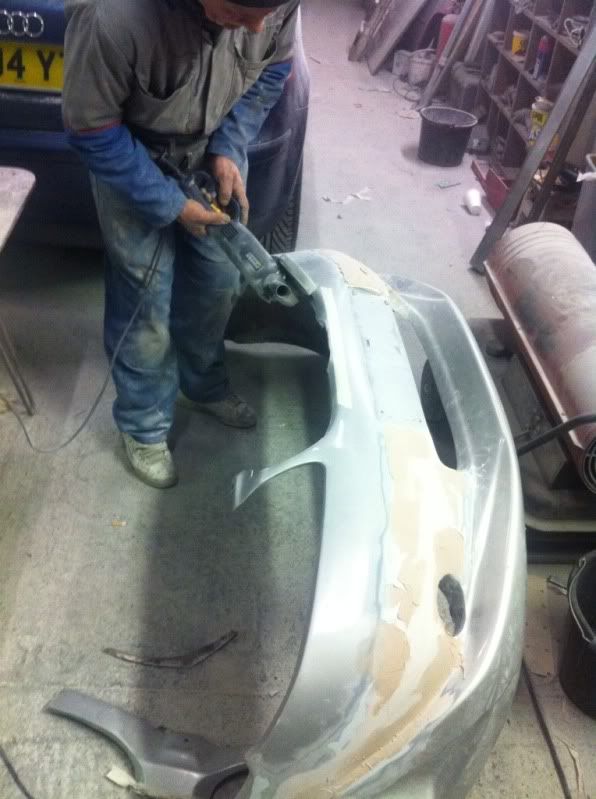
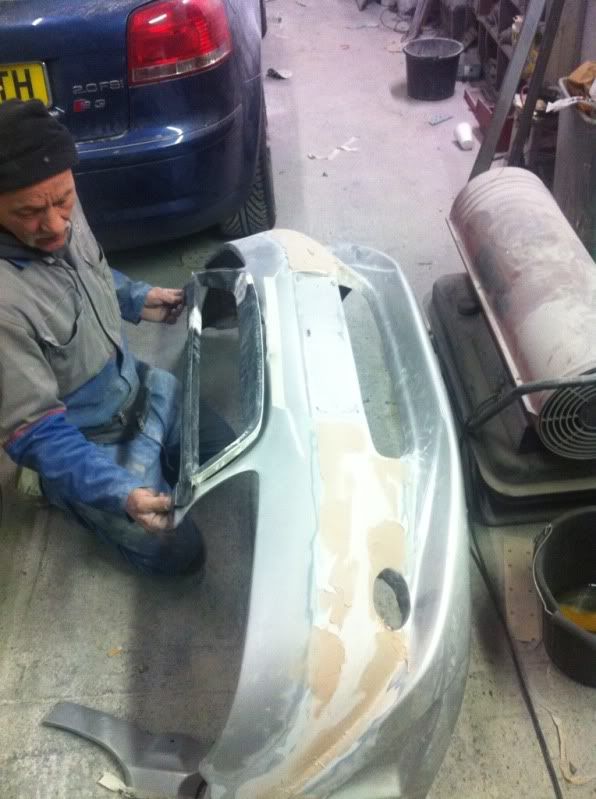
Unfortunately a camera issue stopped me from grabbing some images of the bumper but it is coming along well and time permitting it could be fitted by weekend with only the bonnet modification holding up the finishing of the work.

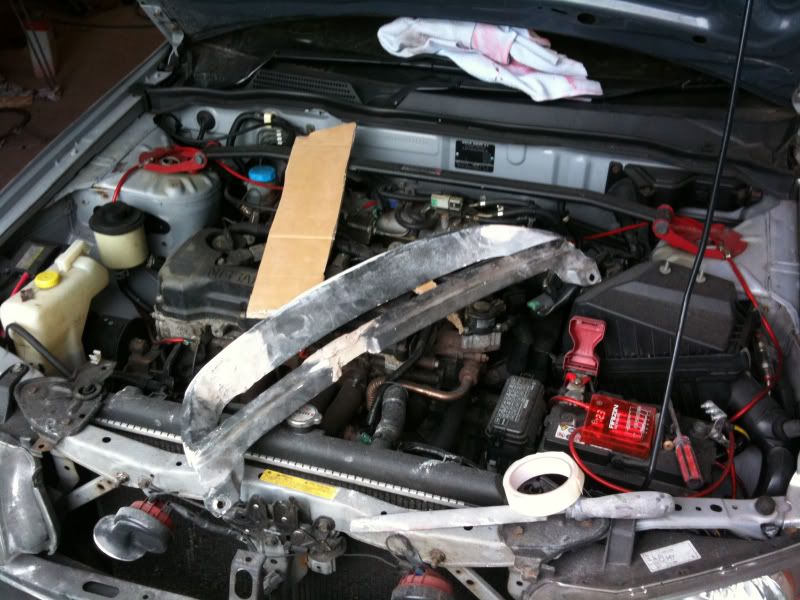
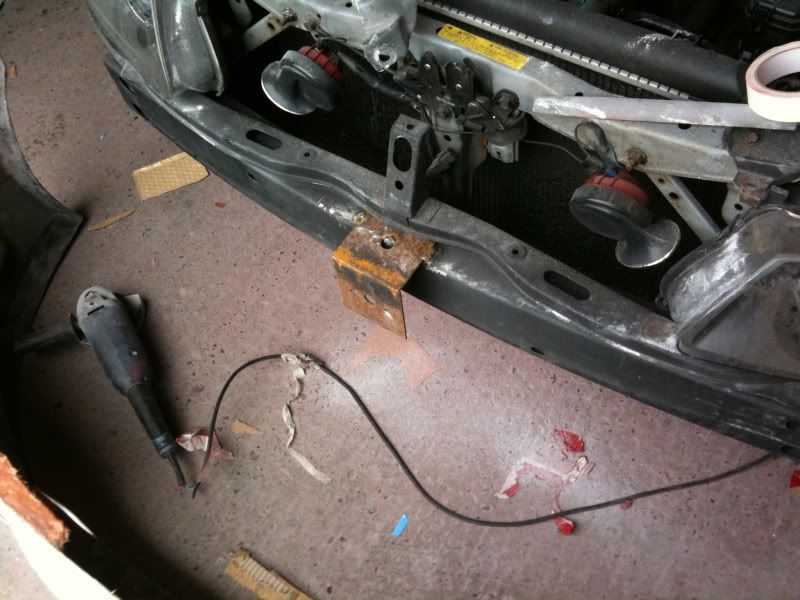
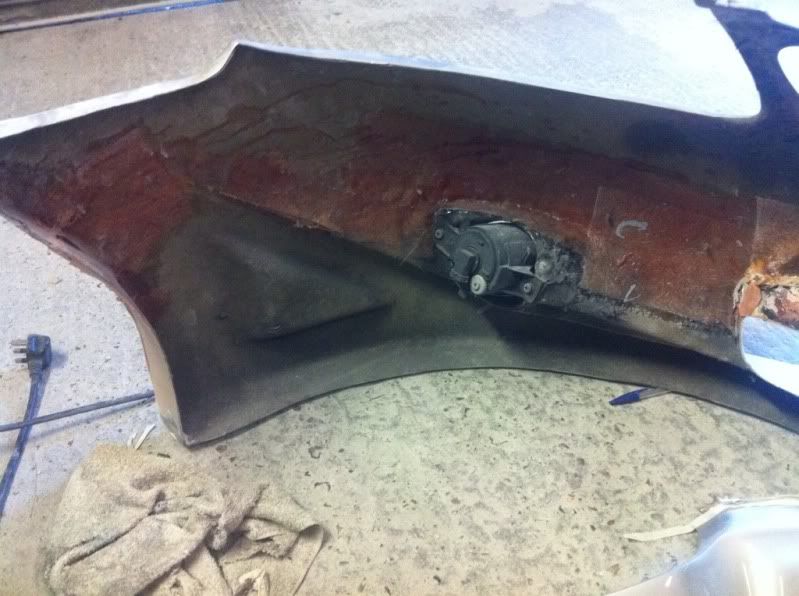
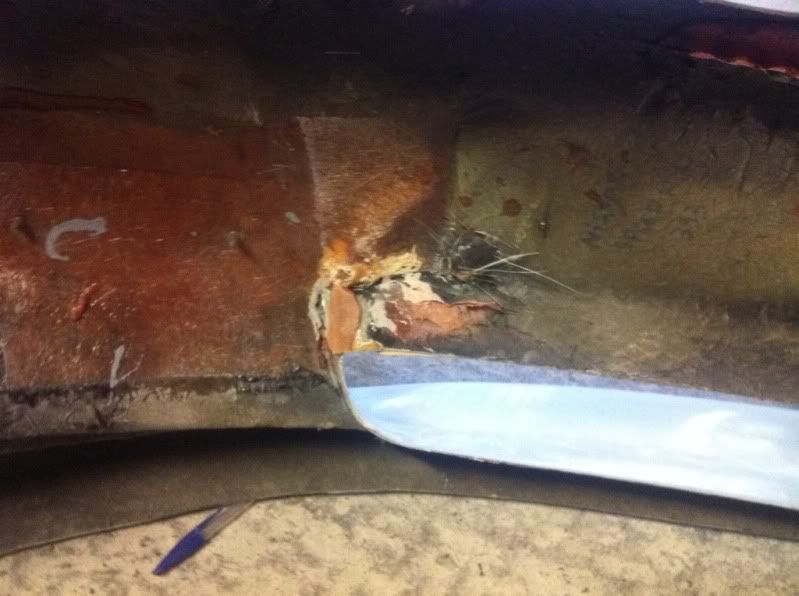
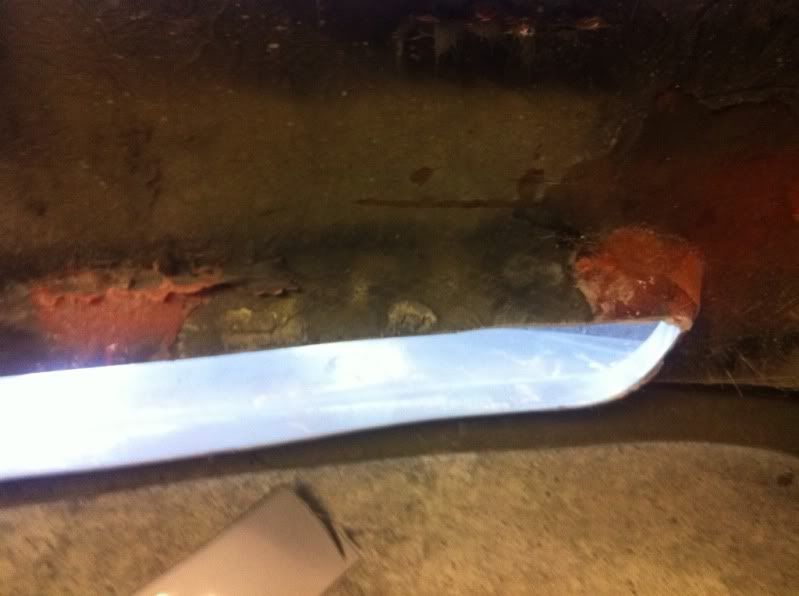
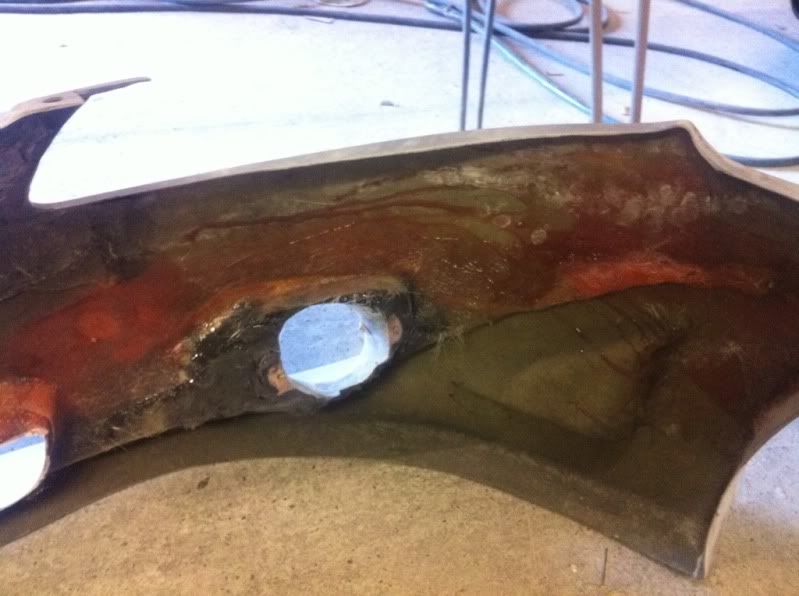
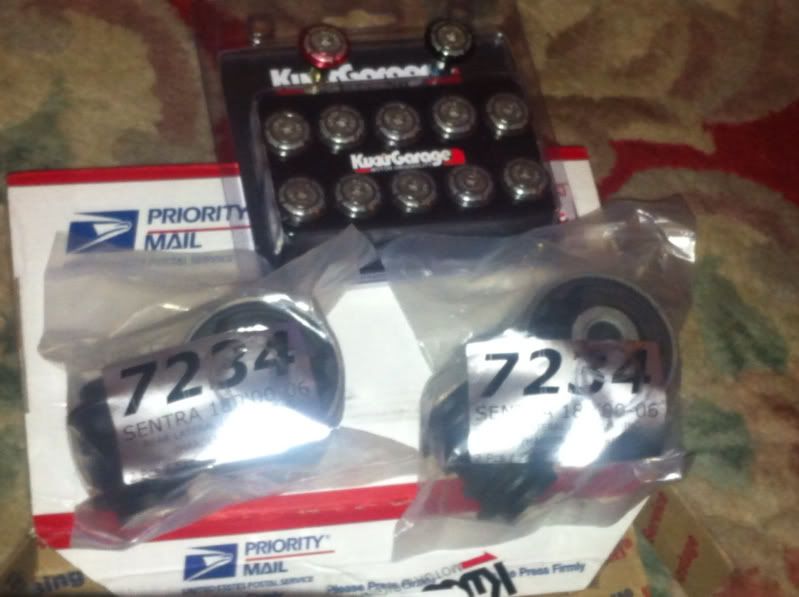
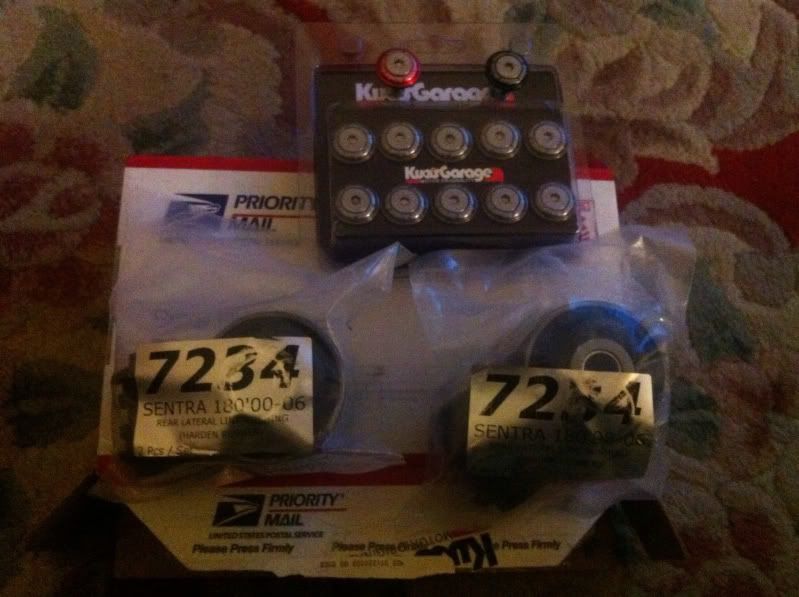
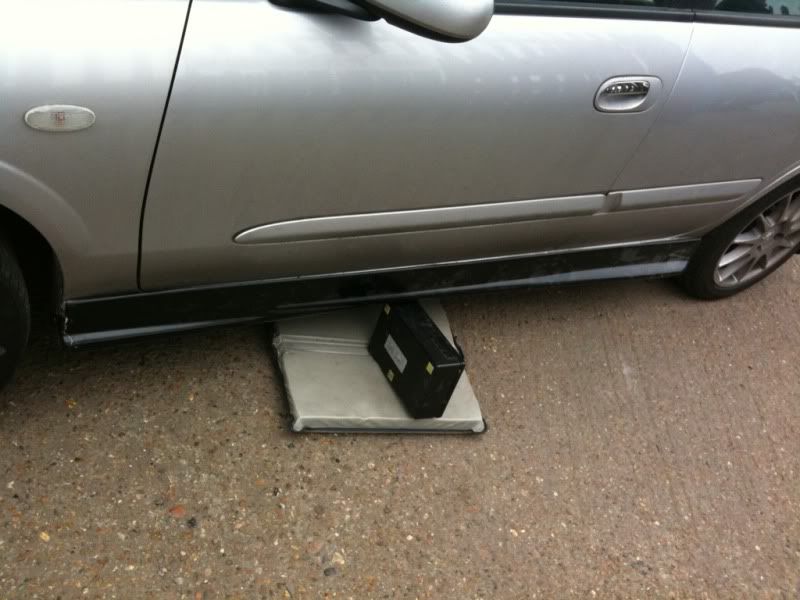
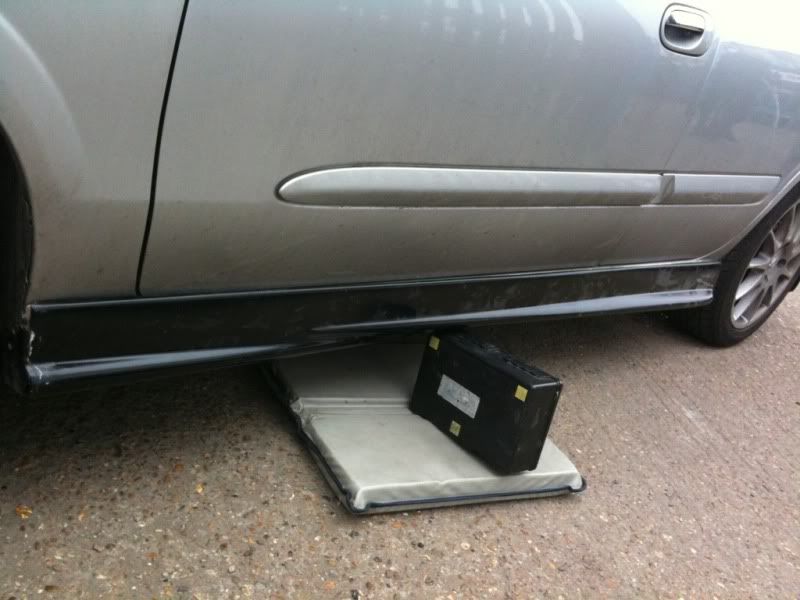
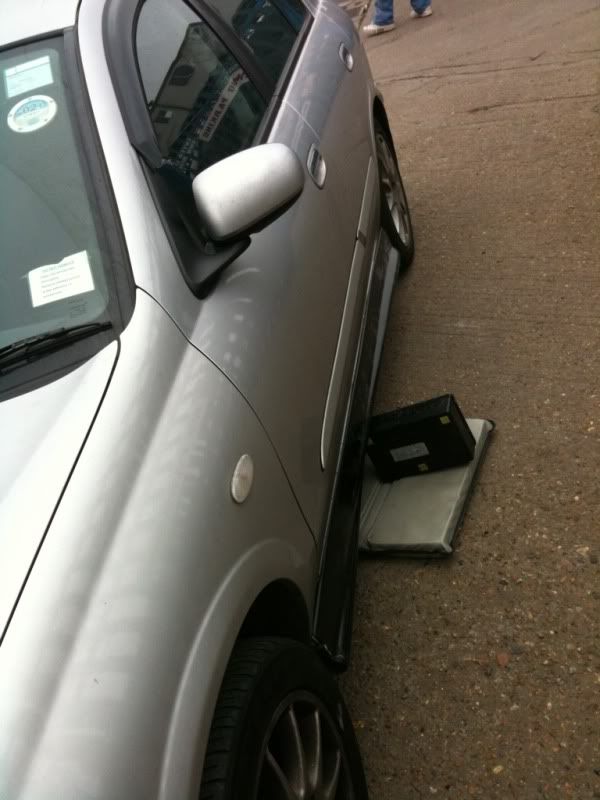
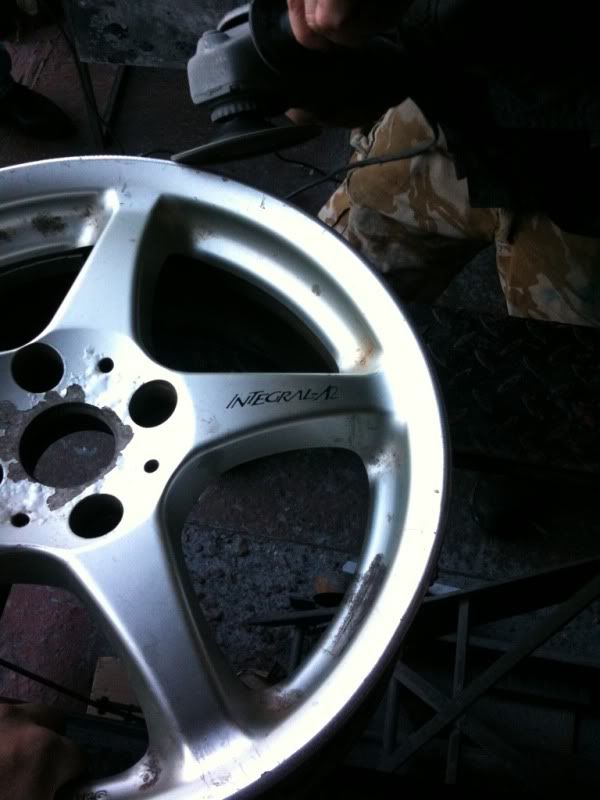
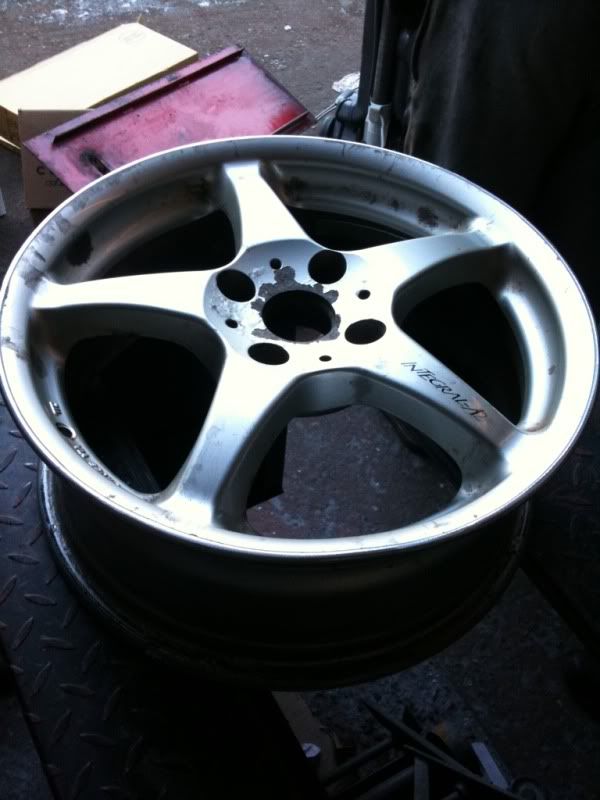
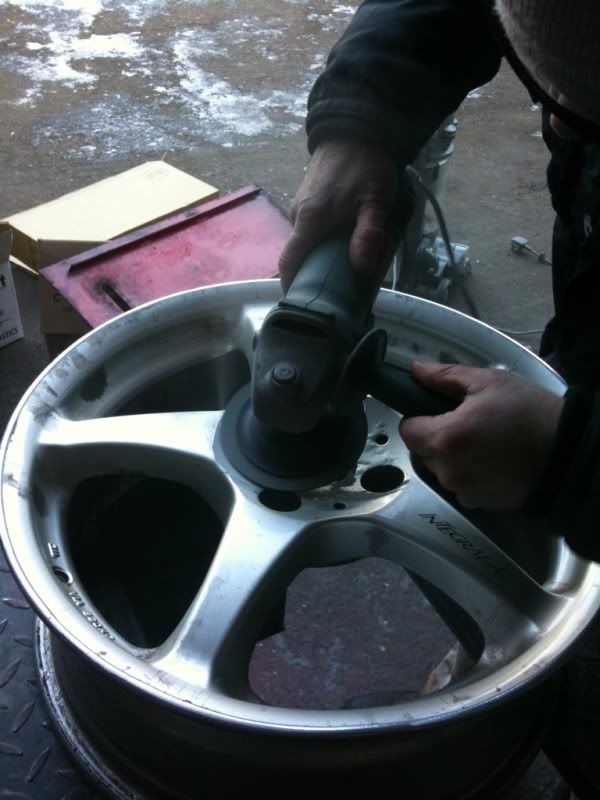
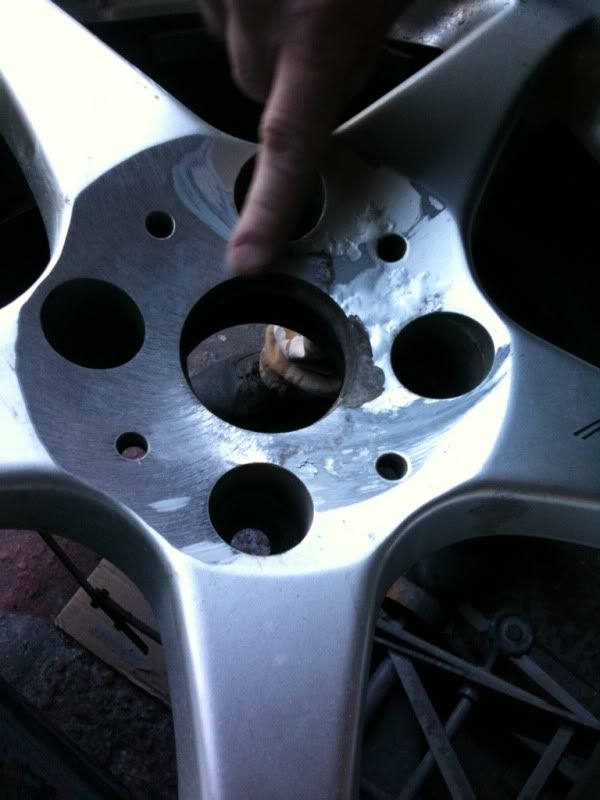
Soon coilovers and poly bushes will be fitted along with some rust removal/treatment and the cosmetic side of the car will be as close to finished as is possible for me.


Sent from my  iPad® using Tapatalk
 
Bumper update 21/01/12:

we have progress and some images as the phone cam decided to play ball with me today well partially. The main section of the bumper has been re-joined together and is now stronger then it was prior to the removal of 20mm throughout the entire depth of the bumper.
ce0ee250.jpg


71d983f5.jpg


fdd01011.jpg


The central opening is now thinner and looks less out of place as it did before.
cbafc57e.jpg


a6f94f42.jpg


As we were at it today John decided to start prepping the bumper for the grill so off when the much hated kidney grills
9fcf4794.jpg


43495ba9.jpg


Then the fine tuning of the bumper to get it ready for the open grill and the sleeve that it will sit into.
c01a0fa4.jpg


74a777cb.jpg


b5bb2fdf.jpg


John making sure his measurements were spot on and fitting holes lined up
a51ba9b6.jpg


fb5eb299.jpg


e8239200.jpg


b1b1a4a6.jpg


7124312f.jpg


01525a62.jpg


The camera then gave up the ghost and wouldn't load so no more images of the grill in it's final resting place but will grab some of them in the coming days as and when John manages to fit some more work on the car around other jobs he has booked in.

We also trial fitted the GTi sideskirts and they slotted on very snugly however the length appeared correct but the depth is too deep so the top edge will require trimming down so the skirt can sit correctly to the sill and the top not obstruct the doors opening. Also the previous repair to the end caps will need re-doing as the area needs keying so the fibre glass no longer flakes off but all is in hand and the skirts will be blended into the sill once we drill access holes in it and fill it with wax-oil.

Thanks for looking and I'm happy with the progress even if I'm now driving around with no sideskirts and OEM bumper till the work is nearer completion.


Sent from my  iPad® using Tapatalk
 
New parts arrived today (24/01/12) thanks to Steven from TDMimports & Kuo's Garage, talkabout super fast delivery!

Rear end lateral bushes
6c0921fa.jpg


Set of washers for GTT
45915e1b.jpg


and two sample ones to show the different colours as I''m kinda liking the red/black scheme for the N16 engine bay
ab52c1d0.jpg


Sent from my  iPad® using Tapatalk
 
Ok a brief update (05/02/12) before the snow stopped play planned for today and a request for opinions regarding the new sideskirts. Now these are phase 1 GTi skirts and due to the way the wing fits to the sill I am tempted to fit these but make it so that should I ever get a prang to the front wings they are easily removeable. Now to do this the plan is to cut the skirts so that there is a seam that matches the wing on the sill. I am still undecided on this option and may need to see a photochop to make my mind up.

Anyway here are some images of the skirt against the car, first images show the skirt is on the wrong side (before anyone states the obvious) and I made sure to check the correct side so these can be fitted correctly unlike the previous set.

7cb609f4.jpg


492d07a8.jpg


0773c2dd.jpg


4992fe3f.jpg


b4d2c5cd.jpg


6c04a398.jpg


Guess you kinda get the idea as I went a bit picture happy...
dec57934.jpg


Now on the proper side a few pics
3feced74.jpg


8b0b41cb.jpg


c0b71867.jpg


d9eda941.jpg


Due to the snow there was no trial fitting of the bumper or work on the cutting of the bonnet hopefully weather permitting more progress next weekend.


Sent from my  iPad® using Tapatalk
 
Ok last weekend (12/02/12) met up with Tom and Fliss who brought my new alloys with them as per page 28, many thanks and was good to catch up with you guys next time will have to pop round for a cuppa and a meal etc?

So due to the snow the alloys were given pride of place in the parts store (as Laurens will recall means the living room). So yesterday after meeting up with Ereg (Neeraj) to sort out the collection of his quaife diff we headed over to my mates yard and with them to get the tyres off and to my surprise find right under my nose find my very good pal Nigel offering to refurb them as he has some free time as his custom bike build is almost finished.

So here are a few pics of the wheels without rubber and Nigel making a start on prepping the wheels and removing all jank etc (pic heavy camera phone went wild)

f557beb1.jpg


e22d9373.jpg


Angle grinder at the ready and a steady hand
bb196774.jpg


b794b348.jpg


c0437f6d.jpg


Damn I think the kerb won that battle?
50917175.jpg


One half almost done
91b11668.jpg


8d16313a.jpg


Outer edge worked down prior to the finer attention is applied to it
52be969e.jpg


Jank corrosion before
3c25885a.jpg


During
a15c376d.jpg


944aa40e.jpg


I didn't ask why he was smiling at the time but I guess any hole is a goal?
186369dc.jpg


32cf1c6e.jpg


a963e8cb.jpg


2f1aa947.jpg


Inner edges
13e5f3ed.jpg


fe7f0a80.jpg


bc452daf.jpg


112374e9.jpg


Like I said this was just Nigel showing me the start of the process loads more still to do but doubt I'll get any pics along the way but will do once the job has been finished, gotta love friends in the right places.


Sent from my  iPad® using Tapatalk
 
Here are a few images of the refurb he has just completed for custom bike build he is doing for a mate:

aa1dcffb.jpg


55abbce8.jpg


Only other development with the car is my Kenwood KCA-BT300 arrived Friday so will plumb that in today and see how it fairs.

Thanks for looking


Sent from my  iPad® using Tapatalk
 
OK very brief update (20/02/12) the car will be going in next week hopefully to get everything that needs doing done. So hopefully the following will all get done before the end of the month:

Front bumper completed with new grill and bonnet cut to measure
Side skirts fitted and colour coded along with rear arches rust treated and painted
Sills sealed and filled with Waxoyl and entire interior of the car that is prone to rust coated in the lovely rust preventing stuff.
Rear trailing arms lateral arm bushes fitted along with Meister R coilovers fitted

Hopefully the weather plays ball and no emergencies arise to hamper the works, also a little addition over the weekend my private plate went on finally as the retention period was about to run out and I wasn't going to let the plate slip away due to a technicality. So W38SSD is no more arise N16 AOC... (no pics as didn't want to fit plate until all work was complete but needs must etc).


Sent from my  iPad® using Tapatalk
 
Cleaned out the car today (26/02/12) ready for it going into the bodyshop for some much needed bodywork/rust treatment. Car is going to have sills, rear arches and doors treated with waxoyl after a coat or two of jenolite and stoneguarding. Followed by the completion of the bumper and bonnet modification.

Boot actually clear proof supplied to those disbelieving it possible
IMAG0077.jpg


While stripping off the doorcards ready for tomorrow I decided to make a start on applying some SoundX sound deadening to the doors. The stuff was well recommended and very nicely priced also so I grabbed 32m sq of the stuff so should sort most areas on both cars but I have some spare dynamat should I need a bit more.

Here are a few pics of the start of the work carried out today
IMAG0072.jpg


IMAG0073.jpg


IMAG0074.jpg


A few more layers were fitted with the help of my trusty hair dryer and after a quick test with all the doorcards back on the difference is there to be seen no more panel vibration or distortion and the sound feels like it's contained within the car more then ever, so happy with the early results will proceed with the other panels when the car comes back at the end of the week.


Sent from my  iPad® using Tapatalk
 
Right the car is still in the (05/03/12) the sills and interior has been treated with Waxoyl (smelly stuff but worth it). The plan of action on the bumper is underway and the plan is to press on with the install and bonnet cutting this week with completion towards the end of the week.

Now the alloys have come on leaps and bounds and were primered and DA'd ready for paint to go on once a decision on colour was reached. Now it just so happens another set of wheels for a pal were just completed in this particular colour and once I saw them I had to go with them as the colour for these particular wheels.

Here are a few snaps of the wheels currently and a few of the colour we decided on going for:

All ready for paint
79dc3027.jpg


316eaa09.jpg


4927ddb1.jpg


0fe19604.jpg


Colour choice
eb097e8f.jpg


4eff6e12.jpg


a2e142d8.jpg


Now the first coats of paint were going on today so hopefully see the finished article soon enough can't wait feel like a kid in a candy store (keyboard not required).


Sent from my  iPad® using Tapatalk
 
wheels look cracking bud! so jealous cause mine are badly needing a refurb :(

I'd say send them down but you could probably get them cheaper then shipping cost on top of refurb price?

Did you get my pm from before the forum went down about possible help needed?


Sent from my  iPhone® using Tapatalk
 
thanks for the offer bud, but i'll do them myself sometime in the near future, i just cba doing them just now as i've to finish up the black/red wolfrace set first before i start on these :eek:

no recent pm's from you so it must have gotten lost in the crash bud, send it again :)
 
I'm sorry to be negative dude, but that angled line coming up from the lower front towards the wheel arch just doesn't look good to me. I think I would be tempted to reduce the amount of 'vee' in that area somehow. Just my tuppence-worth though, I'm sure others will disagree :)
 
I'm sorry to be negative dude, but that angled line coming up from the lower front towards the wheel arch just doesn't look good to me. I think I would be tempted to reduce the amount of 'vee' in that area somehow. Just my tuppence-worth though, I'm sure others will disagree :)

No I agree that was a rough chop to see what it would look like if the V/triangle area was filled in. The plan is to get the wing flowing into the bumper, but obviously the main look of the bumper will remain with the triangle area as that is where the majority of the strength in the bumper is built up.


Sent from my  iPad® using Tapatalk
 
Popped over to check on the progress on the car and the waxoyl has covered inside every panel and those most commonly affected by rot. The phase 2 bonnet has been cut and apart from some welding is near enough done.

d99cc7ba.jpg


136e4650.jpg


Grill is all repaired just needs finishing off and final fitting to the bumper

eeae6945.jpg


ea0de691.jpg


Also welded on a brace to hold the bumper up as the weight of it was pulling on the two top fixings

f48c5f89.jpg


Here is a very rough picture of it all fitted together as just to give the rough idea of the soon to be finished look

d87751df.jpg


Sent from my  iPad® using Tapatalk HD
 
yep like my guys attempts the bonnet is wrong :(

-- sent from my slider --

It's not exactly like the JDM version but I'm holding off judgement till is completed as he panel beat the original bonnet prior to cutting as there was a indentation for the kidney grills. It looks ok in person but until I see it all back together I'll reserve my final judgement.


Sent from my  iPhone® using Tapatalk
 
I may seem bias in anything I say but I'm not keen on it. The way it just goes straight across doesn't link any lines and doesn't look like it belongs. Damn good effort technically though.

-phone-
 
yeah i know it's not finished and i could look cracking when done, but this is the same problem my guy had, taking a eu bonnet and shaping it like a jdm bonnet is very difficult due to the construction. but i still look forward to completed pics :)
 
  • Like
Reactions: edk
Back
Top Bottom