Change of direction Daily to Track toy

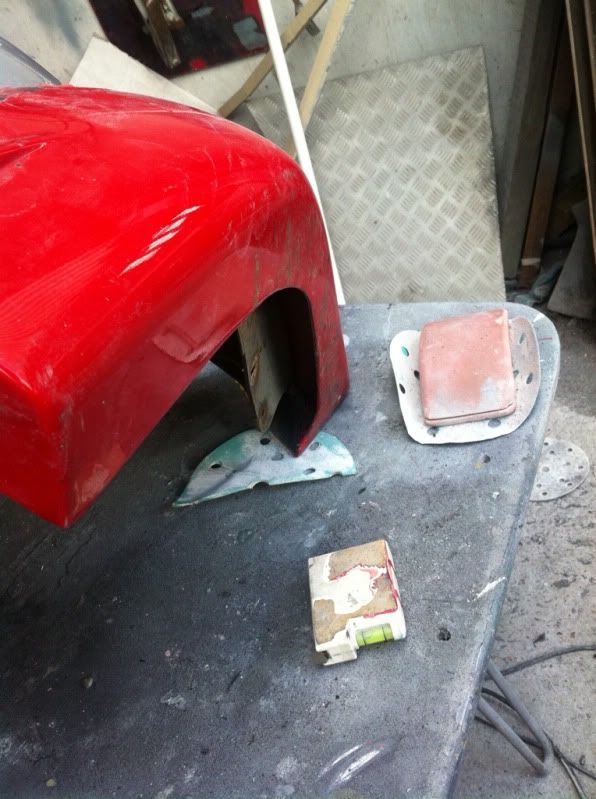
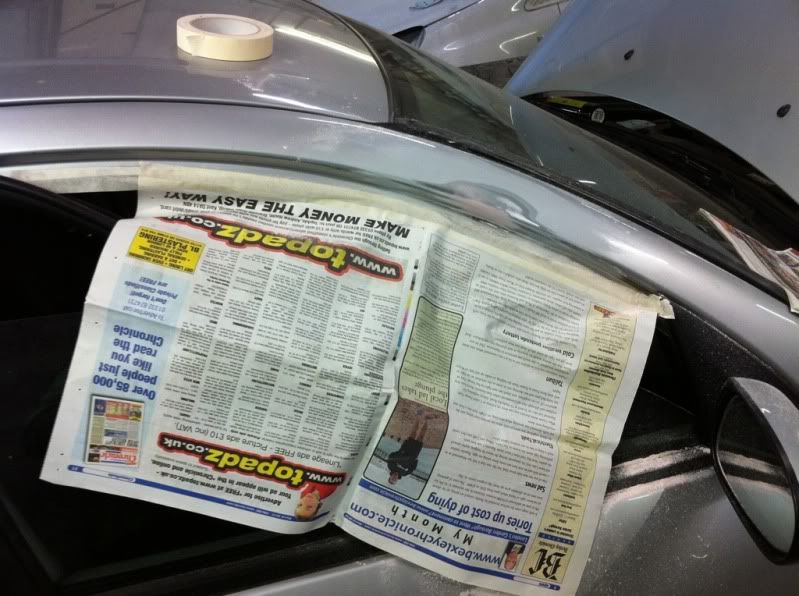
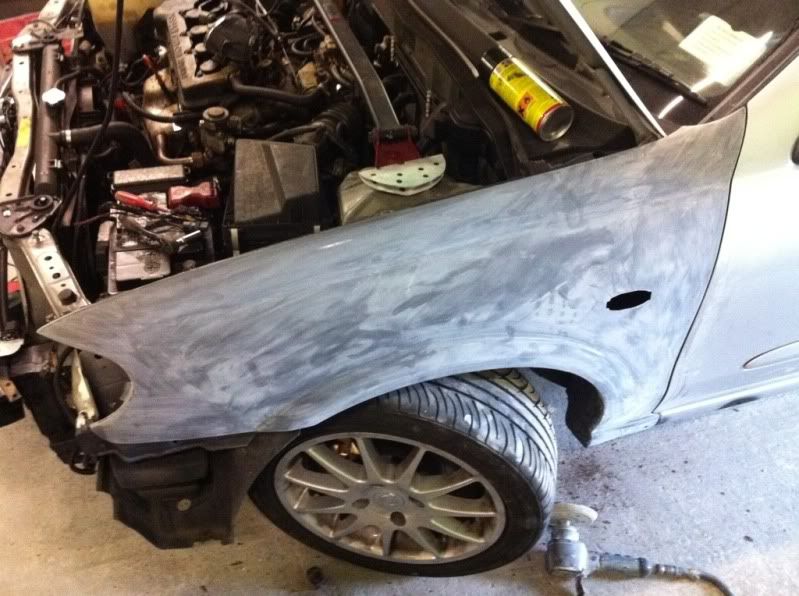
A few more bits sorted today while John was working on other jobs and my front bumper when he got a spare moment. The plan is to have everything sorted by the weekend but as we are awaiting a few bits to arrive who knows when we will get everything sorted?

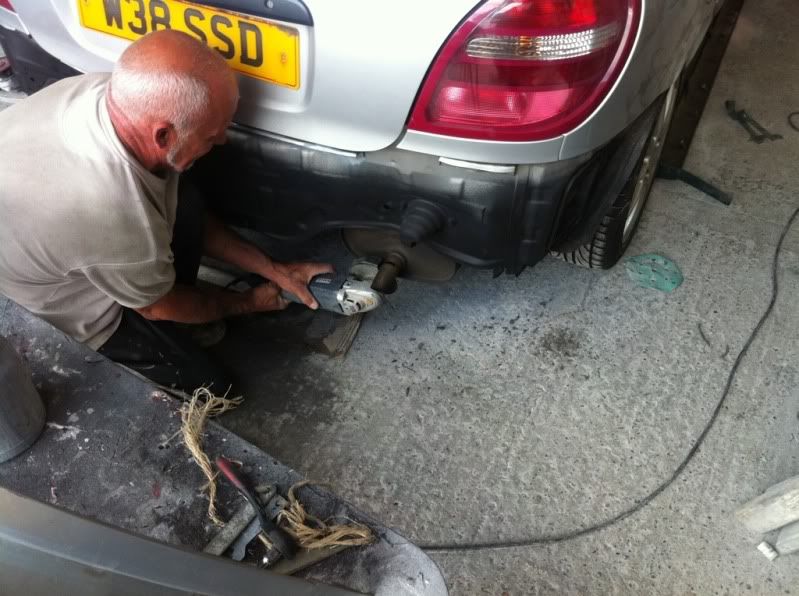
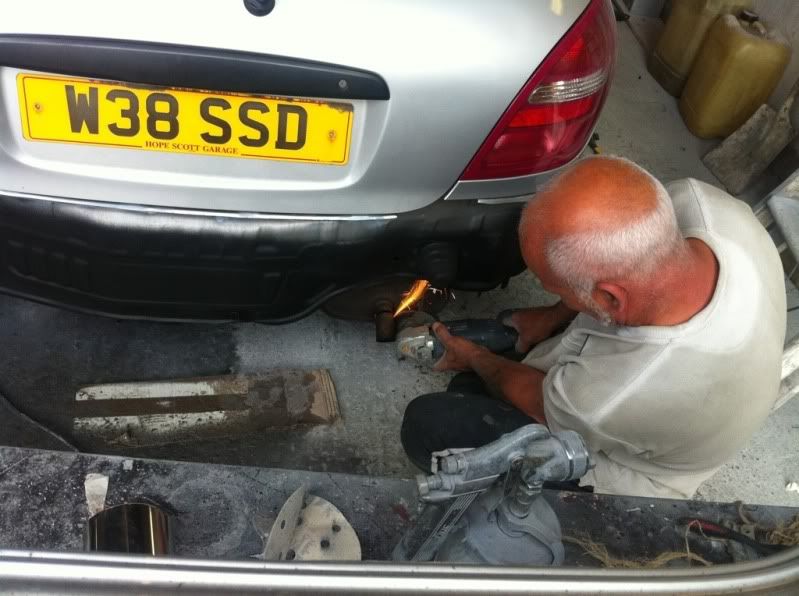
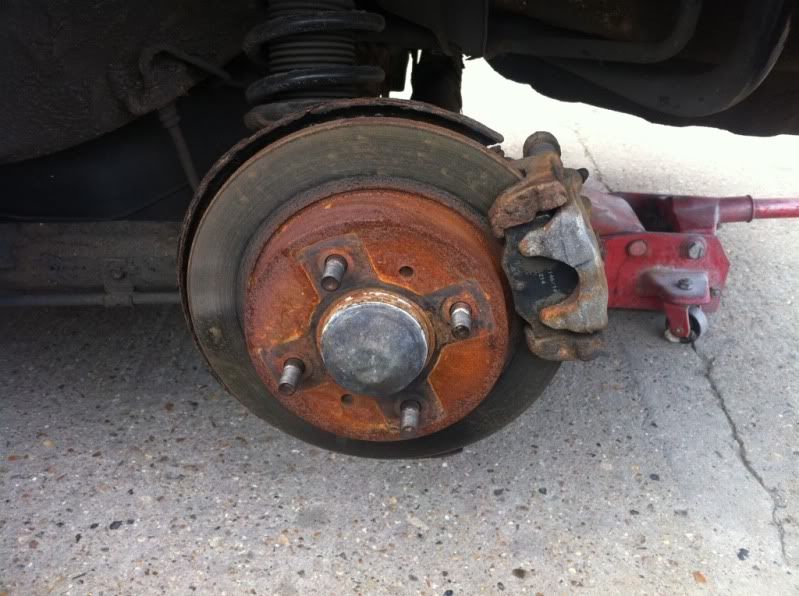
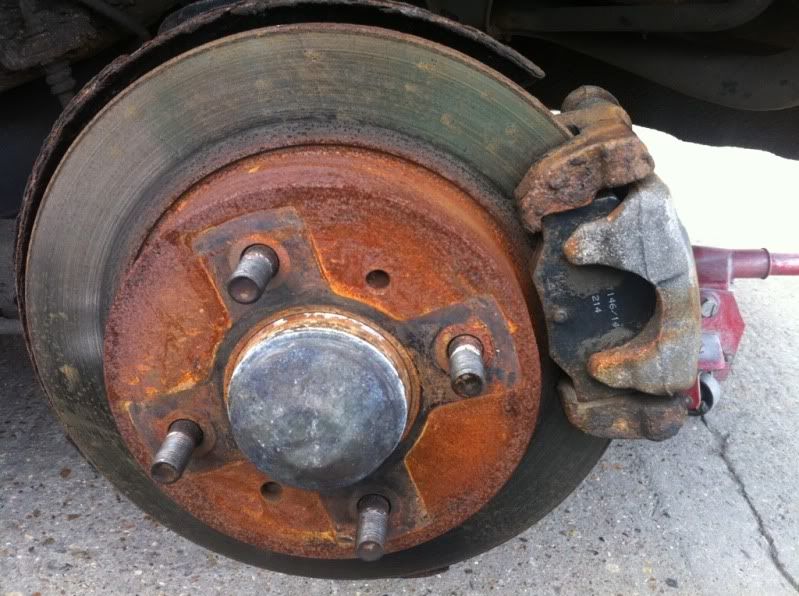
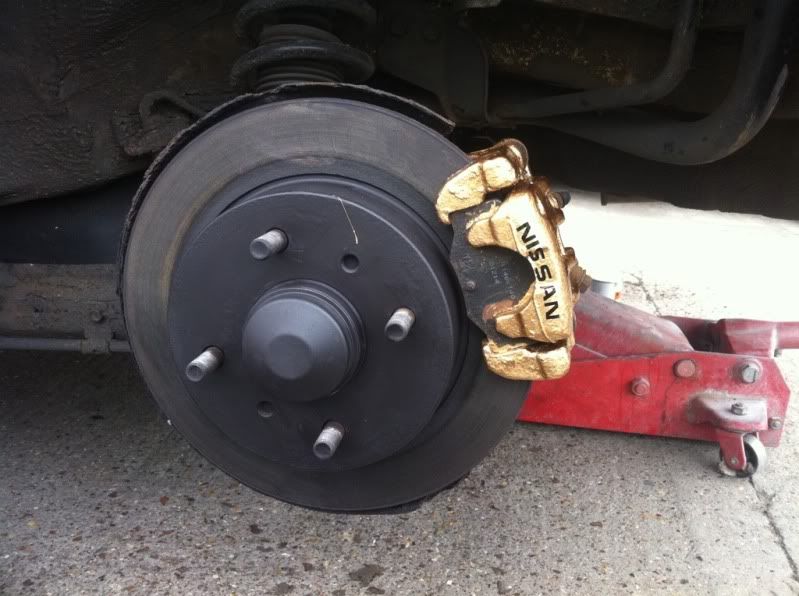
So I decided to add more thinners to the porridge like calliper paint and prep the rear callipers and discs, here are some pics firstly nasty surface rust
8ed50d87.jpg


f71f41a3.jpg


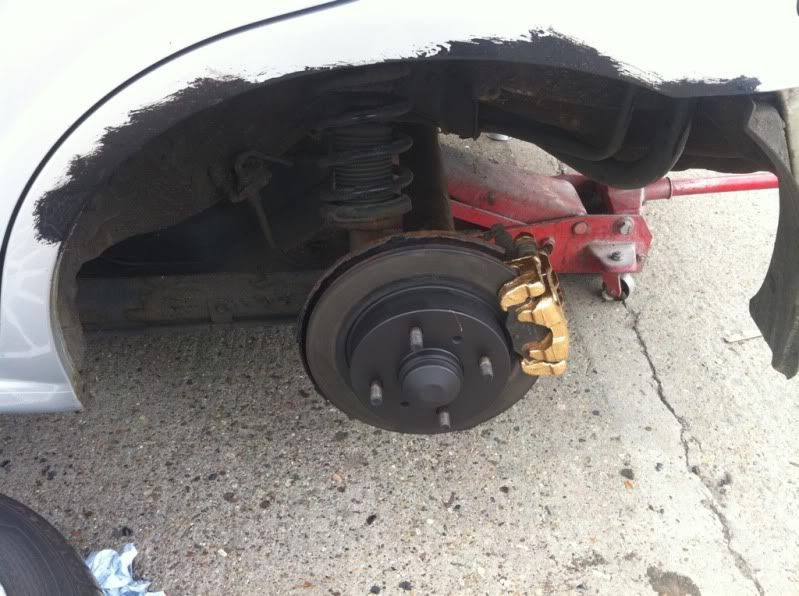
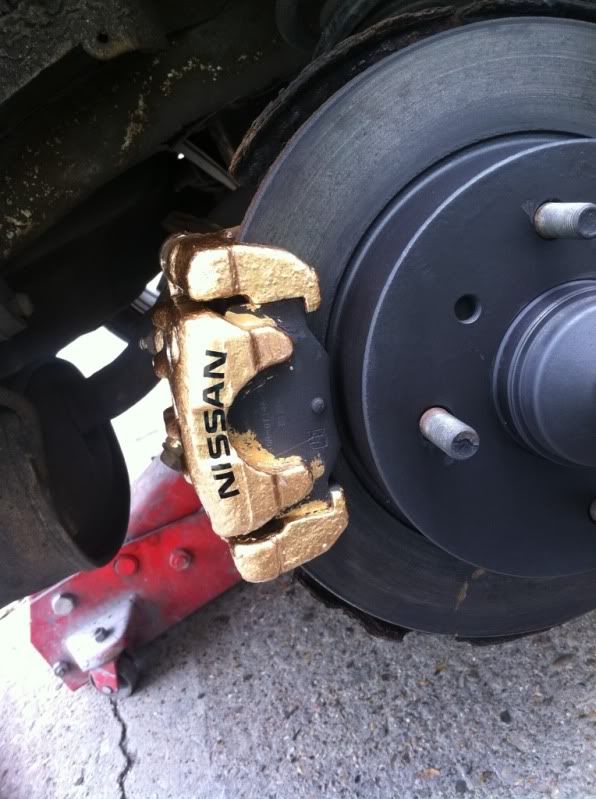
Discs and calliper painted and waiting to dry
b4845244.jpg


80727304.jpg


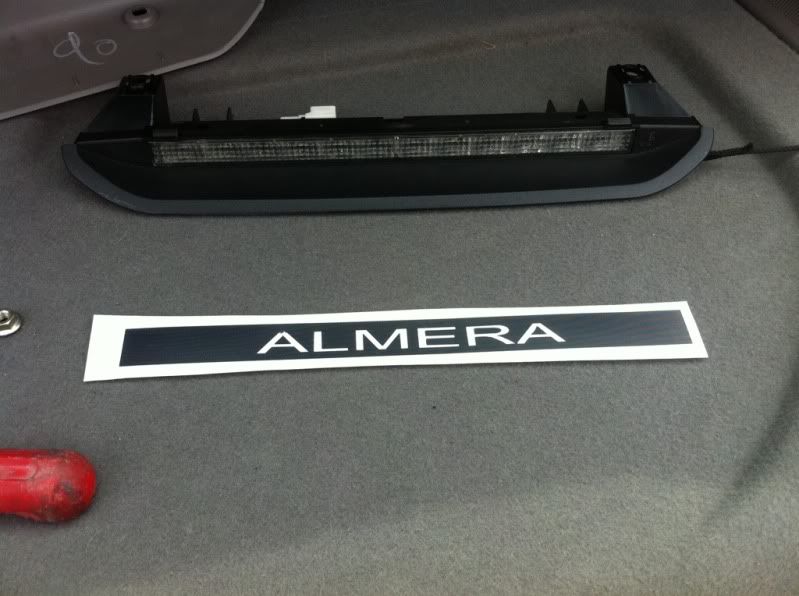
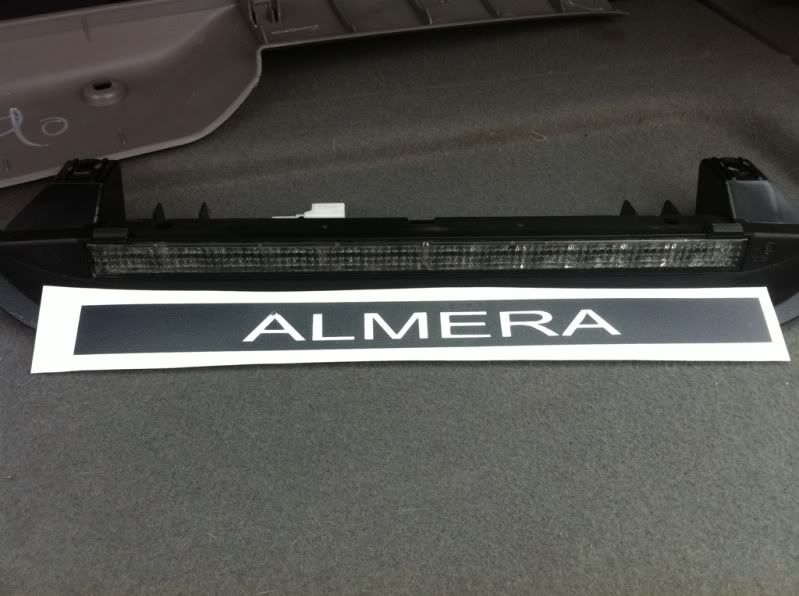
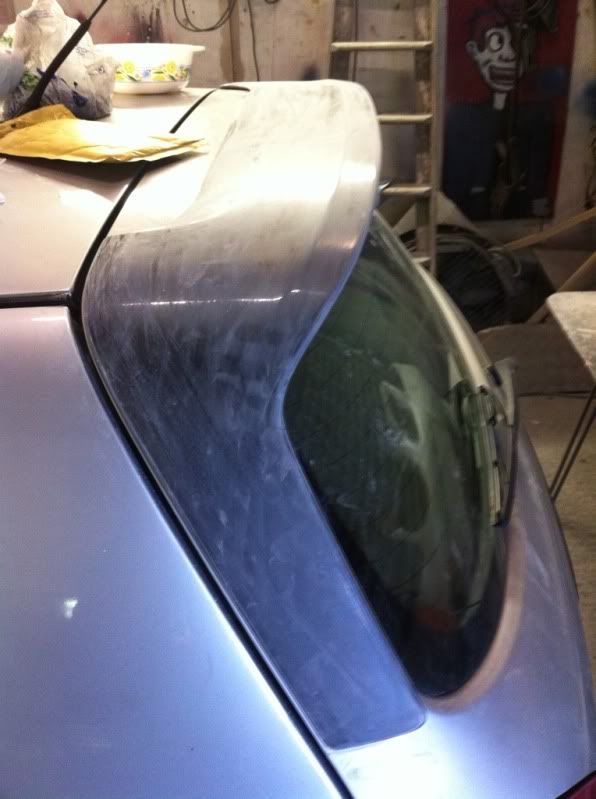
While waiting for the paint to dry I pressed on with fitting my 3rd brake light vinyl decal
3f261bdc.jpg


1630cf58.jpg


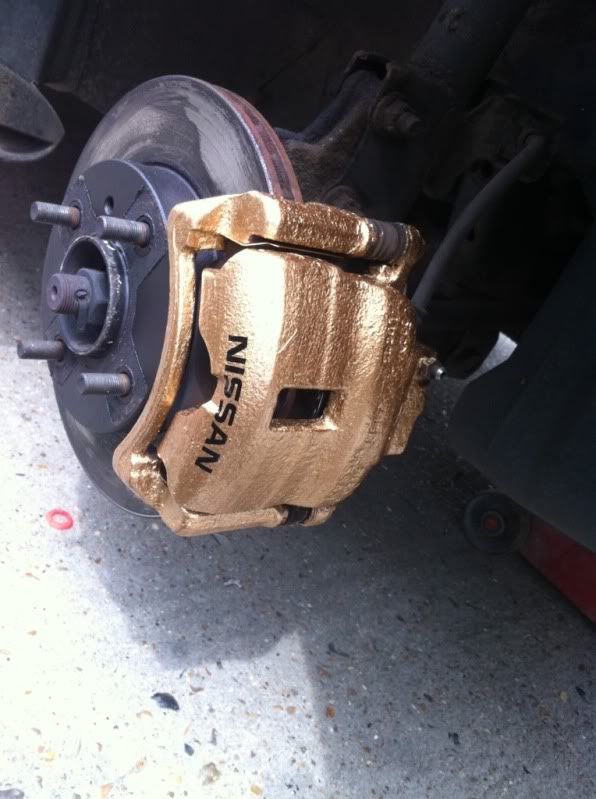
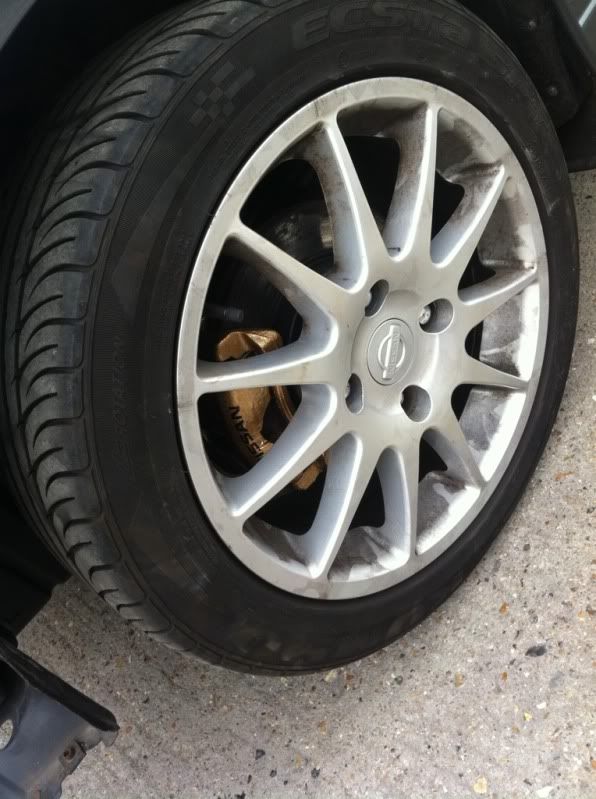
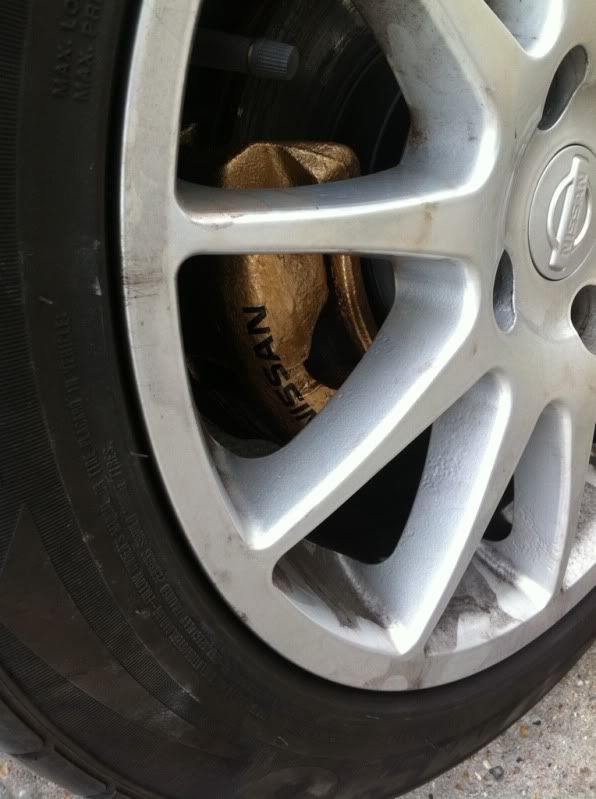
After the paint had cured I decided to throw on the NISSAN decals to finish off the look, I'm not overly happy with the placement of the first "S" so may remove these and replace
bd36576b.jpg


15776b57.jpg


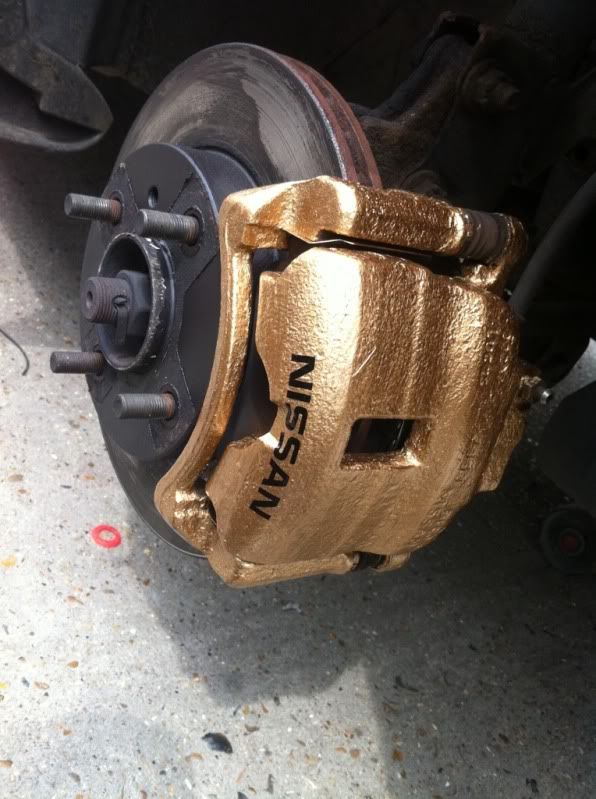
The other side a much better job with the placement
ed4b6654.jpg


6989e6b1.jpg


Time to put the larger ones on the front
ee2fdd0a.jpg


60119b4d.jpg


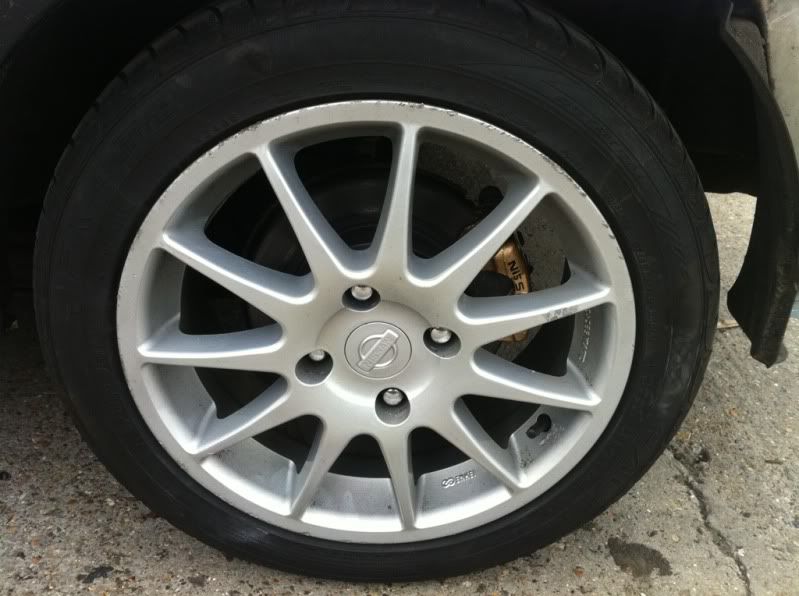
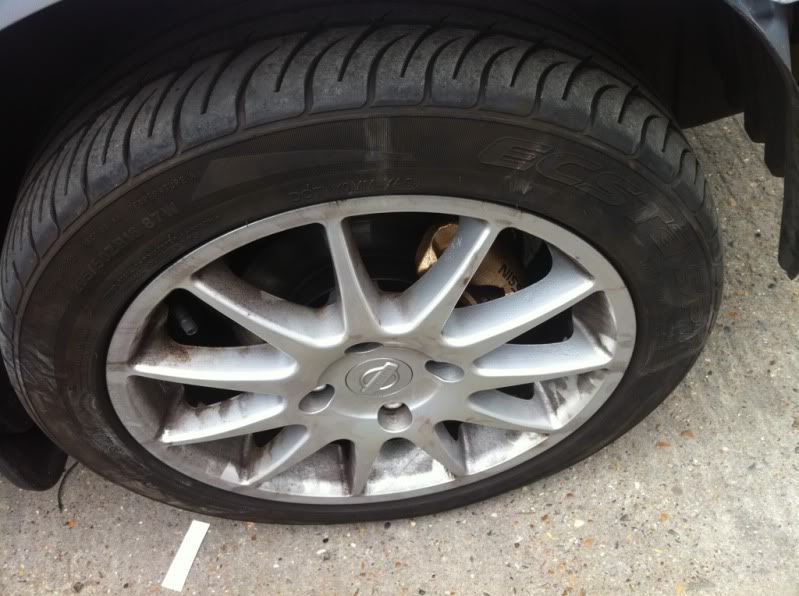
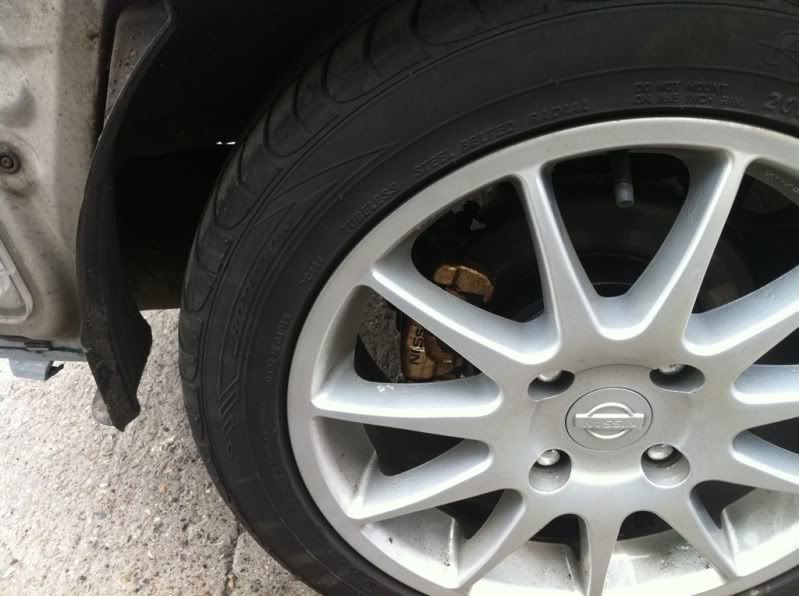
With the alloys back on
321ef37e.jpg


73f56b69.jpg


048d26e5.jpg


c5552ed3.jpg


e894e201.jpg


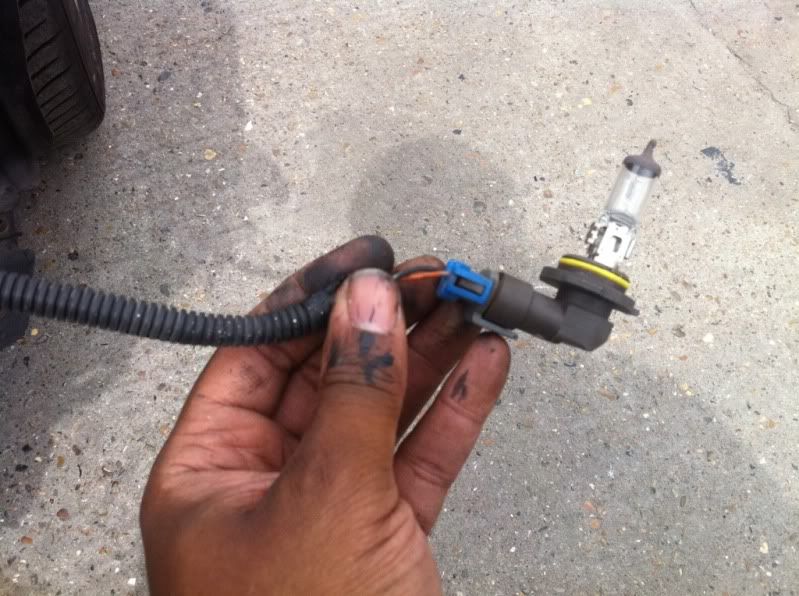
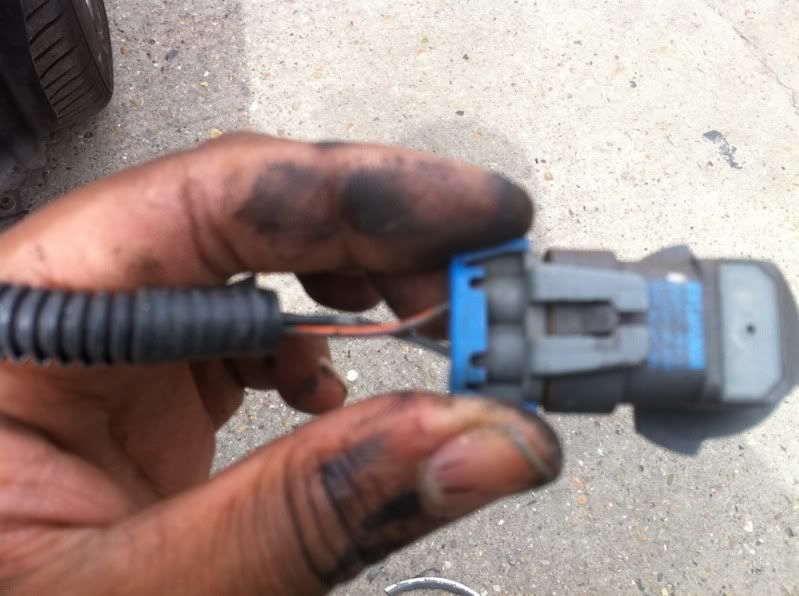
Found out that the phase two fog lights use a different bulb and smaller connector then the phase 1 fog lights so another part to hold up the project but with any luck I'll get a set of these soon thanks Ed
a9d59e5e.jpg


36bb20b7.jpg


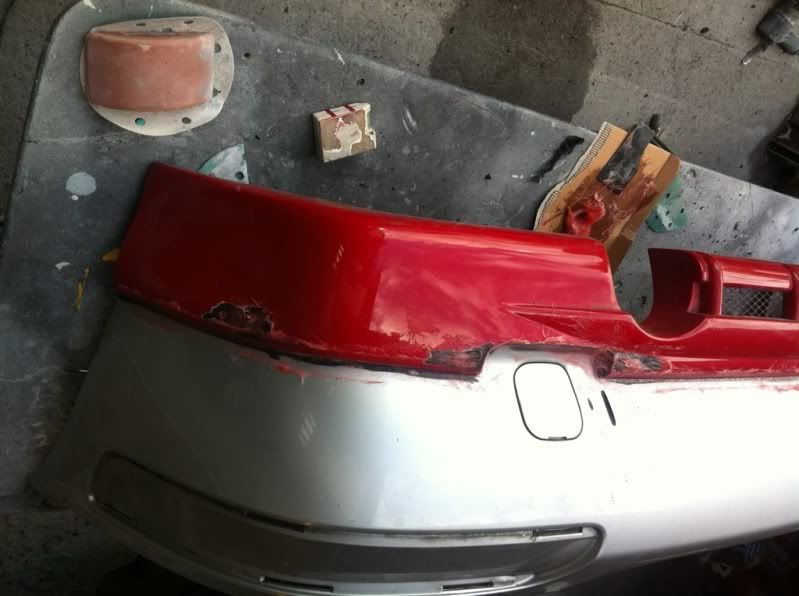
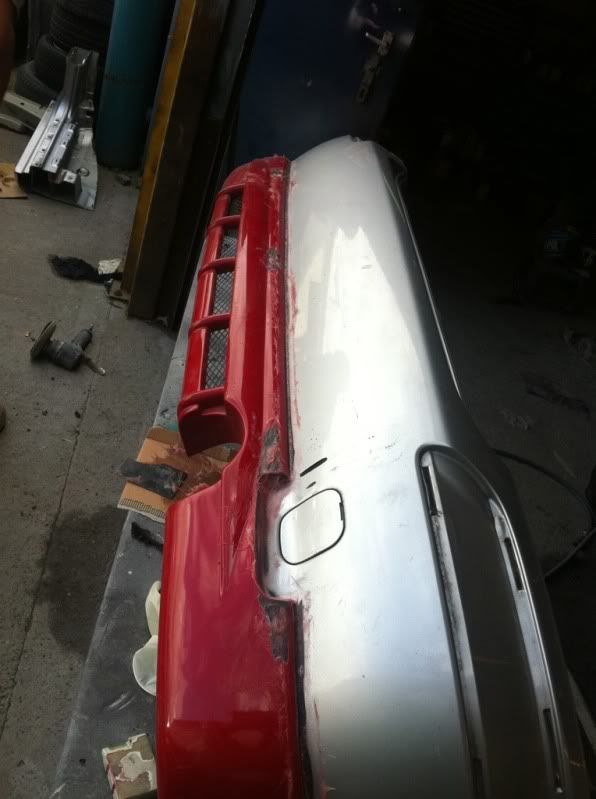
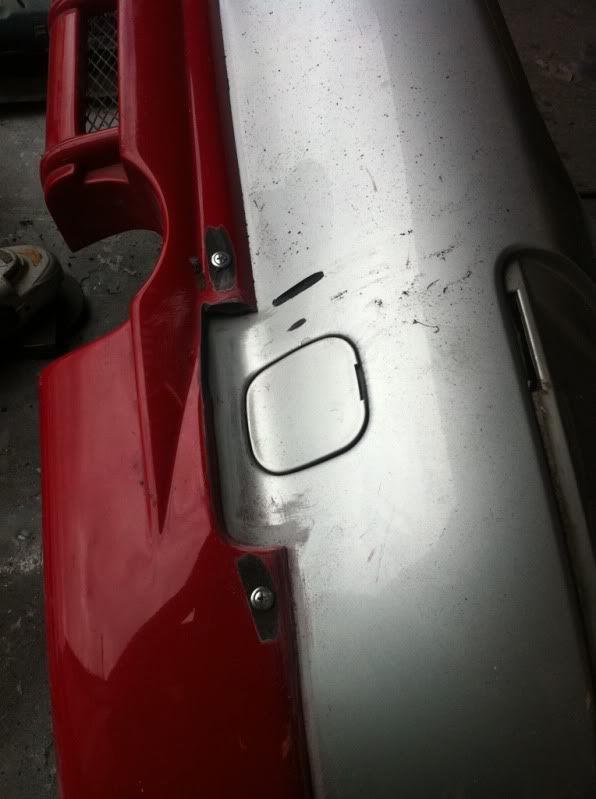
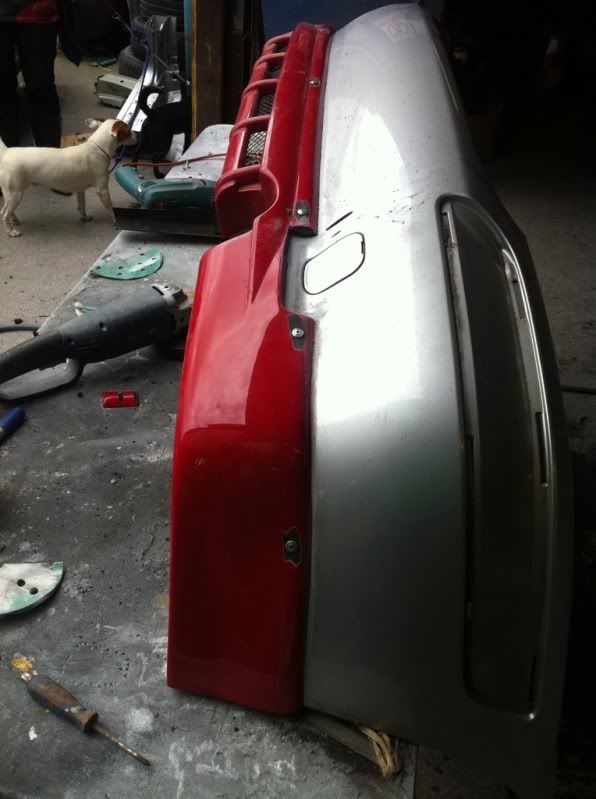
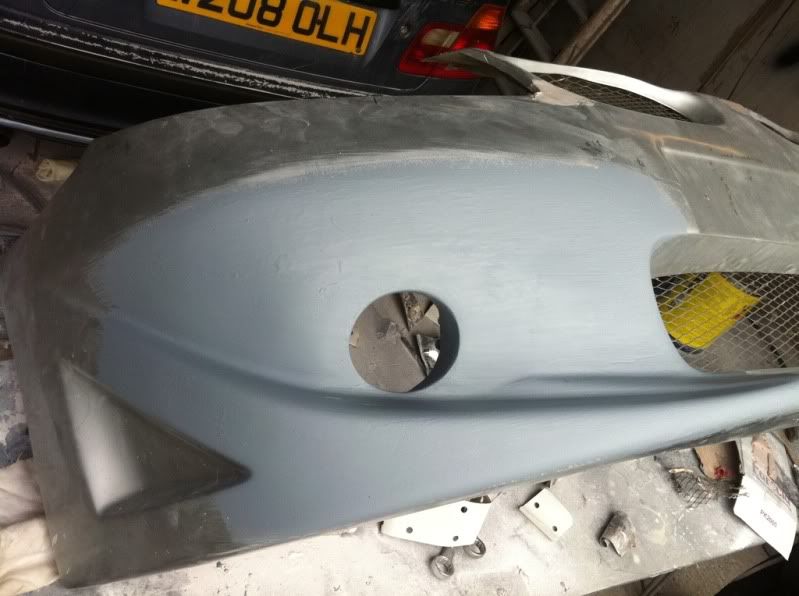
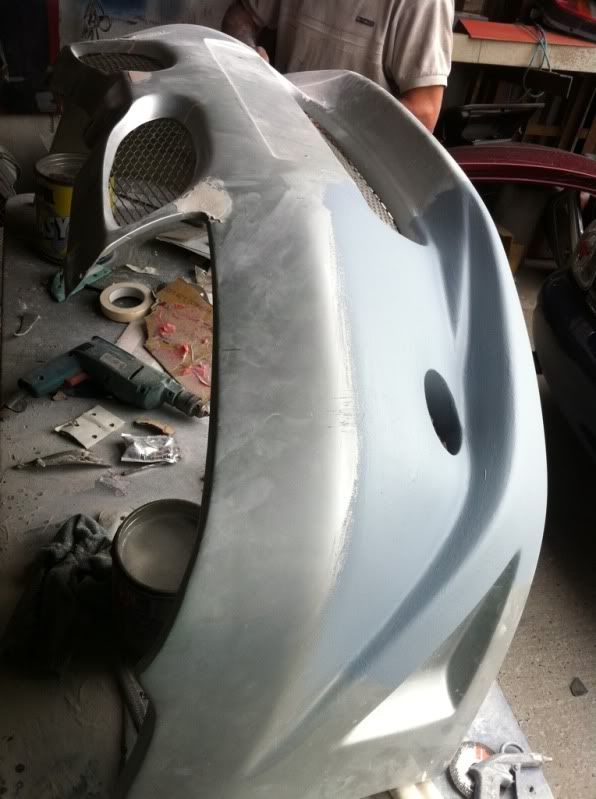
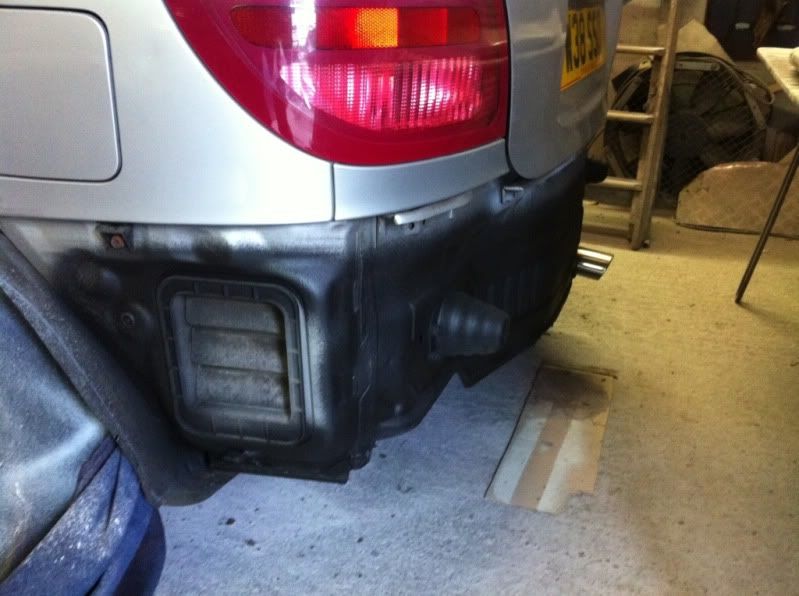
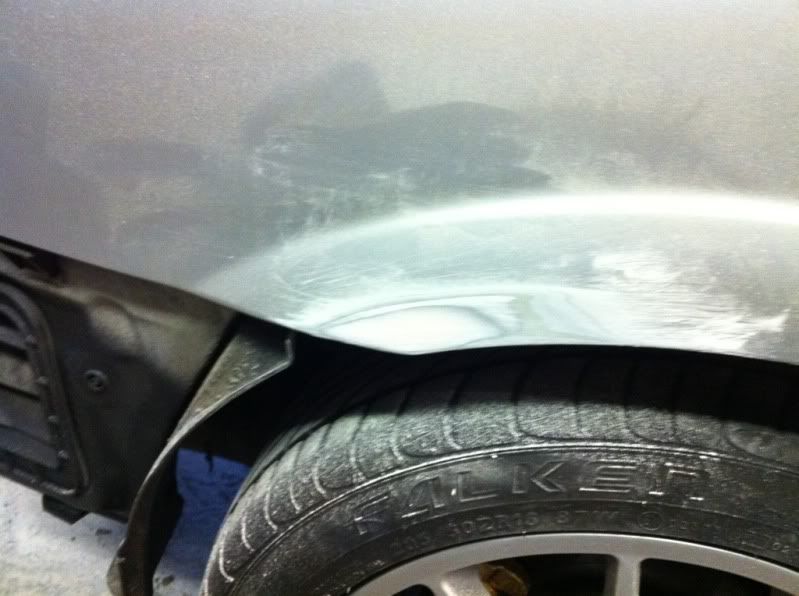
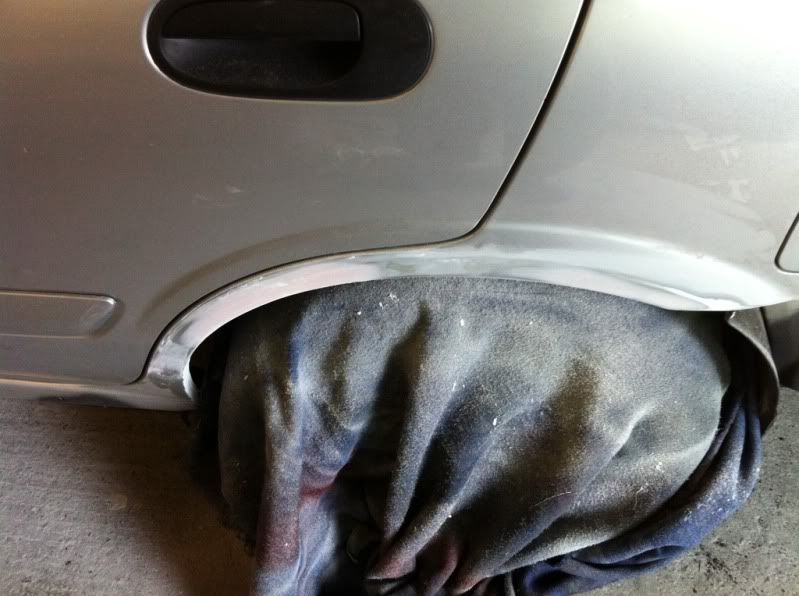
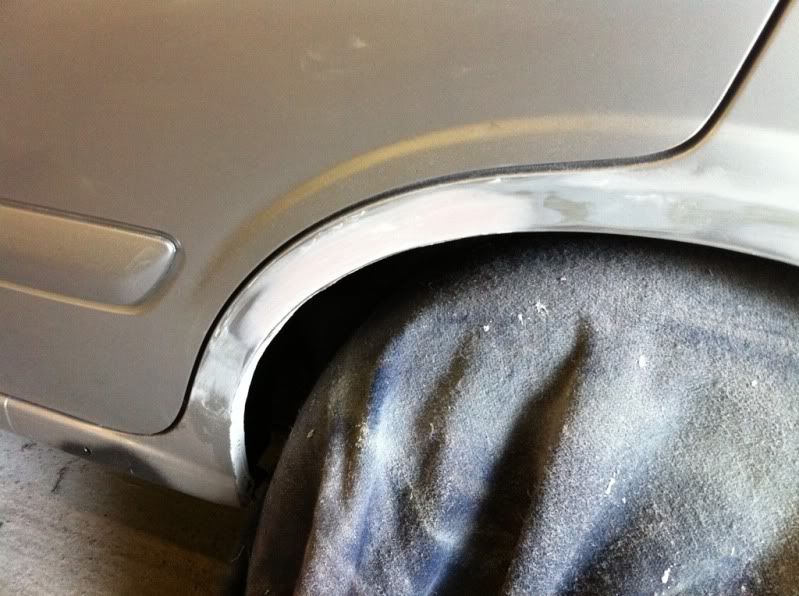
While this was all going on the bumper was nearing it's finished state with primer applied over the filler. This will be worked down with sandpaper ready for final prep work.
9f55570a.jpg


f25ea13d.jpg


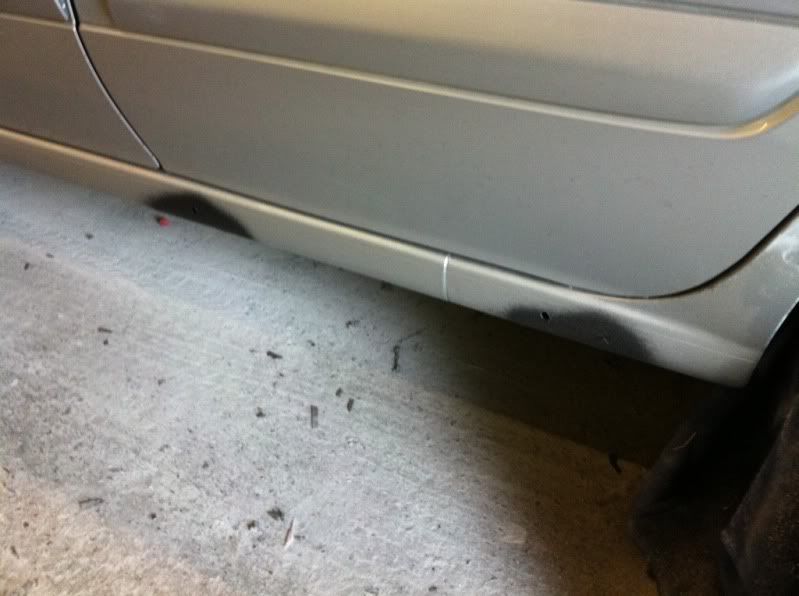
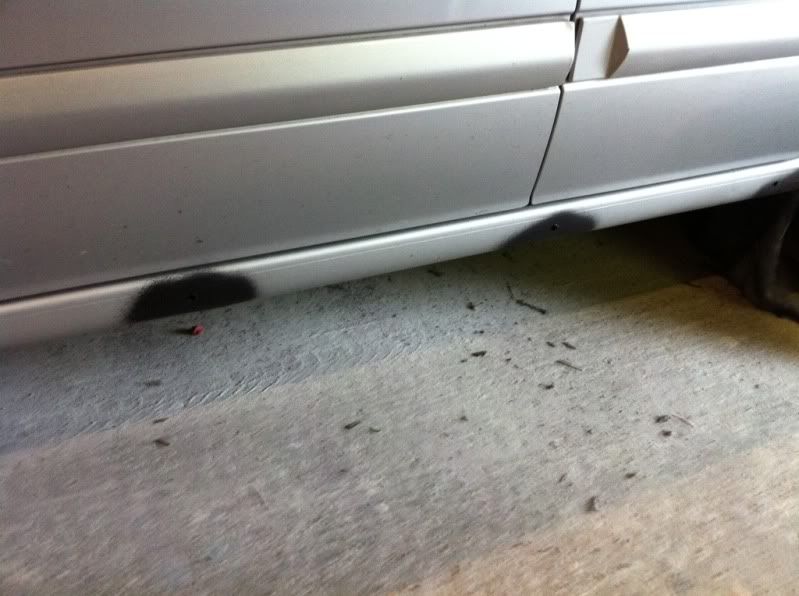
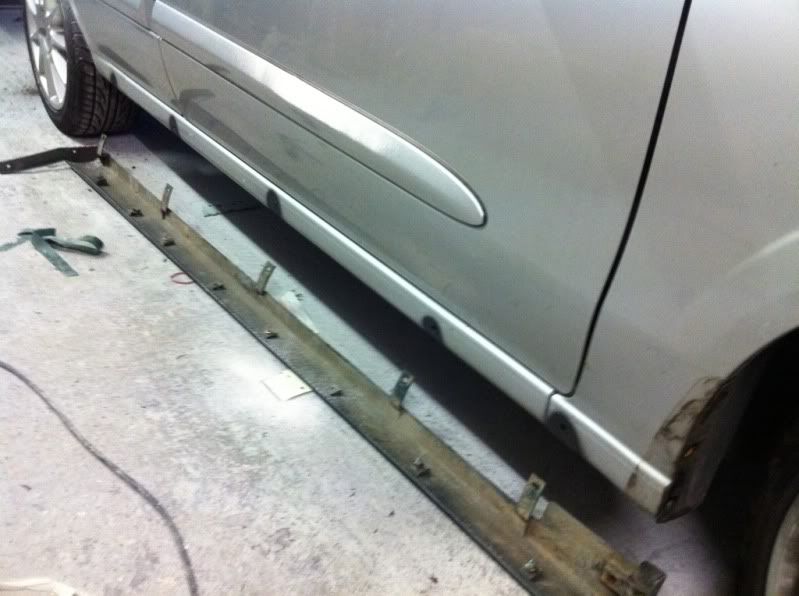
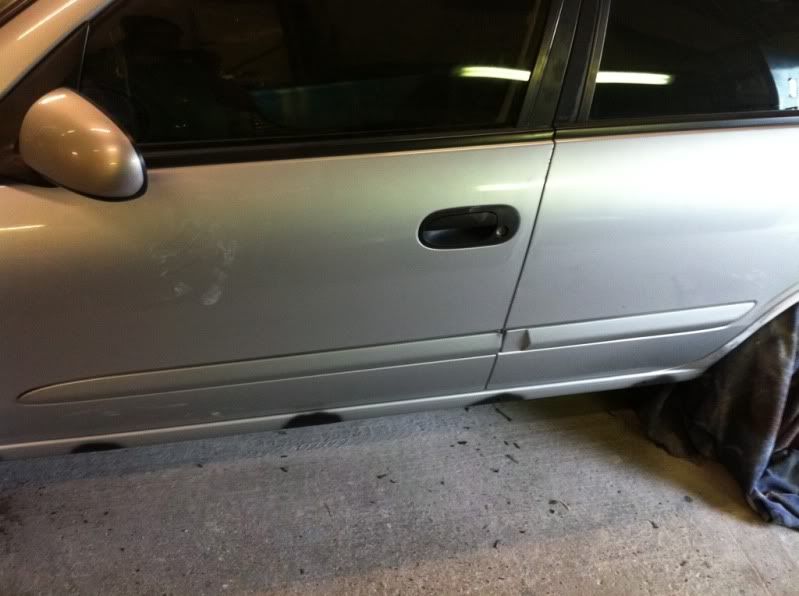
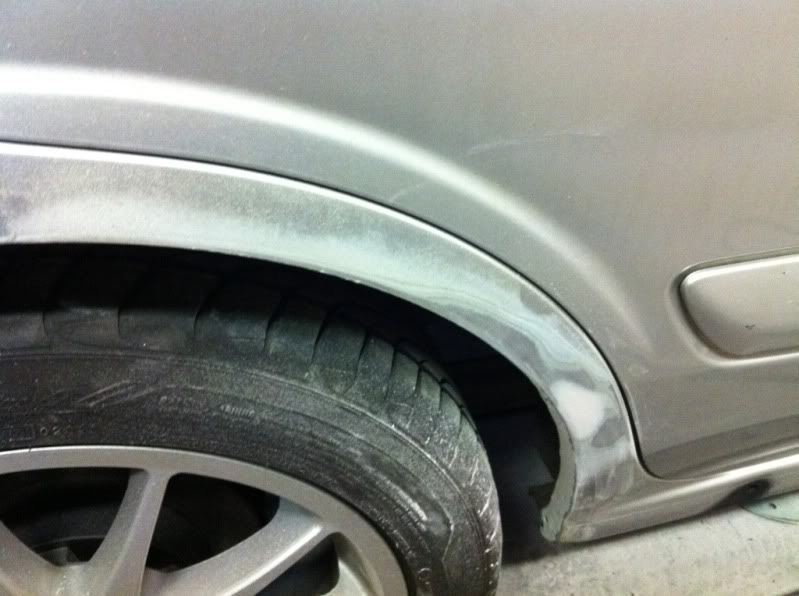
That's all for today as it was one interrupted by other jobs I also started the prep on the side skirts and bump strips ready for painting tomorrow.

Sent from my iPad® using Tapatalk
 
A definite improvement there with your brakes - a job well worth doing to tidy things up :thumb: As for the bumper/spoiler, it should be interesting to see when it's finished & fitted.
 
A definite improvement there with your brakes - a job well worth doing to tidy things up :thumb: As for the bumper/spoiler, it should be interesting to see when it's finished & fitted.

Cheers I can't wait to see the finished article also

What paint did you use on the calipers? I'm wanting to do my calipers gold and it looks a really good colour...

The paint was bought of eBay, seller was autostore-uk & product was E-tech brake caliper & engine bay paint obviously gold. £16.79
http://shop.ebay.co.uk/sis.html?_kw...+&+ENGINE+BAY+Paint+KIT+GOLD&_id=160521907626


Sent from my iPad® using Tapatalk
 
No pictures today as I didn't spend much time at the yard apart from collecting a replacement backbox and salvaging the clips needed to put the sideskirts on. The sideskirts and rear apron all look good when fitted and there still no sign of the light loom (damn Royal Mail) and the car is almost ready to get painted tomorrow ready to come home Sunday I can't wait.


Sent from my iPad® using Tapatalk
 
Today was very productive, finally Royal Mail decided to tell me I had a package that additional postage was required (fog lint connectors were also included top work Mr Price). So I picked this up then grabbed some Gum Gum for repairing my backbox, also grabbed a spare backbox from scrapyard for a £5.

First order of the day get the lights wired up and the foglights which was simple as the colours matched the existing loom. While I was busy grabbing parts etc John had stone guarded the areas that I had previously rust treated for added protection.

906c621a.jpg


bef0d757.jpg


29f0a57b.jpg


897c877e.jpg


95297bee.jpg


Holes drilled for the sideskirts also stone guarded
43ce43e8.jpg


2f397a39.jpg


cff9ee75.jpg


Colour coded bump strips fitted
775f3ce4.jpg


Rust on the drivers door removed and prepped for paint
8aa7fba7.jpg


Rear arches prepped for painting
dff1dfab.jpg


f9613a9b.jpg


02f521ea.jpg


5212ff6e.jpg


Front wing also prepped along with rear boot spoiler
a4350c94.jpg


94bdbc27.jpg


69f4d519.jpg


We called it a day and we will resume tomorrow hopefully without any distractions when I learn to paint and the car gets a fresh look...


Sent from my iPad® using Tapatalk
 
Coming on nicely :)

Cheers bud

Looking great bud

Cheers m8

dude that front bumper is terrible :no:

I thought that when I first saw it, felt better about it when I saw it in the flesh and it's grown on me since. The way I see it, for the expense £20 the bumper is worth a shot till my first choice comes around again at much less then the RRP.

I don't expect everyone to like it or even agree with my thinking on this but it's my car & ultimately my choice bud. ;)


Sent from my iPhone® using Tapatalk
 
Looking good.
I never drilled holes for side skirts I just glued them on.
Also your sub box will be started tomorrow hopefully as long as my neck is better hurt it fixing my exhaust don't know how.
 
coming along nicely rich, can't wait to see the finished product :shades:

though i wish i never let slip about the n15 rear splitter as everyone and their sister is getting it done before i get mine done :/
 
Looking good.
I never drilled holes for side skirts I just glued them on.
Also your sub box will be started tomorrow hopefully as long as my neck is better hurt it fixing my exhaust don't know how.

Cheers bud the bodyshop guy wanted them fitted as per OEM so I sourced the clips from a sad looking P11-144. I'll check the speaker measurements etc & pm them over to you etc

coming along nicely rich, can't wait to see the finished product :shades:

though i wish i never let slip about the n15 rear splitter as everyone and their sister is getting it done before i get mine done :/

I'm glad you did as it was needed as the standard bumper needed something, just to warn ya it's a pain to get to fit properly as the splitter needs shaving etc to match the curve of the bumper and the towing eye is also off so we are either going to enlarge the one on the splitter or fibre glass it and blend it in to the rest of the bumper.


Sent from my iPad® using Tapatalk
 
Yer it is lol you can see the dirt Mark from the bit you remove on the car the long bit of the skirt should be at front covering that bit.
 
Yer it is lol you can see the dirt Mark from the bit you remove on the car the long bit of the skirt should be at front covering that bit.

Hmm well we checked this morning & the larger kickout should be at the rear for the better fit. The rear arch has a dip that the longer piece suits perfectly so as the holes are drilled and the other way round won't match they are going on as you see them lined up


Sent from my iPhone® using Tapatalk
 
On the skirts if there standard n16 there should be a long piece that sticks out at right angle with 2 holes in this, the screws from the old end cap go into these.
On my phone but if you check my members ride thread ive got pics there of mine fitted
 
Right after an unplanned lie in I made it over to the yard and the bumper was decidedly larger and the phase two was on and about to be fibreglassed to the bumper.

3a80915d.jpg


6e148523.jpg


851516db.jpg


c197d8a1.jpg


It hangs roughly 1 1/4" lower then the standard bumper did
e6acd5d8.jpg


Minor adjustments to the backbox for the trim piece to go back on and straight not angled down.
a3938694.jpg


251d5314.jpg


No more images now until she is done so hopefully get some pics up in the next day or so...

Sent from my iPad® using Tapatalk
 
On the skirts if there standard n16 there should be a long piece that sticks out at right angle with 2 holes in this, the screws from the old end cap go into these.
On my phone but if you check my members ride thread ive got pics there of mine fitted

I have to say from your pics that the skirts look on back to front but ive not seen many of these with them fitted so will have to have a wee search bud as on other cars the rear has the longer part attached?

Wonder if anyone else can show us some pictures to confirm how they came out of the factory?


Sent from my iPad® using Tapatalk
 
Back
Top Bottom